Mother Nature refuses to standardize October, even within the same USDA hardiness zone. Hostas require some seasonal awareness, meaning you must pay attention to your plants and local weather, not just what the calendar suggests.
Task 1: Wait for Foliage to Die Back Naturally
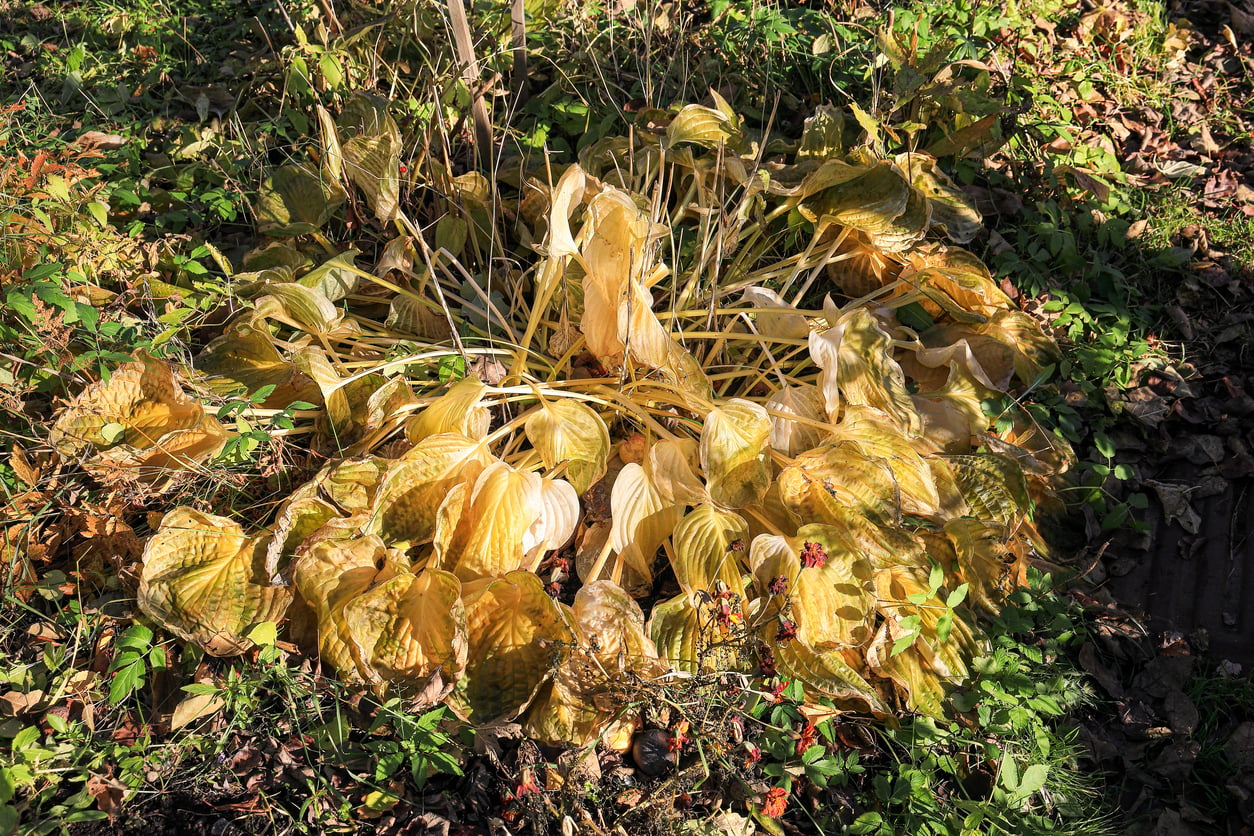
As long as green foliage is thriving, let it be. It’s essential because your plants are still converting sunlight into carbohydrates and storing that energy in their crowns and roots for next spring.
If you’re itching to snip those fading blades early, understand that premature chopping cuts short this vital food storage. Just let photosynthesis run its course until the foliage yellows naturally or freezing nights turn those huge hosta leaves into a limp, soggy mess.
Cut the collapsed stalks close to the soil line once the foliage has died back, taking care not to damage the crown. Those clean cuts leave fewer damp hiding spots for slug armies and other pests.
If only a few leaves are yellowing, we also explain how to trim yellowing hosta leaves without harming the plant.
Task 2: Remove Spent Foliage Before Winter
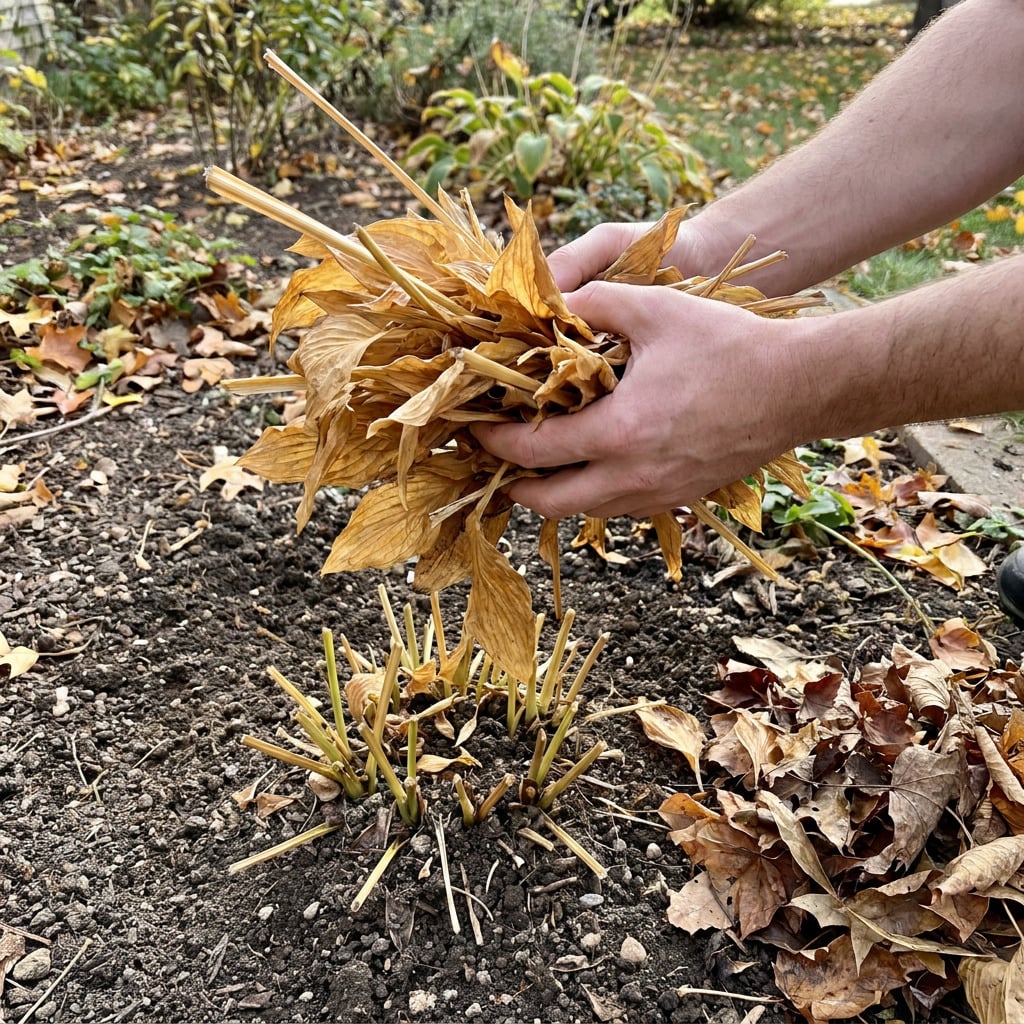
Slugs adore your lazy habit of leaving rotting hosta leaves over the crown because that damp debris gives their eggs an insulated nursery. If you choose to be lazy, you may pay for that neglect next spring when hungry slugs turn fresh hosta leaves into Swiss cheese.
Once the foliage has died back, rake up that slimy collapse and get it out of the bed. Clear away any dead leaves and clipped stalks carefully so you don’t damage the crown.
Quick note: Leaving that decomposing blanket intact can also help certain disease organisms and foliar nematodes survive the winter in infected leaves.
Task 3: Check for Disease Before Cleanup
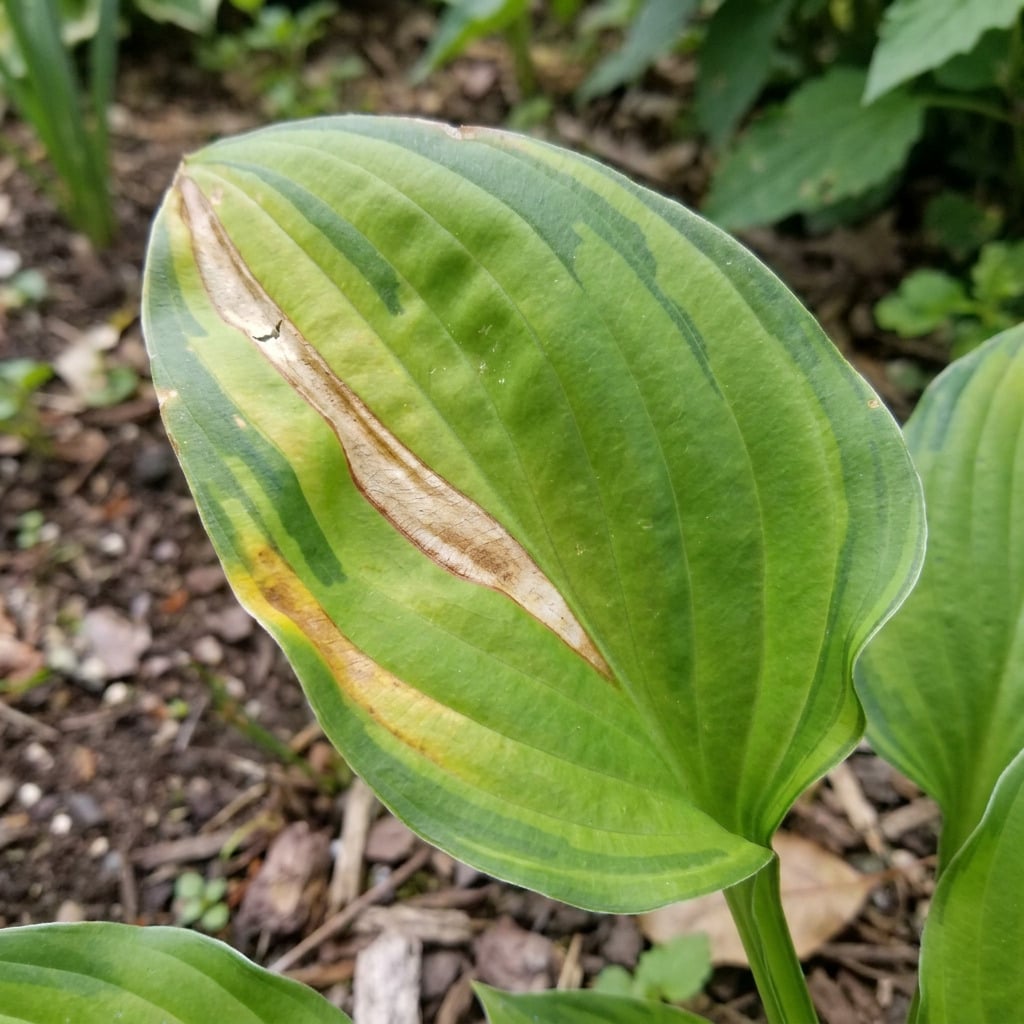
As hostas age in fall, their foliage naturally turns yellow and crinkled without a single pathogen in sight. Look closer before screaming about a viral plague sweeping through your shade garden:
If you suspect Hosta Virus X, avoid dividing or sharing the plant until it’s tested. Confirmed infections mean removing and disposing of the entire plant, not just trimming off damaged leaves.
Not every ugly spot means disease. Inspect your plants first, then separate serious infections from ordinary fall decay.
Task 4: Keep Plants Watered If Fall Is Dry
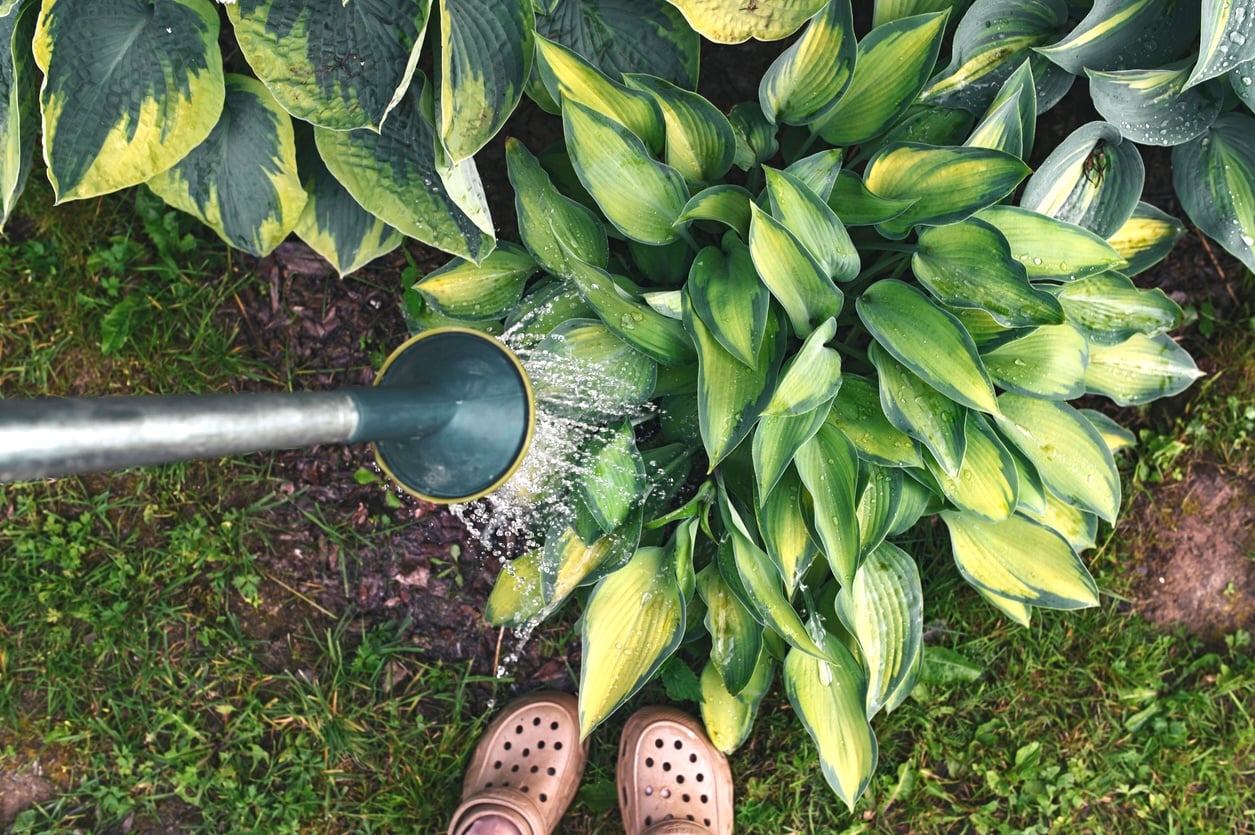
Before the freeze locks up the ground, a dry fall can leave your hostas’ roots short on moisture going into winter.
If rain ghosts you for longer than two consecutive weeks, grab a trowel and check the soil. If the top six inches feel dry, give your shade beds one slow, deep soak until the soil is moist at that depth. If it’s still damp, leave the hose alone.
But excess water should never pool around crowns. So if your soil drains poorly, spread a thin layer of finished compost over the surface to gradually improve its structure. Just don’t expect compost alone to fix waterlogged soil.
Quick tip: If water keeps pooling, plan to move your hostas to a slightly raised planting area in spring, or earlier if your climate still allows safe transplanting.
Task 5: Mulch Only Where Protection Is Needed
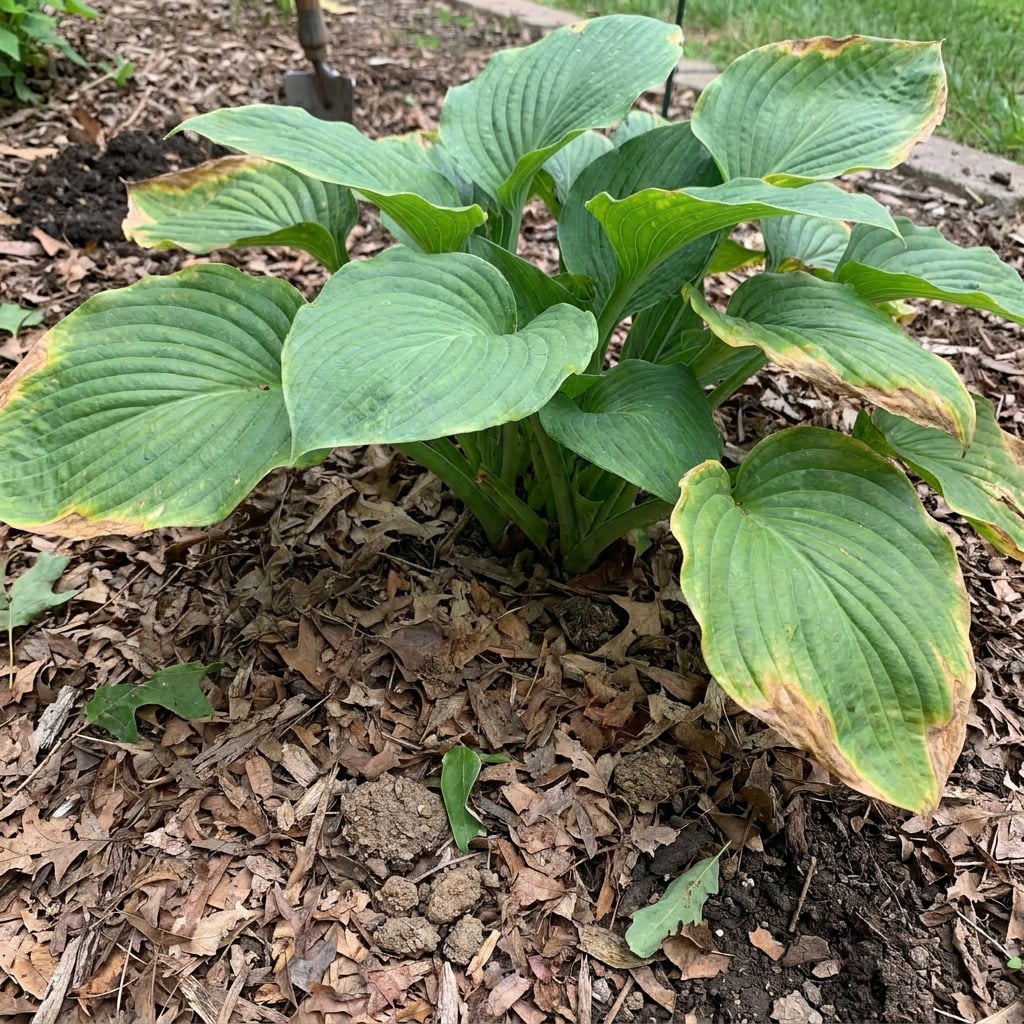
Established hostas usually don’t need an extra winter blanket. Newly planted or transplanted clumps, however, face a brutal fight against freeze-thaw cycles!
Keep mulch away from the crowns and pull back the extra layer in spring. Otherwise, welcome crown rot and voles, goodbye hosta.
Don’t rush to tuck them in while the soil is still warm! Wait until the ground begins to freeze so the mulch keeps soil temperatures steady.
Prefer using fallen leaves instead? We also wrote a guide on 8 perennials that benefit from shredded leaves as winter mulch, including hostas.
Task 6: No Late Division in Cold Zones
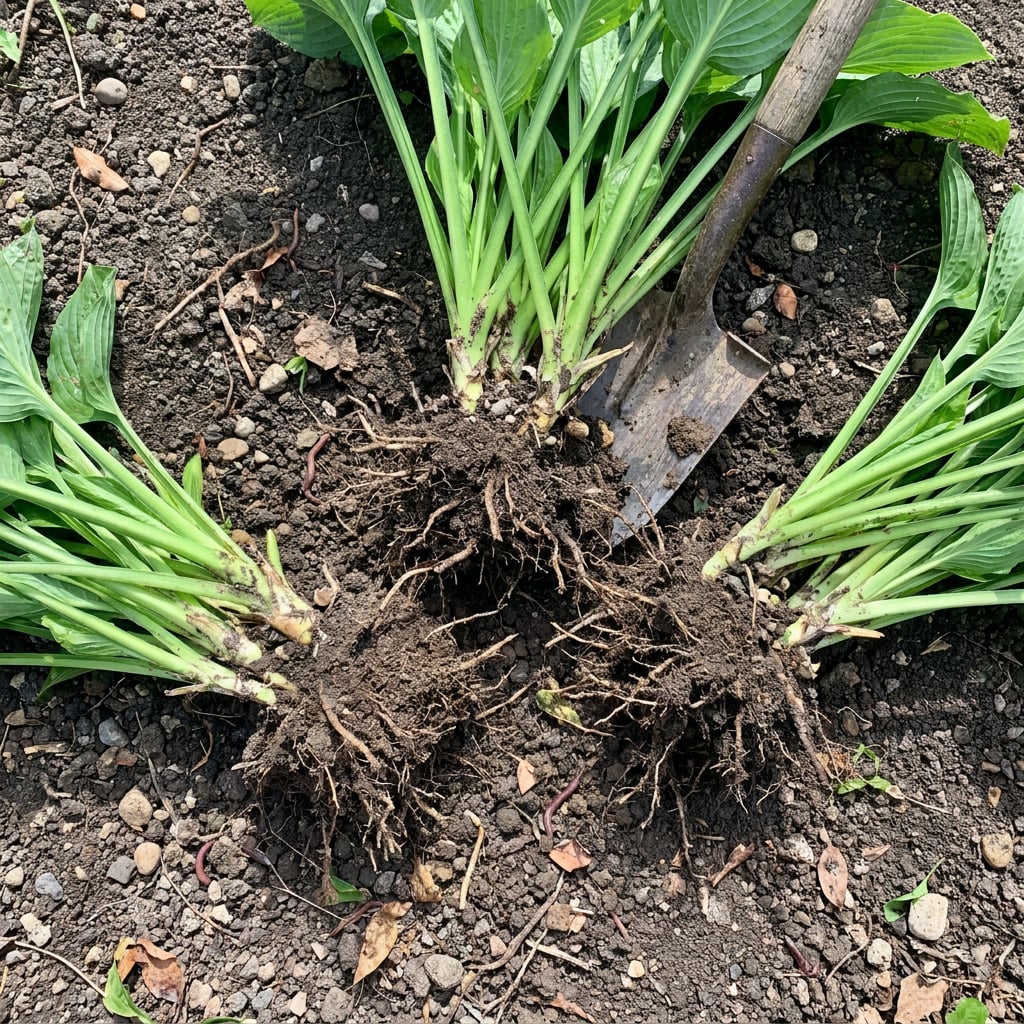
Hacking apart hosta clumps in late October can spell trouble for your cold-climate yard. In Zones 3 through 5, new divisions need roughly four to six weeks to establish roots before the ground freezes.
Divide too late, and freeze-thaw cycles can shove those poorly rooted sections right out of the ground. Stranded on the surface, they may dry out and die. Better wait until spring to divide your crowns.
Down in Zones 6 through 8, the math changes. Milder falls may give you enough leeway to divide through October, as long as the ground won’t freeze for another four to six weeks.
If your local conditions still allow it, we also wrote a step-by-step guide on how to divide hostas in fall for bigger, healthier plants next year.
Task 7: Don’t Fertilize in October
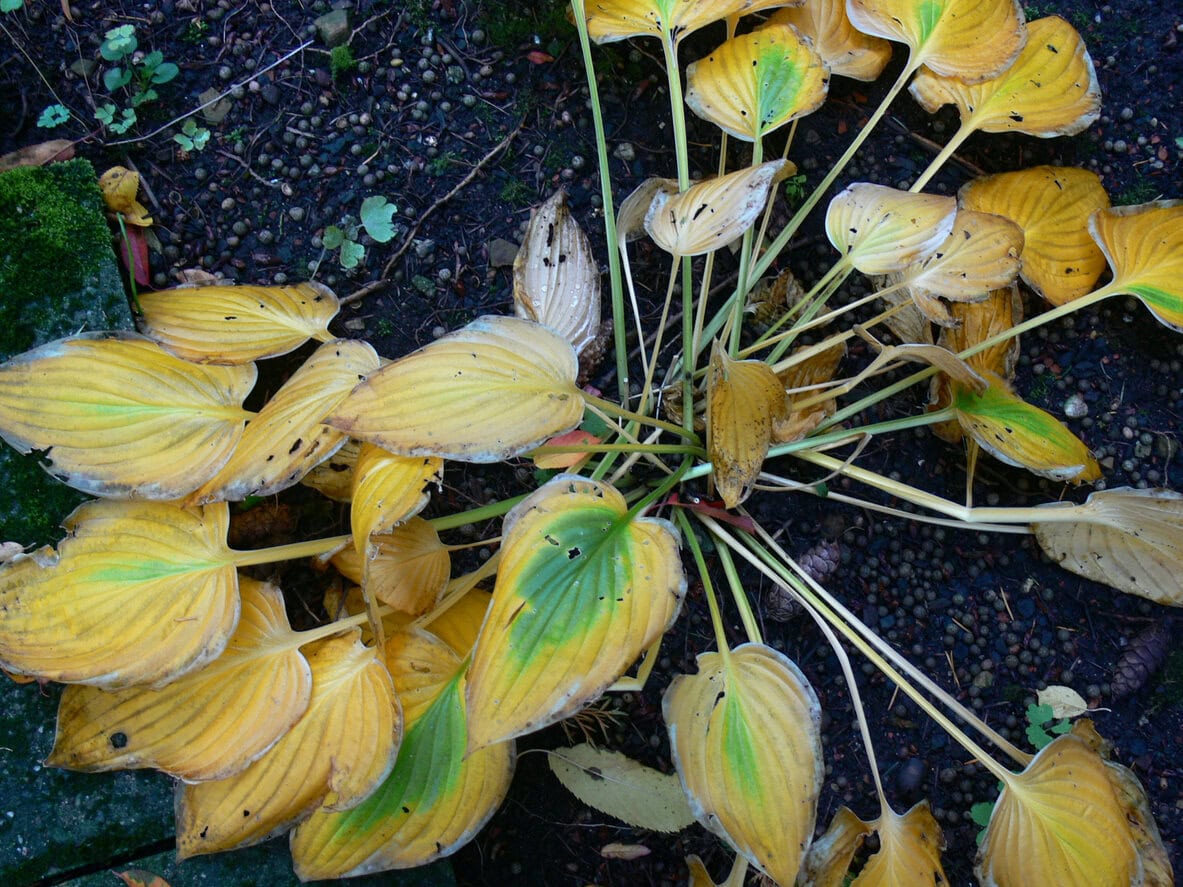
Shoving nitrogen into cooling soil right now won’t do your hostas any favors. If October stays mild, that extra fertilizer can encourage tender green shoots just in time for frost to scorch them.
Your hostas have spent all summer storing energy in their crowns and roots. Let them settle into dormancy instead of pushing out more leaves. Save any needed fertilizer for spring, when new growth begins.
A Clump of Good Judgment
Fall gardening rules? What rules? Treating those hostas right means reading the sky and the soil, and paying attention to local frost dates. Rigid October routines can do more harm than good when Mother Nature has other plans.
And when winter starts winding down, we also wrote a guide on 6 essential hosta tasks for February to help your plants get a better start in spring.