Whoever tells you fall gardening is a lesson in mindfulness has never tried to tame a neglected iris bed. Their spring blooms don’t appear just because you meditated among overgrown fans. So get your sharp steel, steel your nerves, and unnerve those borers before they settle in for winter.
Know Your Iris and Manage Your Expectations

Let’s focus exclusively on bearded irises here, because other types have different care requirements.
Treat them like bearded irises, and you’ll ruin them.
Your job now is to support your plant’s long-term health. Yet even that does not and cannot guarantee numerous blooms the following spring. Plants you divide too late may produce fewer flowers while they focus on rebuilding roots. Priorities.
Task 1: Trim at the Right Stage
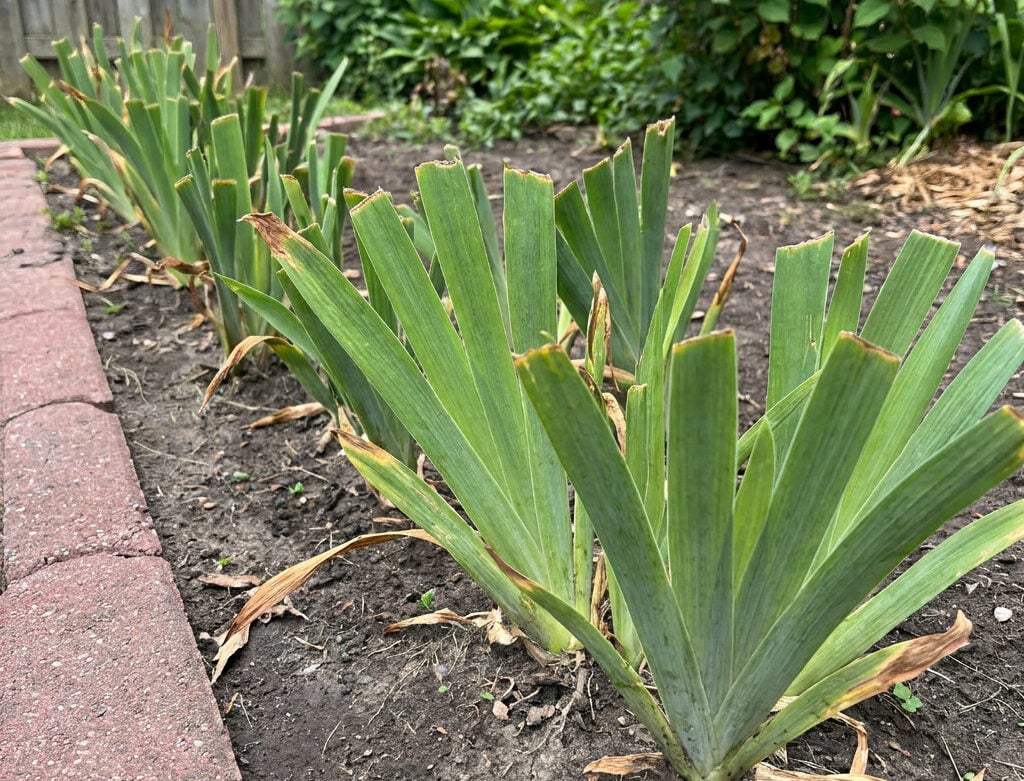
Pruning in late fall is a search-and-destroy mission against iris borer eggs that hatch into caterpillars next spring.
However, hold your horses on the shears until after a hard frost, or until the foliage starts dying back in climates without hard freezes. Hacking away healthy green fans too early deprives rhizomes of energy they’re still storing for winter and next spring.
Chop those fans with clean, sharp pruners to about four to six inches above the rhizome. You can shape them into an inverted “V”, if you’re feeling fancy.
The offcuts do not go into your compost pile. Iris leaf spot pathogens and borer eggs can survive in cold compost heaps. Bag the trimmed foliage and trash it.
If you’re still unsure when to reach for the pruners, we explain when and how to cut back iris leaves in a separate guide.
Task 2: Strip Spent Stems and Soil Sludge
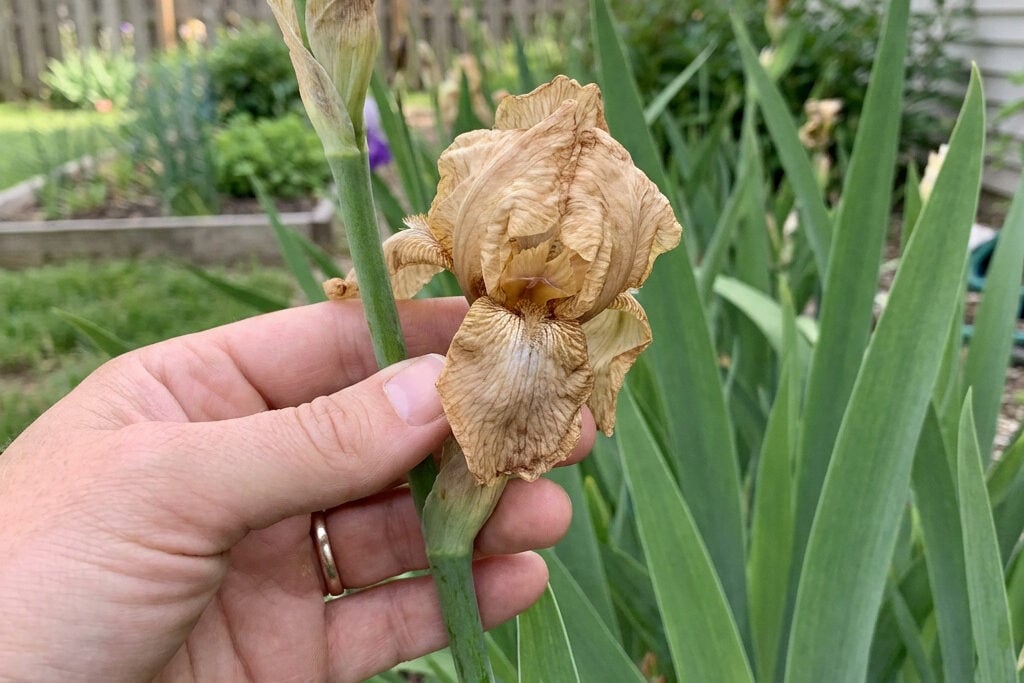
Pruning the leaves is only half the cleanup. The spent flower stalks also need to go. You should have removed those after blooming, but if you missed a few, now’s the time.
Snip those old stems close to the base without damaging the rhizome. There’s no reason to leave them rotting in the bed all winter.
Any matted leaf litter, weeds, and old mulch wedged between the plants? Clear it all out. Iris borer moths lay their eggs on old iris foliage and nearby debris in late summer and fall. Don’t let that ground-level sludge become their winter hideout.
Task 3: Rhizome Inspection and Rot Triage
Digging up healthy iris rhizomes in late fall just to check on them tears up established roots right before the ground freezes. No need to go digging for trouble!
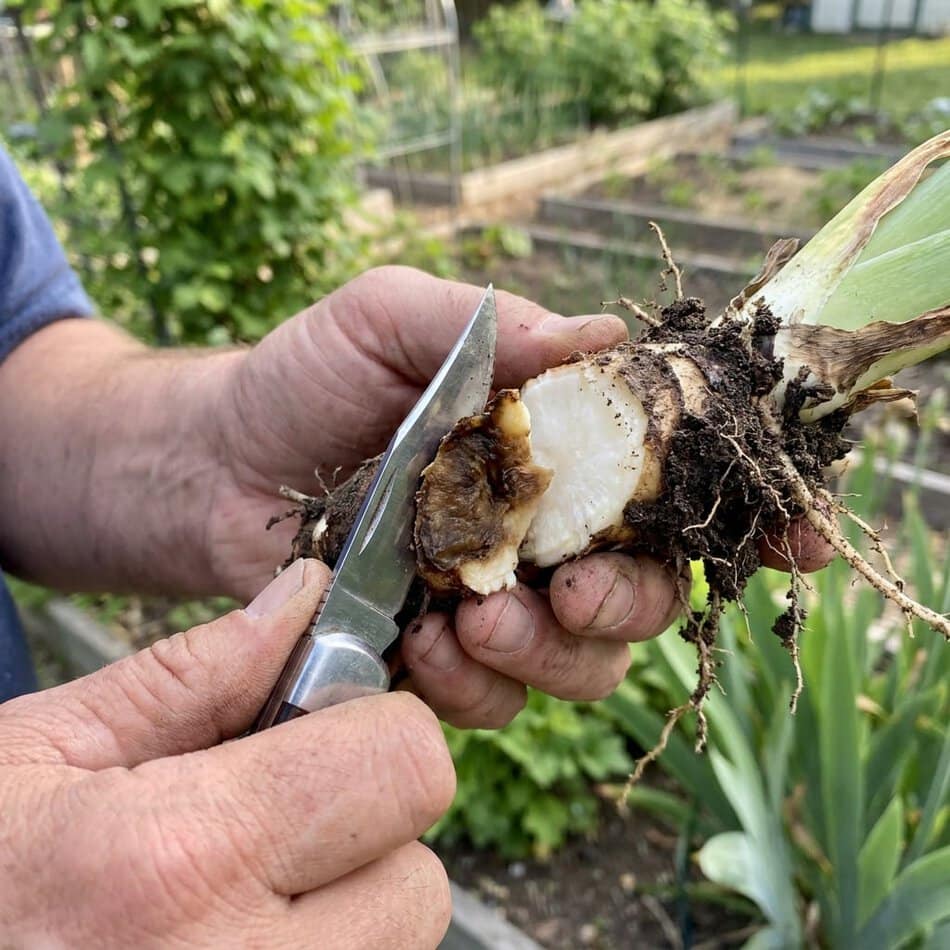
Your iris will often make rot obvious, like a toddler with chocolate stains. Fans flopping out of season, mushy leaf bases, and a foul smell near the rhizomes are your warning signs. Gently press the exposed rhizomes to check their firmness. Here’s what to look for:
And always, always disinfect your blades with rubbing alcohol between cuts. You don’t want to smear bacterial soft rot onto your pristine stock.
Task 4: Stop Smothering the Crown
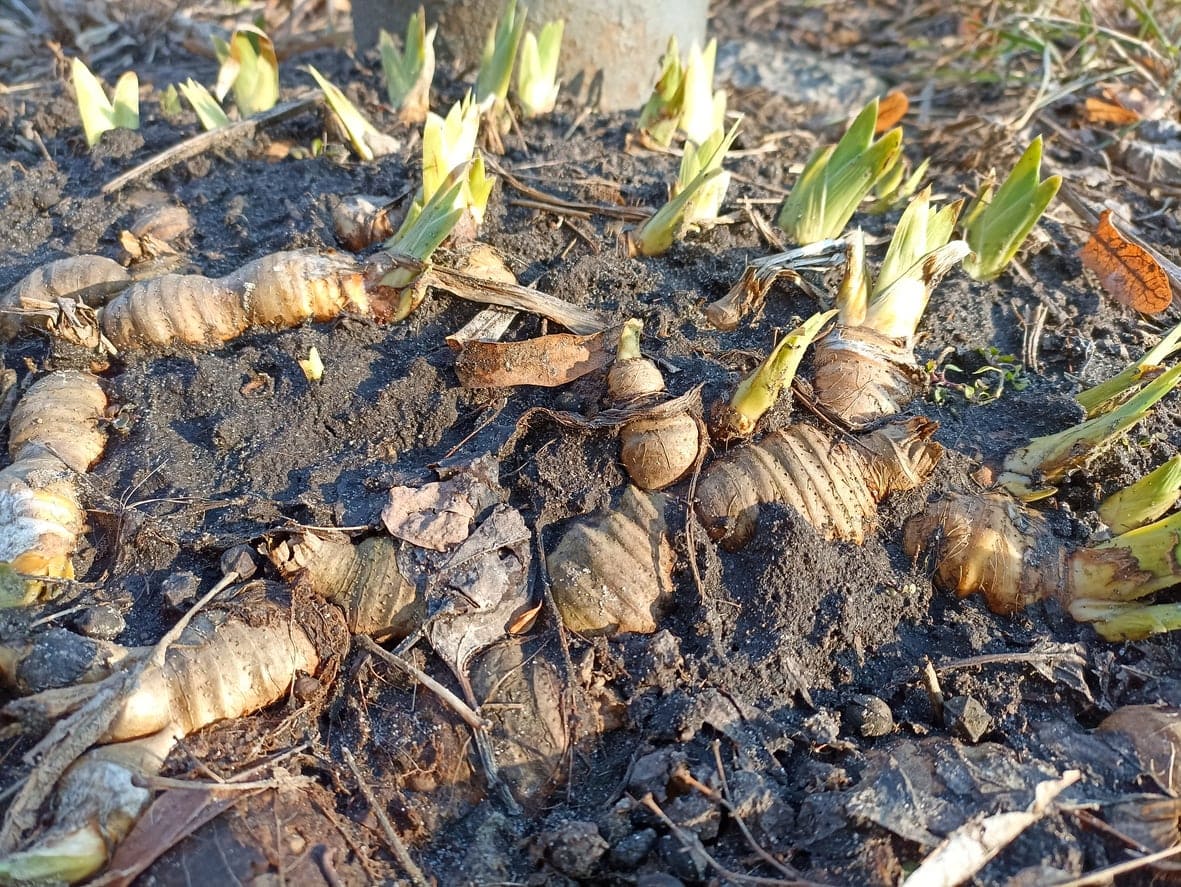
Bearded iris rhizomes aren’t fans of being buried under soggy mulch. They need sunlight and good air circulation to keep rot at bay.
So pull back those wet leaf mats and thick layers of mulch, leaving the tops of the rhizomes exposed or barely covered with soil. And if rainwater keeps pooling around the plants, redirect the runoff before your iris bed turns into a swamp.
And if you’re wondering what to do with the rest of your garden, we’ve also covered which plants to mulch before winter and which to skip. Not everyone appreciates a winter blanket!
Task 5: Match Watering to Conditions
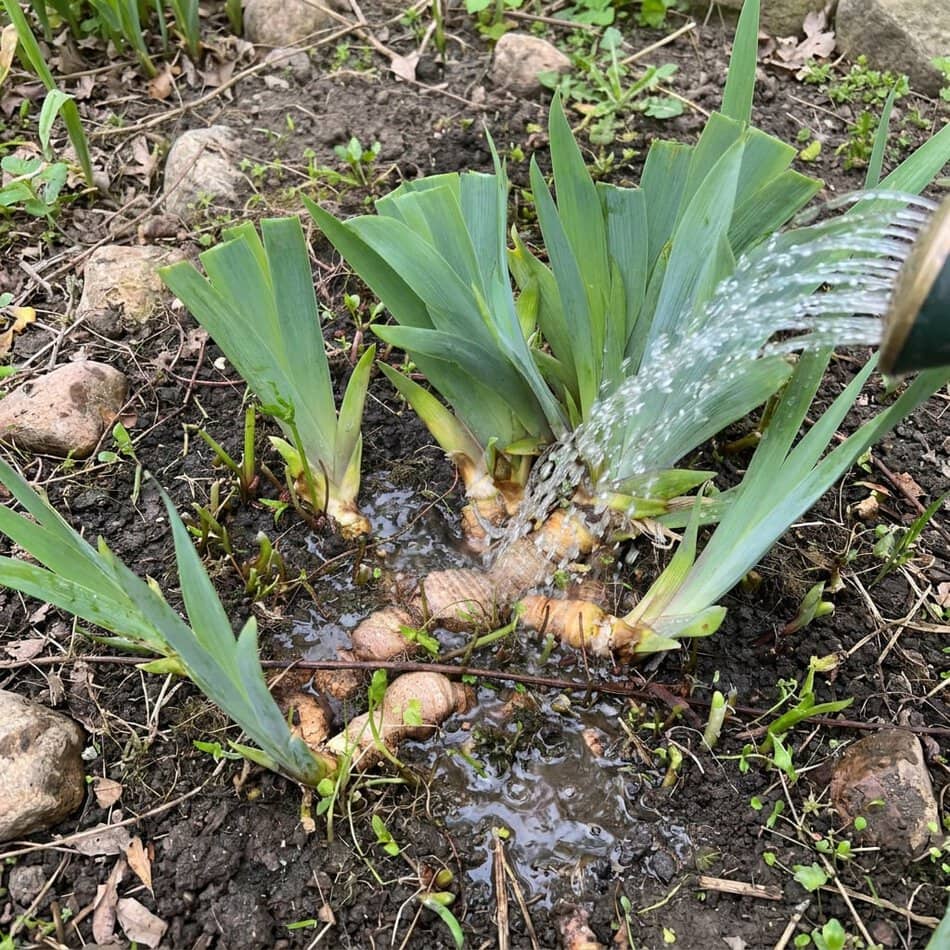
Freshly divided bearded irises need moisture to establish roots before winter. Water thoroughly after planting, then check the soil a couple of inches down. If it’s dry and fall rains haven’t helped, give them another drink.
Established clumps are less demanding, but don’t ignore them during prolonged dry spells. The trick is to water when the soil needs it, not on a schedule. Those rhizomes appreciate moisture, not a mud bath.
Task 6: Divide Only If Time Remains
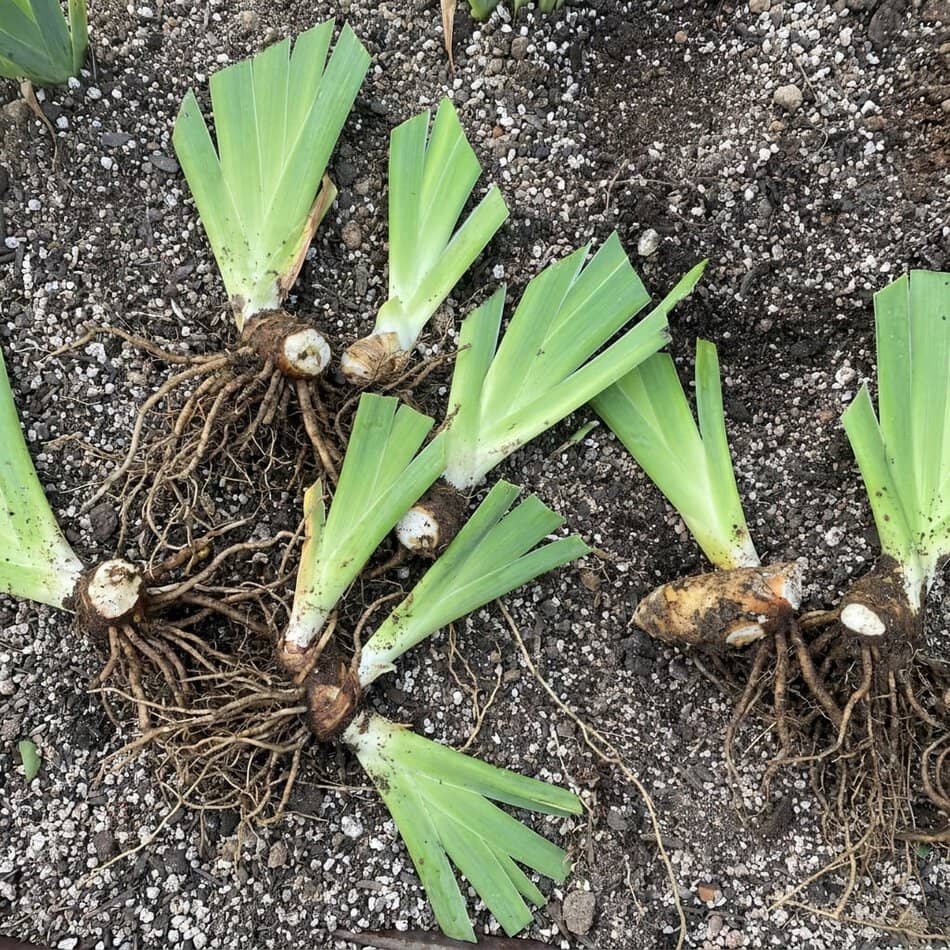
Crowded clumps typically need splitting every three to five years. But timing matters. Give newly divided rhizomes at least four to six weeks to establish roots before the first hard freeze.
Miss that window? Walk the bed now while the overcrowded chaos is still fresh in your mind.
Take quick photos of every tangled clump. Mark their exact spots and set a reminder for next summer, after flowering.
You’ll avoid a rushed, destructive late-fall hack job and won’t have to guess where to drive the shovel when the time comes.
And if the rest of your garden is getting just as crowded, we also wrote about nine perennials to divide in early fall. Your irises aren’t the only ones that need some personal space.
Iris You a Blooming Good Spring!
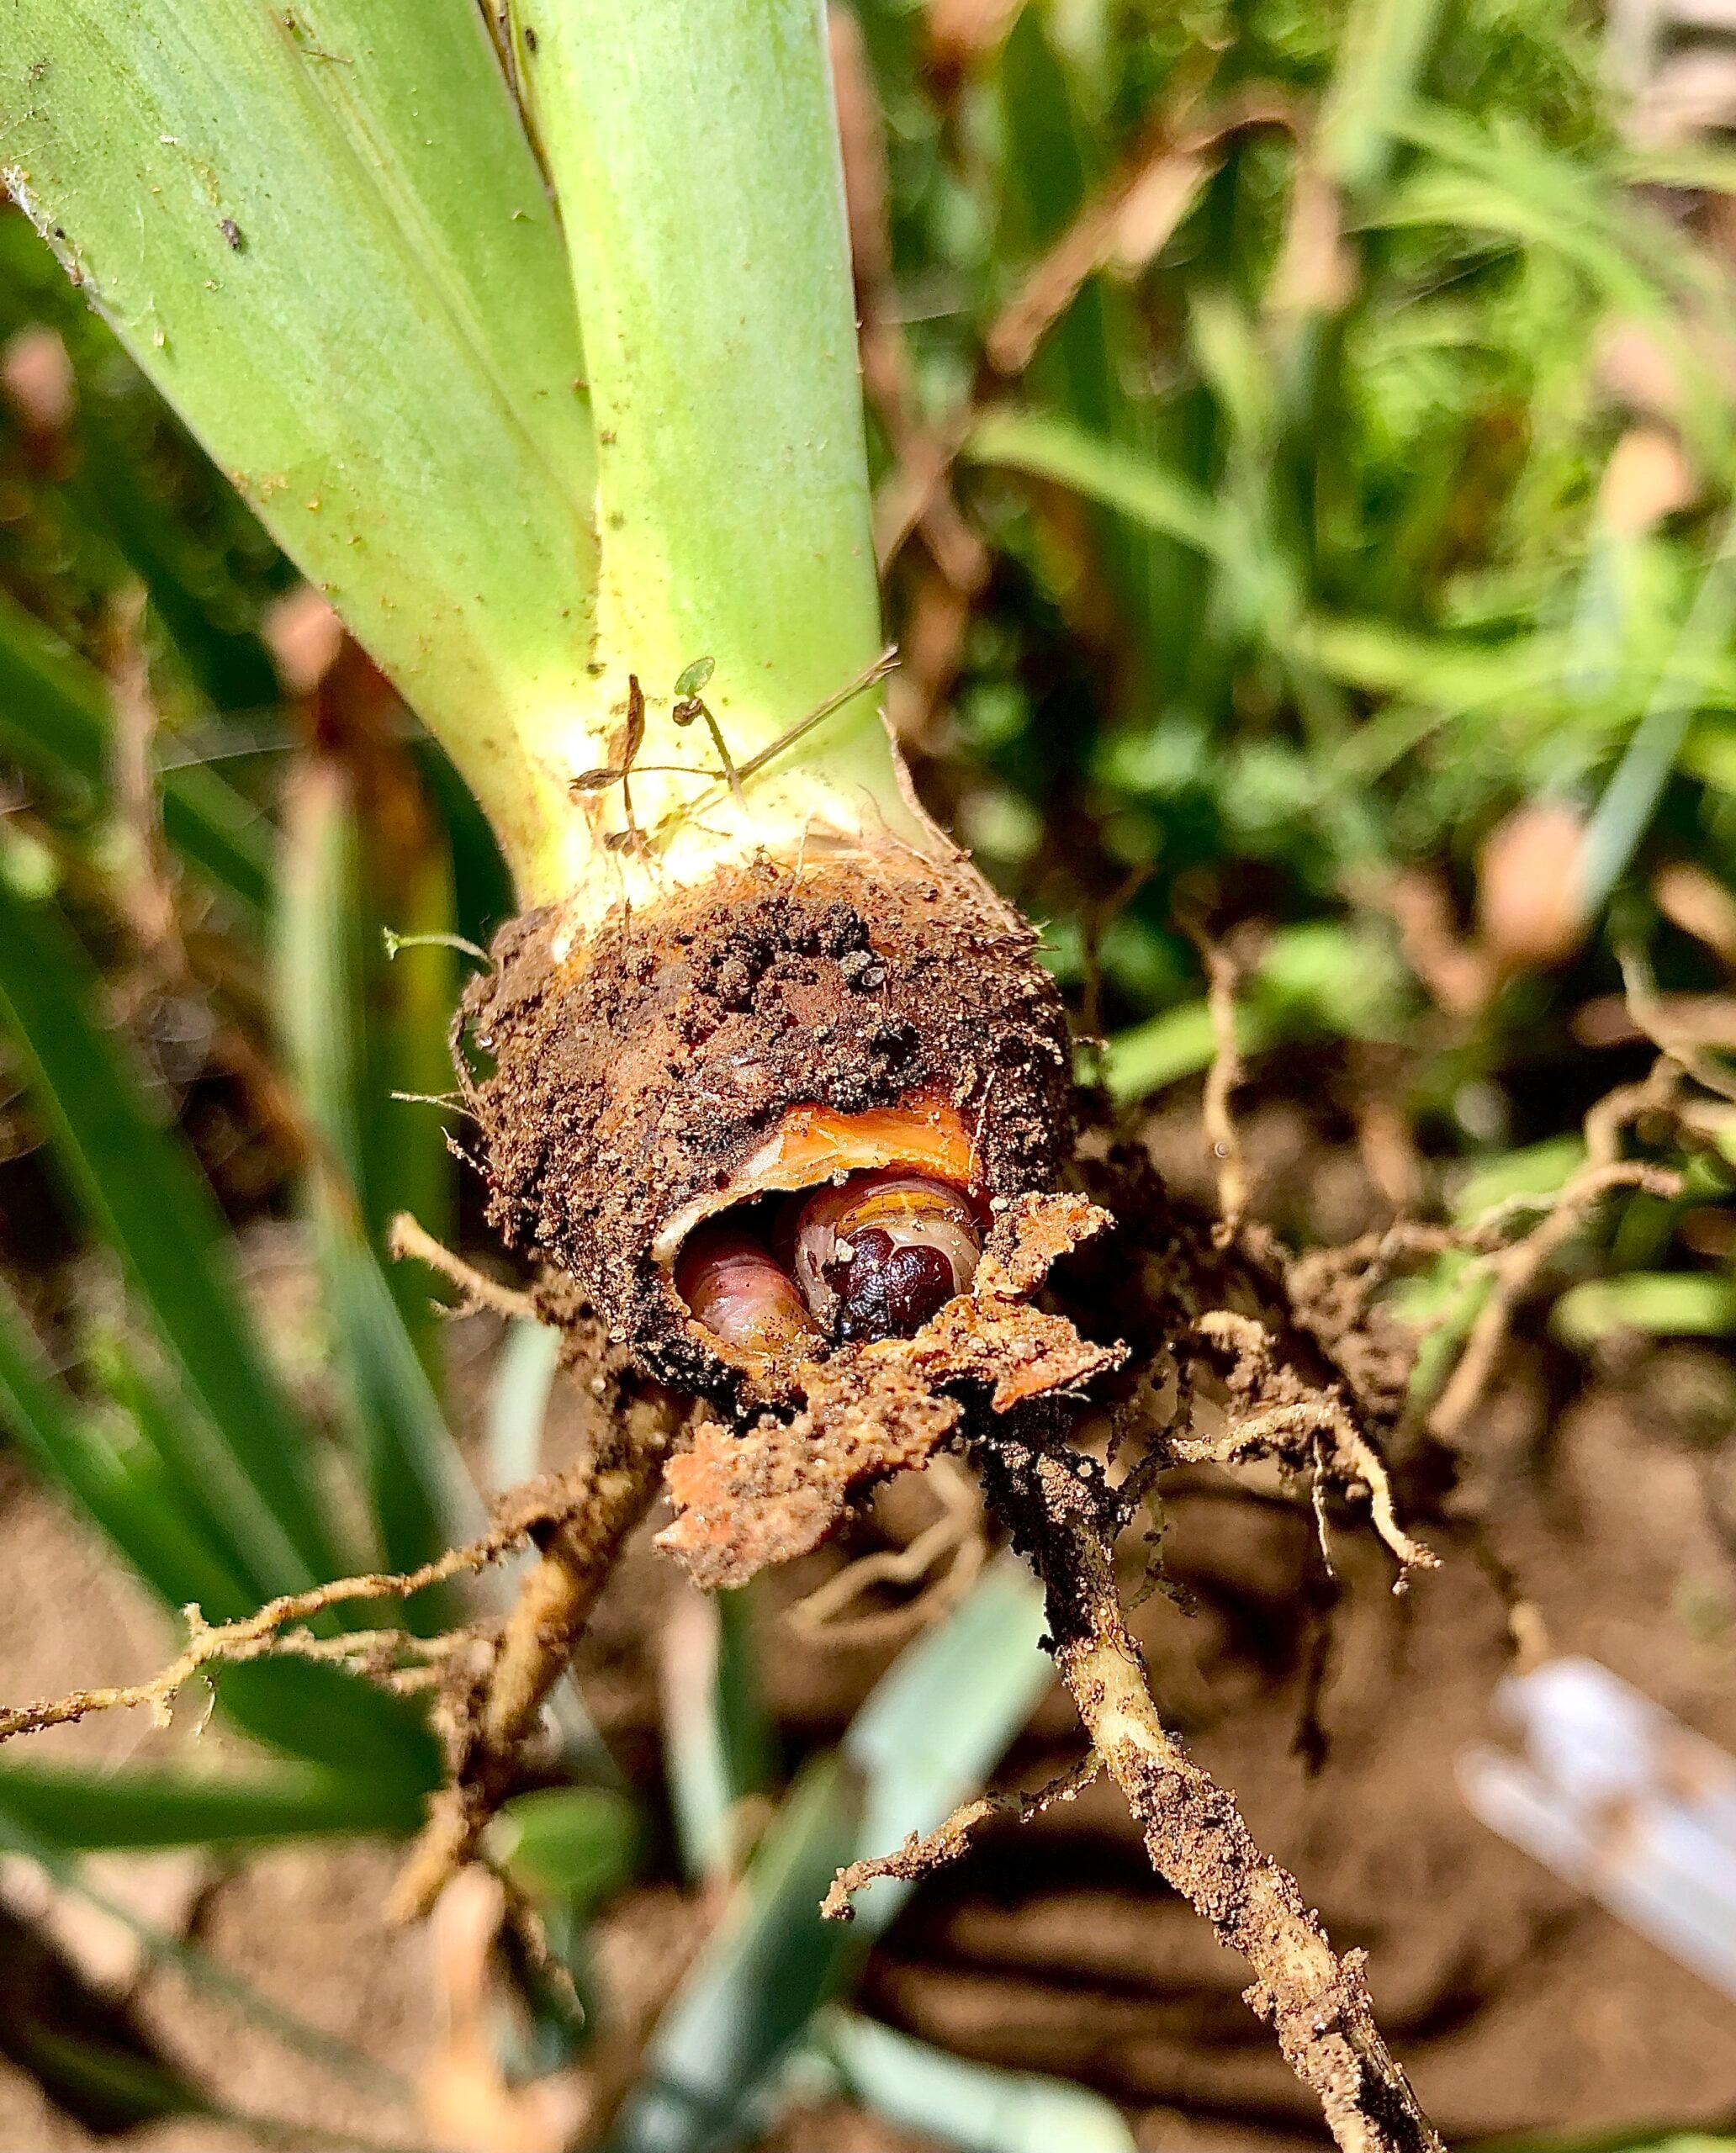
You’ve cleared the borer hideouts, kept the rhizomes out of the swamp, and resisted a last-minute division frenzy. That’s plenty of fall heroics for one iris bed.
Now put down those pruners and let your plants do their thing. With a little luck, they’ll reward you with gorgeous blooms instead of more drama next spring.
Want to get ahead of the chaos next year? We also wrote a guide on six September bearded iris tasks to help you tackle problems before late fall rolls around.