I suppose the bulb growers have already done their part once those tulips land in your cart, and your local garden center probably feels the same once they hand you the receipt.
But I do care what happens next. Let others treat tulip bulbs like a one-season fling.
If you want to give yours the best shot at coming back instead of vanishing after their big spring performance, you’re here to learn how to build a longer-term relationship.
1. Deadhead to Stop the Seed Hijack

Once the petals fall, that flower head is dead weight. Snip it! If you leave that green nub at the top, the plant starts acting like its new life mission is making seeds. That is a massive energy heist.
You want that energy flowing back down into the bulb, not into a useless pod. Well, it is not useless, it will make seeds. But growing tulips from seeds takes around 3 to 7 years. And daughter tulips may not look like their mothers, because pollination likes to play genetic roulette.
So be surgical, be quick, and don’t overthink it. Cut off the spent flower head, but leave the stem and leaves alone for now. They still have jobs to do.
2. Embrace the Ugly Phase

I know those yellowing leaves look like a dumpster fire in your front yard, but… let them be. Those floppy leaves are how your tulip bulb restocks itself after spending all that energy on spring drama.
They are like solar panels for the bulb underground, charging it up for next spring. And photosynthesis is non-negotiable, obviously. Every leaf you chop too early is one less meal going back into storage.
Hang tight until the foliage turns yellow or brown, gets limp, and pulls away easily. Can’t stand the sight of the mess? Plant hostas, daylilies or tall perennials nearby to hide the evidence. Just don’t touch the foliage until it’s truly done!
If you’re still tempted to grab the shears early, I wrote a whole guide on the right way to cut back tulips without sabotaging next year’s flowers.
3. Don’t Starve Your Bloomers
Most people treat tulips like they run on coffee shop magic and Amsterdam vibes, but they’re actually greedy little gluttons. You can’t just bury them, admire the flowers and ghost them forever.
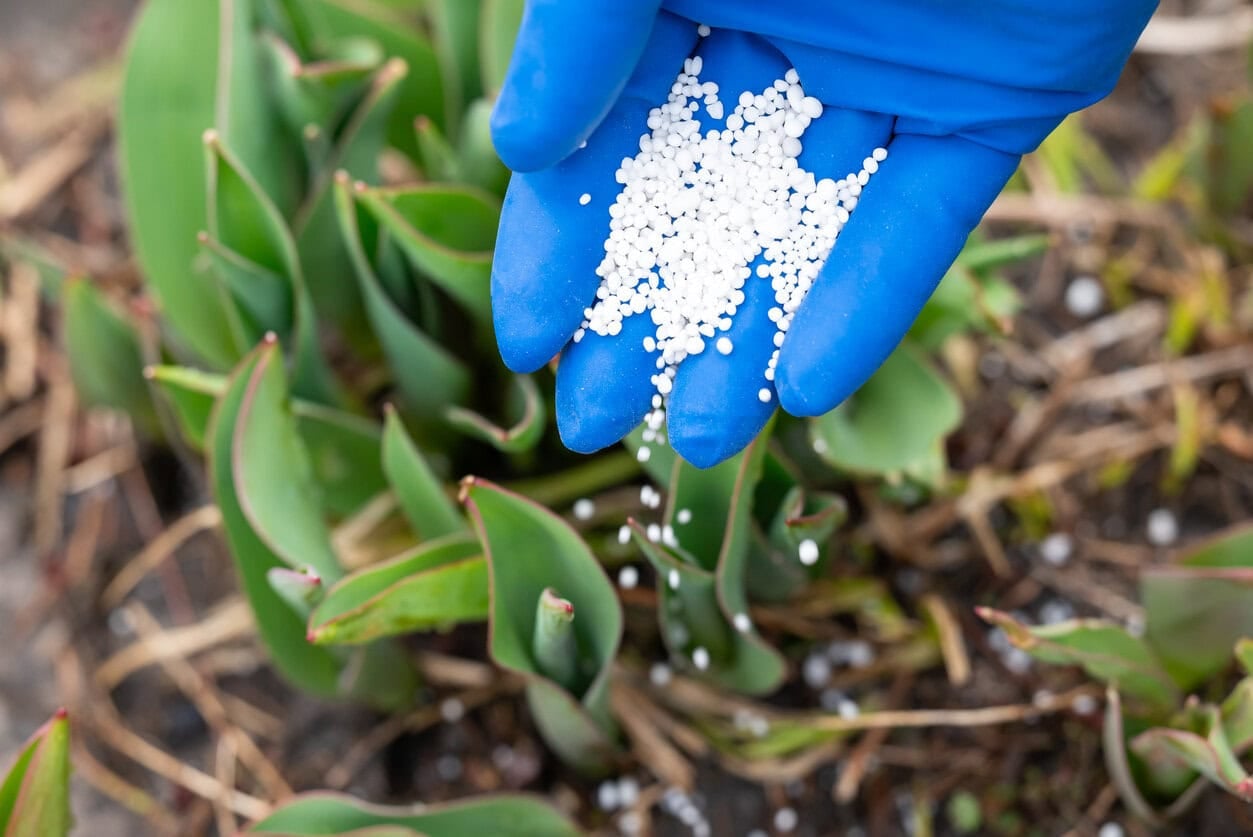
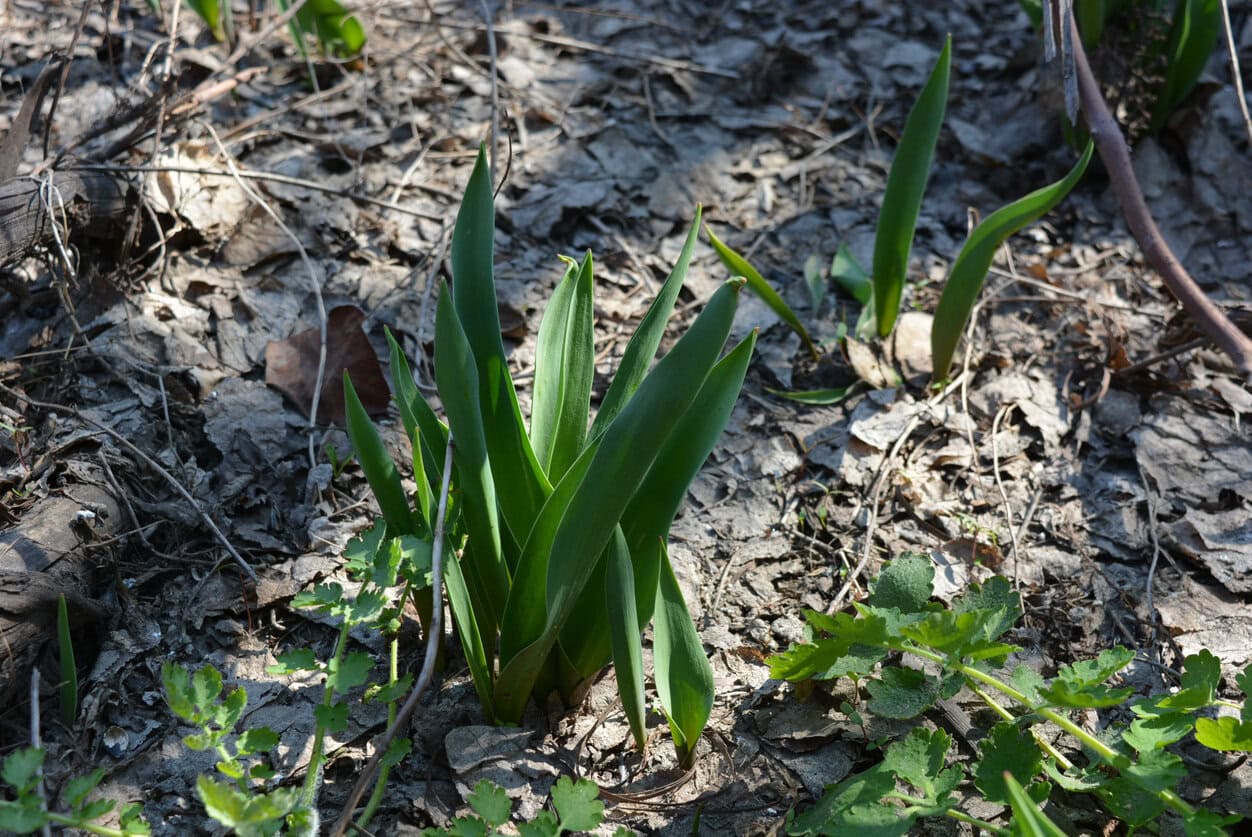
Never skip lunch. When you see those green spikes pushing through the mud, feed them with a bulb fertilizer or a balanced, low-nitrogen fertilizer like 5-10-5 or 10-10-10. Sprinkle it around the plants according to the label, then water it in well so the nutrients actually reach the roots.
This is your bloom ransom payment. Skip the high-nitrogen stuff meant for grass unless you prefer leaves over flowers. Feed the bulb while it’s actively growing, and you give it a much better shot at showing up again next spring.
4. The Tuna Can Irrigation Method

During their spring growth spurt, tulips need steady moisture.
If the clouds aren’t doing their job and your soil is drying out, you need to step in with about an inch of water that week. Now, don’t give the whole plant a shower! Aim for the soil, because wet foliage is not the goal here.
Since most people (myself included) can’t measure an inch of water to save their lives, use the tuna can trick. Place an empty tuna can in the garden bed while you water. Once the can is full, shut off the tap.
Here’s the real kicker: once those leaves turn yellow and die back, stop watering. Dormant tulip bulbs want a dry summer nap, so keep their toes dry.
And if your tulips are in containers instead of the ground, we explain the whole setup in our step-by-step guide to growing tulips in pots.
5. Clear the Crowd Below Ground

If your tulip clumps start looking like a packed subway car during rush hour, don’t be shocked when the flowers get smaller, fewer, or stop showing up. It’s simple garden math: too many bulbs in one spot means everyone is fighting for space, moisture and nutrients, and someone’s bound to faint.
Every few years, or whenever the show starts looking weak, wait until the leaves have fully yellowed and died back. Then get your garden fork and gently lift the bulbs. You’ll see tiny bulblets (bulb babies? bulbies? whatever we’re calling them today) clinging to the mother bulb.
Snap off the offsets and sort the whole crowd. Replant the biggest and firmest bulbs with at least six inches of personal space. If you leave them all bunched up, they’ll waste all their energy throwing elbows for space.
Quick tip: The tiny ones can go back in too, but don’t expect instant flowers from them. They may need a few years of growing up before they earn their spotlight.
6. Mulch is Your Weed-Blocking Blanket
Mulch is not just garden makeup, although yes, it does make the bed look tidier after tulip season. A light layer helps block weeds, keeps the soil from swinging wildly between hot and cold, and protects the bed while your bulbs are off-duty.
Forget the aesthetic (although it is a nice side effect). Go for about a 2-inch layer of shredded bark, leaf mold, compost, or another loose organic mulch.
Don’t bury the poor things under a mulch mountain, though! Tulip bulbs want a dry summer rest, not a damp blanket pressing on their faces.
It’s also blocking thieving weeds from hopping the fence and stealing the food your bulbs need for next year. Blanket them lightly, and don’t touch them again until fall starts bossing everyone around again.
7. Outsmart the Fluffy Thieves
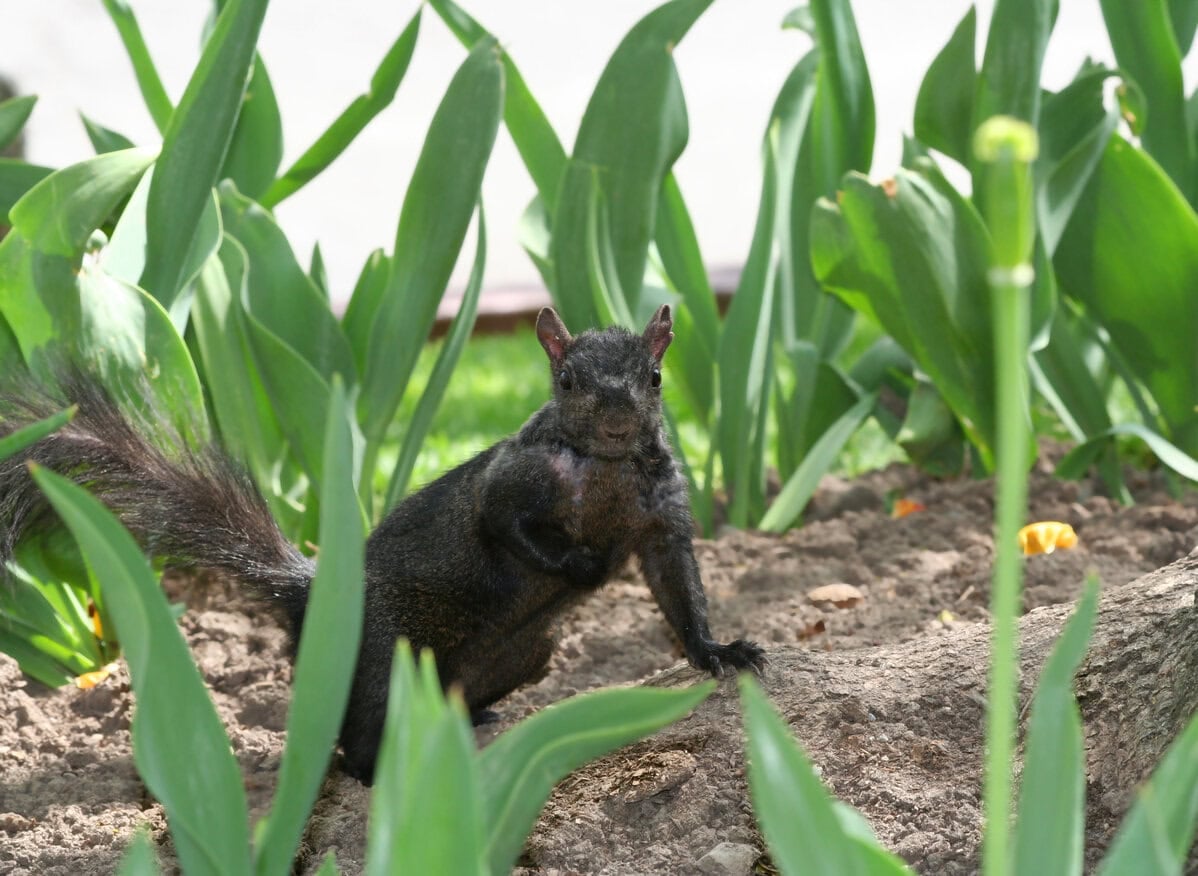
Squirrels LOVE tulips. If you’re tired of being a soft target and waking up to a miniature moon-cratered garden, you have to stop serving them an open buffet.
After planting, armor the soil with chicken wire or hardware cloth, then cover it with soil or mulch so your flower bed doesn’t look like a prison yard.
Better yet, tuck some daffodils into the mix! Squirrels and other nibblers usually find them far less delicious, so it’s like hiding your diamonds in a pair of gym socks. Even a thieving squirrel has some standards.
You can also try cayenne or another repellent if you want, but don’t trust it like a bodyguard. Rain, wind, and one determined squirrel can humble that plan fast.
8. Respect the Summer Siesta
The biggest mistake you can make is treating a dormant tulip like some needy summer annual. Once the foliage has died back, these bulbs want a warm, dry rest so they can reset for next spring’s big comeback.
Don’t place them in a spot that gets hit by automatic lawn sprinklers every morning. Dormant tulips are not asking for spa service. They crave solitude and soil that dries out instead of staying soggy.
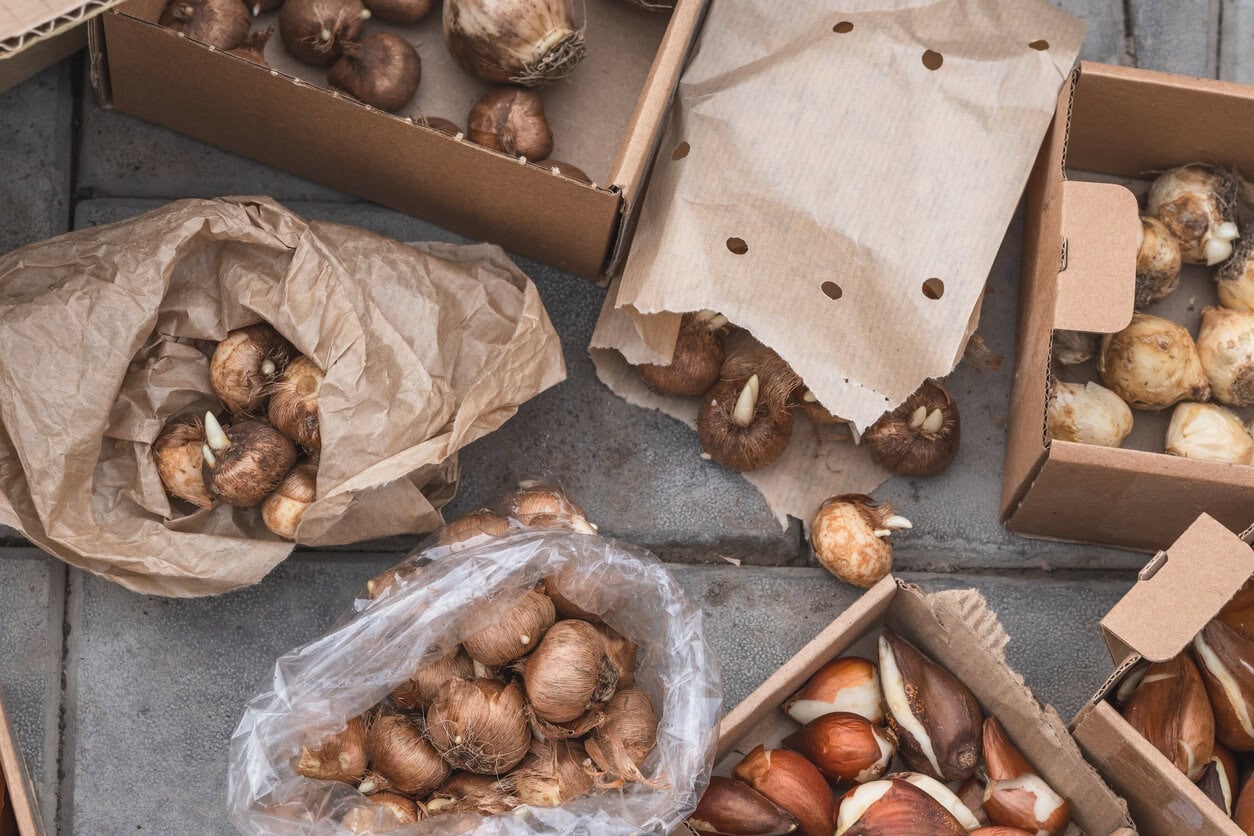
If your yard is naturally a swamp or you’re a serial over-waterer, lift the bulbs after the leaves have fully died back. Brush off the soil, let them dry, and place them into a mesh or paper bag. Store them somewhere dark, dry, and well-ventilated, like a garage or shed that doesn’t turn into a sauna.
If they don’t get their summer nap, how are they supposed to wake up next April?
If you’re never sure which bulbs should stay put and which ones need rescuing, we also wrote a guide on bulbs to dig up and bulbs you can leave in the ground.
Two Lips, No Lies
Your tulips gave you their best two weeks, and now you’re ready to toss them? Rude. Even tulips have their awkward phase, and your garden can spark envy instead of pity if you know how to deal with that phase.
And if this whole tulip drama has you planning a better bulb bed, we explain the best timing for planting tulips, daffodils, lilies, and more in this bulb planting guide.
Just remember: some modern tulips are more “one-season wonder” than lifelong garden roommate. But if you deadhead, feed, leave the foliage alone, keep the bulbs dry in summer, and stop treating them like disposable decor, you’re giving them their best chance to come back swinging.