I’ve written about everything from plants, shrubs, and herbs to succulents, but microgreens were a topic I kept putting off, since I didn’t have much experience with them!
But, for about a year now, my mom and I have been playing around with microgreens, and in today’s article, I’m going to share with you all that I learned about them during this period. Starting with…
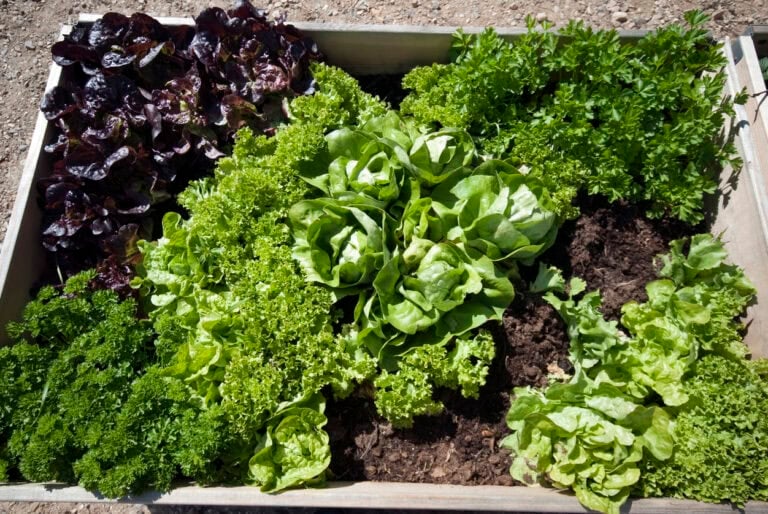
What Even Are Microgreens & How Do You Grow Them?
If you aren’t really familiar with microgreens, they’re just simple vegetable greens and herbs that are harvested while they’re still young and tiny, hence the “micro”.
Typically, they’re harvested as soon as they develop their first true leaves. And, as strange as it might sound, they actually produce a deeper, more intense flavor this way!
If you’re getting into indoor growing for the first time, you might also enjoy my guide on herbs to grow indoors all winter long, I still rely on a lot of those myself when it gets cold outside.
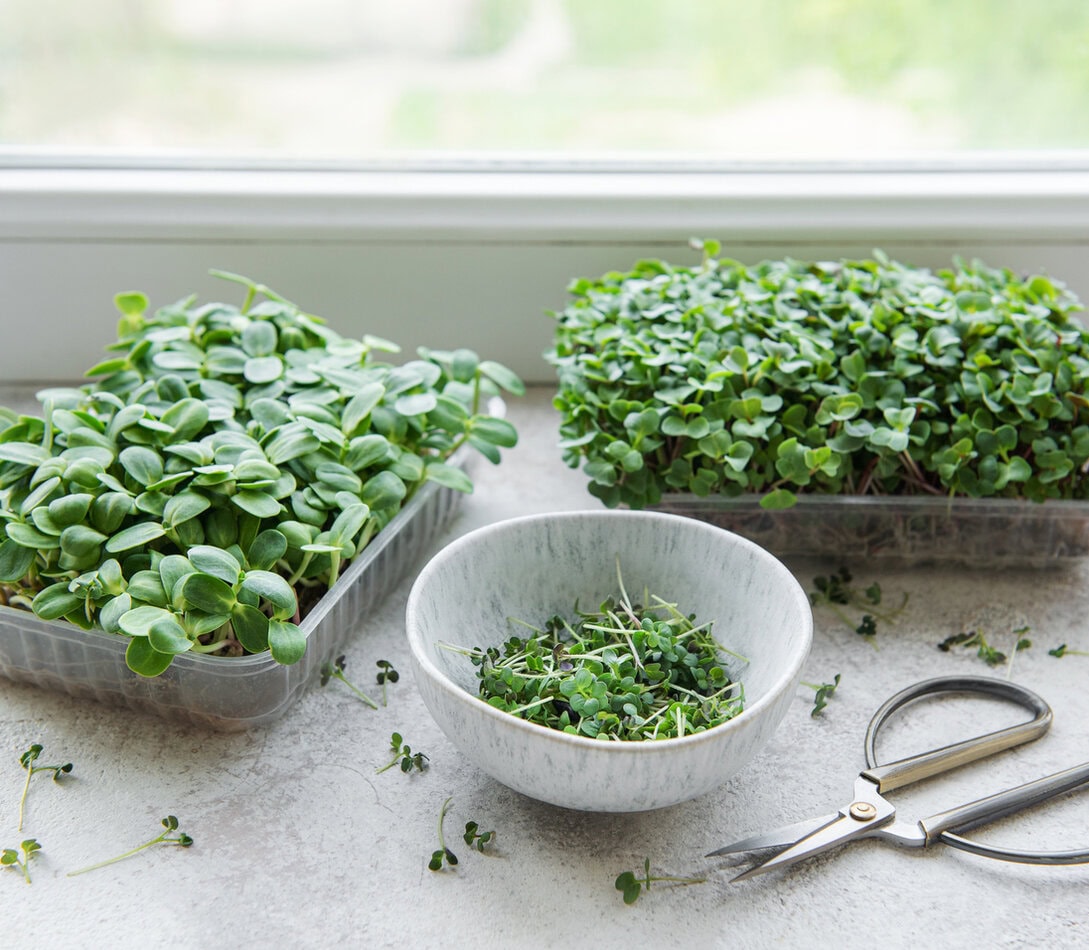
Microgreens Ready To Harvest In Under 2 Weeks
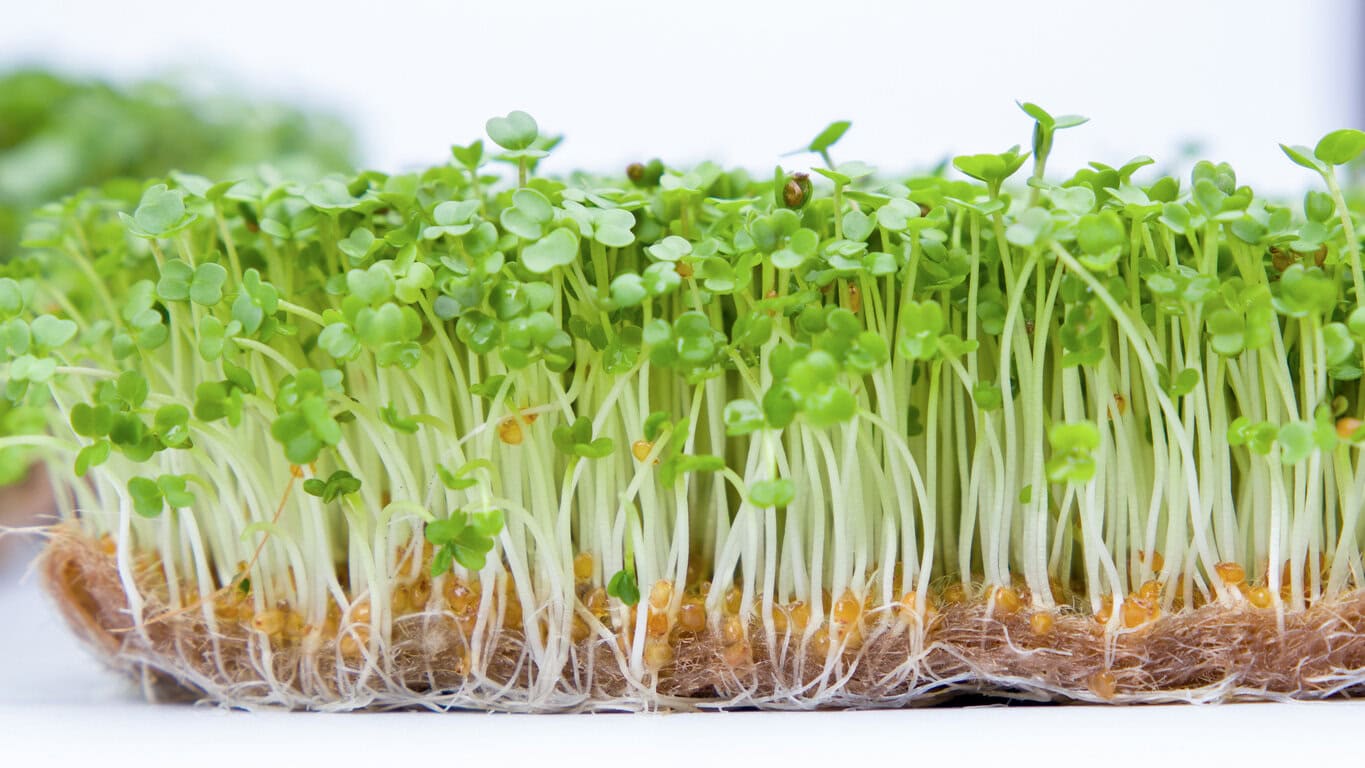
1: Cress (5-7 Days)
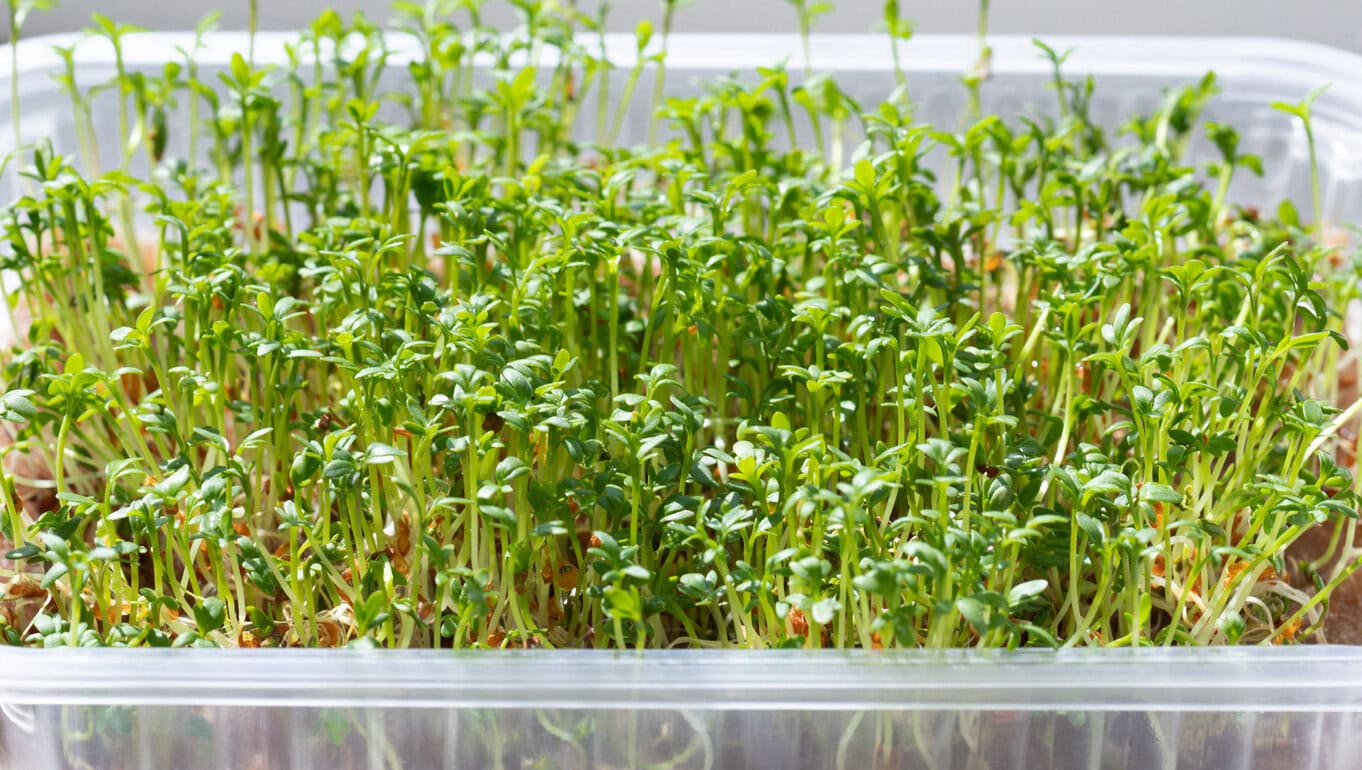
While it really flies under the radar, cress is easily the fastest-growing microgreen on this list. Although cress has this dense and daunting green appearance, it actually has a very pleasant, tangy flavor.
If you’re talented and passionate enough, you can it cress in just a few moist paper towels!
Quick tip: One thing I noticed with cress is that it grows so fast you actually end up overwatering it without realizing. I did this twice! And both times the whole tray just flopped over from too much moisture.
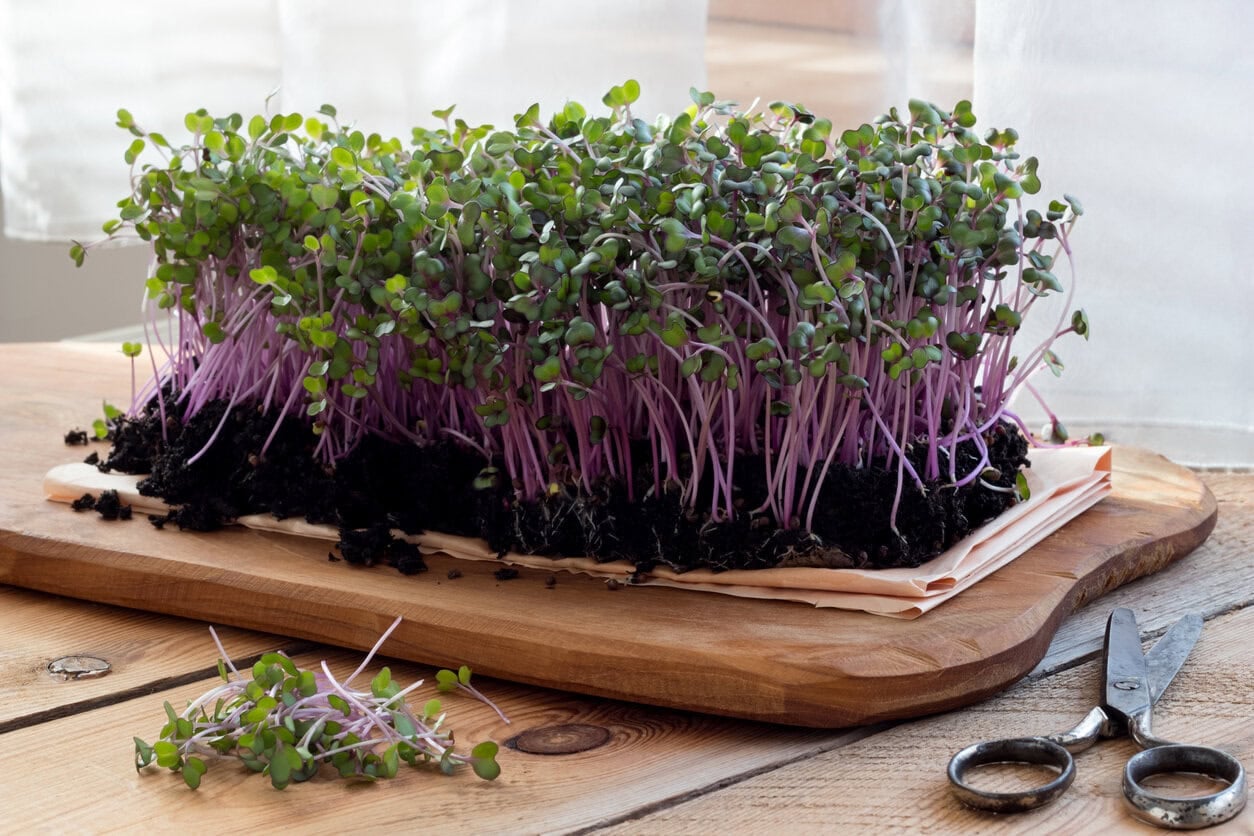
2: Radish (6-8 Days)
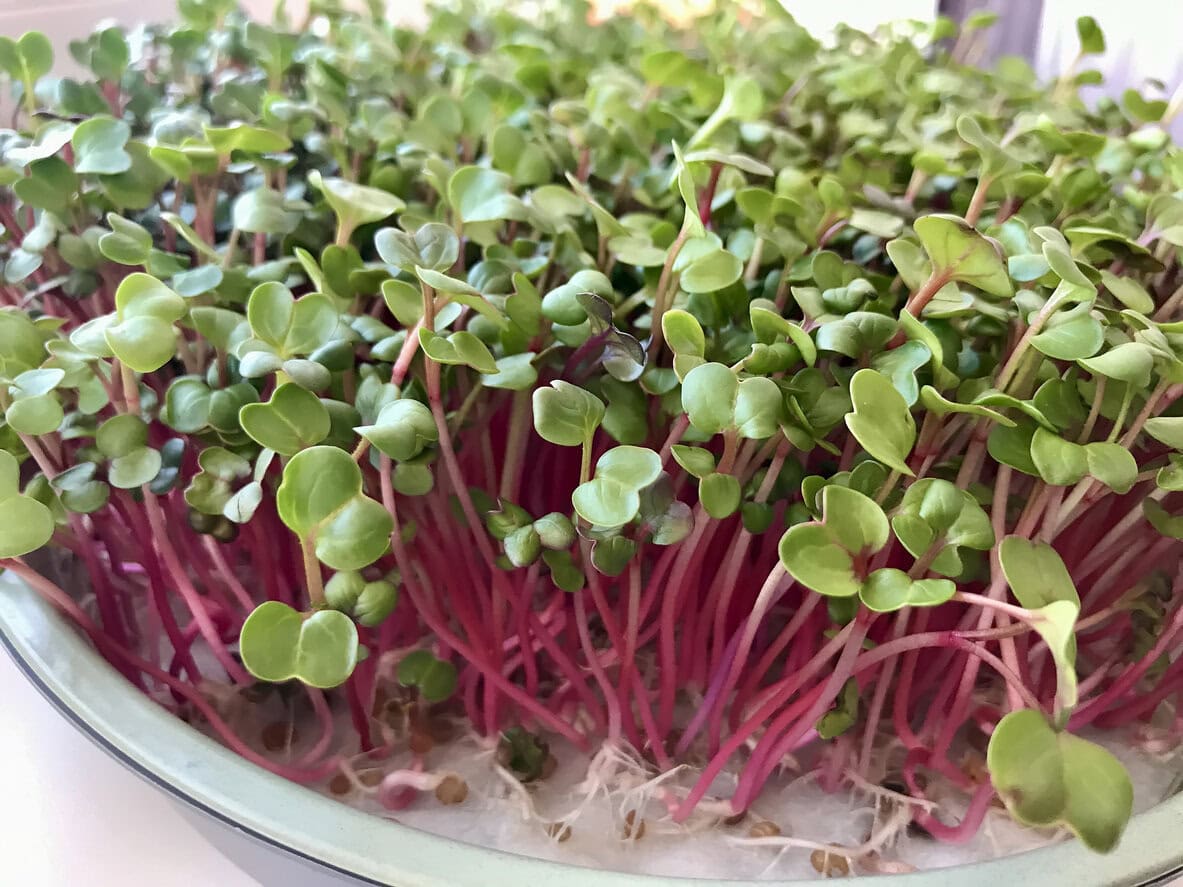
Although full-sized radishes of course take longer to grow properly, baby radishes are ready to harvest in no time. You’ll notice that radish stems and leaves look extra vibrant and visually appealing.
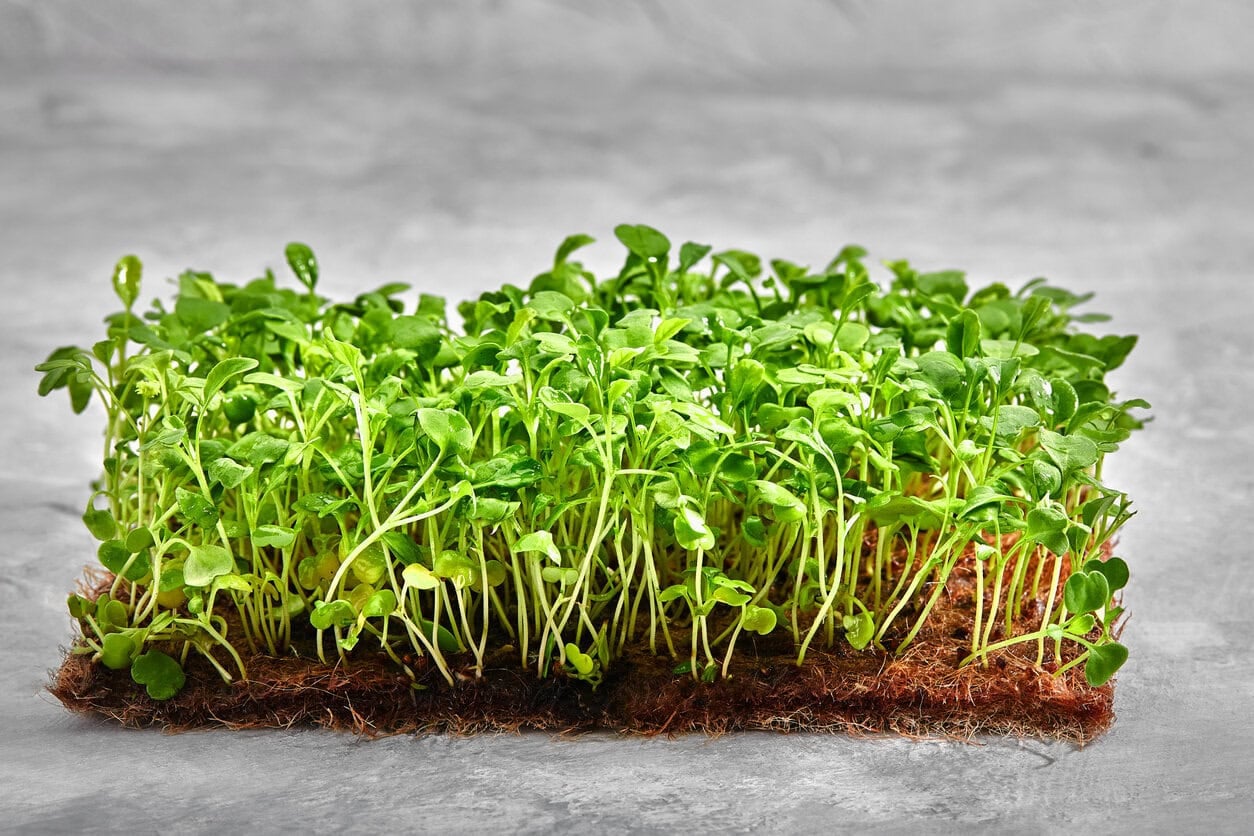
3: Arugula (7-10 Days)
Arugula is one of the more popular greens on this list, and it’s best paired with fatty meat to cut through the grease and freshen up the palate a little. That said, its earthy, nutty flavor and crunch make arugula enjoyable in almost any salad or savory dish.
Quick reminder: Arugula seeds turn slimy the moment you spray them, they form this weird gel that freaked me out the first time. Totally normal, but it caught me off guard.
4: Mustard Greens (7-10 Days)
Mustard greens are known for their sharp, almost discomforting heat, but that also means they add a very unique kick to savory dishes.
Quick reminder: Mustard does the same gel thing arugula does. The first time I thought I’d ruined the whole tray, but that slimy coating is just how the seeds hydrate.
5: Mizuna (7-10 Days)
While mizuna isn’t that popular of a microgreen, it’s still a solid offering in this particular category. It has this unique texture and sharp, peppery flavor that makes it really enjoyable in light, snacking salads.
6: Cabbage (8-10 Days)
Both red and green cabbage varieties pretty much grow at the same rate, with a mild, slightly sweet flavor. I think that cabbages are super beginner-friendly.
Quick tip: Cabbage microgreens come up looking pale and almost yellow at first. I used to think they were sick, but they green up beautifully once I gave them real light.
7: Broccoli (8-12 Days)
Broccoli microgreens are honestly one of the easiest and most versatile ones I grow. They have this mild, fresh, almost cabbage-like flavor, and the stems turn a beautiful light green!
Quick tip: Broccoli is the one microgreen that molded on me the most when I oversowed it. A thinner layer of seeds made a huge difference in keeping the tray clean.
8: Kale (8-12 Days)
If you haven’t already heard the benefits of kale from your mom growing up, it’s perhaps the most nutritious microgreen out there. While I particularly don’t enjoy kale, the fact that it’s ready to harvest in only 1-2 weeks of planting is quite astonishing.
9: Bok Choy (8-12 Days)
If you’ve ever been to a Chinese/Japanese restaurant, you might know that they love cooking with bok choy. Its light crunch and mildly sweet flavor are really something else!
Quick reminder: Bok choy leans toward the light more than anything else I’ve grown. If the light isn’t strong, the whole tray bends like it’s trying to walk toward the window.
10: Kohlrabi (8-12 Days)

Similar to bok choy, kohlrabi has this lightly sweet flavor and is known as “cabbage turnip” in certain parts of the world since it belongs to the cabbage family but has a slightly different color and texture.
Quick tip: Kohlrabi mos of the times holds onto its seed hulls, they stick to the tops of the leaves for days. The first few times I used to flick them off, but I noticed they fall away on their own.
11: Beets (10-14 Days)
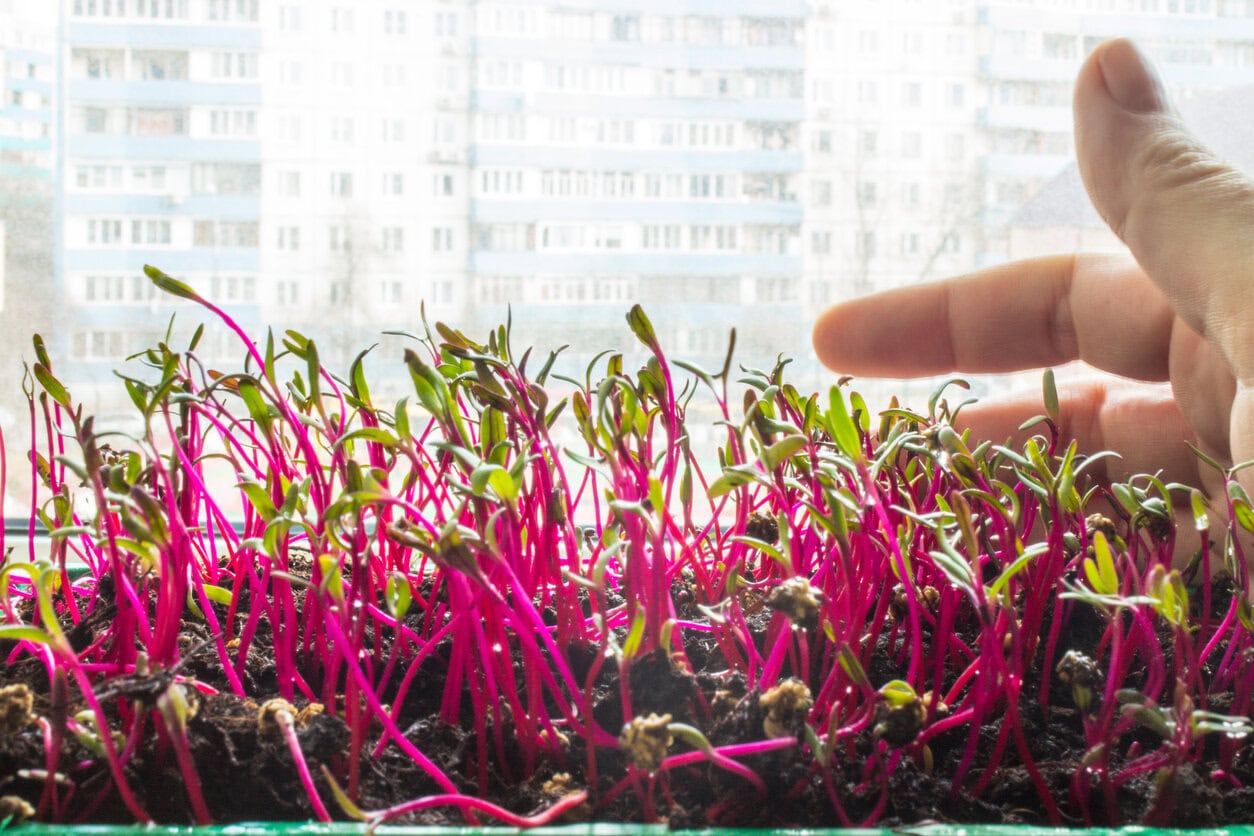
If you ask me, I love beets and absolutely love the fact that they grow super fast! As far as microgreens go, they’re probably the most vibrant and eye-catching. If you didn’t already know, both beet stems and leaves are edible, meaning little to no plant waste!
Quick reminder: Beets sprout whenever they feel like it. Some pop up fast, others take their sweet time, and my trays always look a bit uneven in the beginning. It’s just the hard seed coat, nothing you did wrong.
If quick harvests are your thing, there are plenty of other vegetables you can grow indoors without much effort. I put together a list of vegetables that grow well in pots and containers, and most of them are really forgiving.
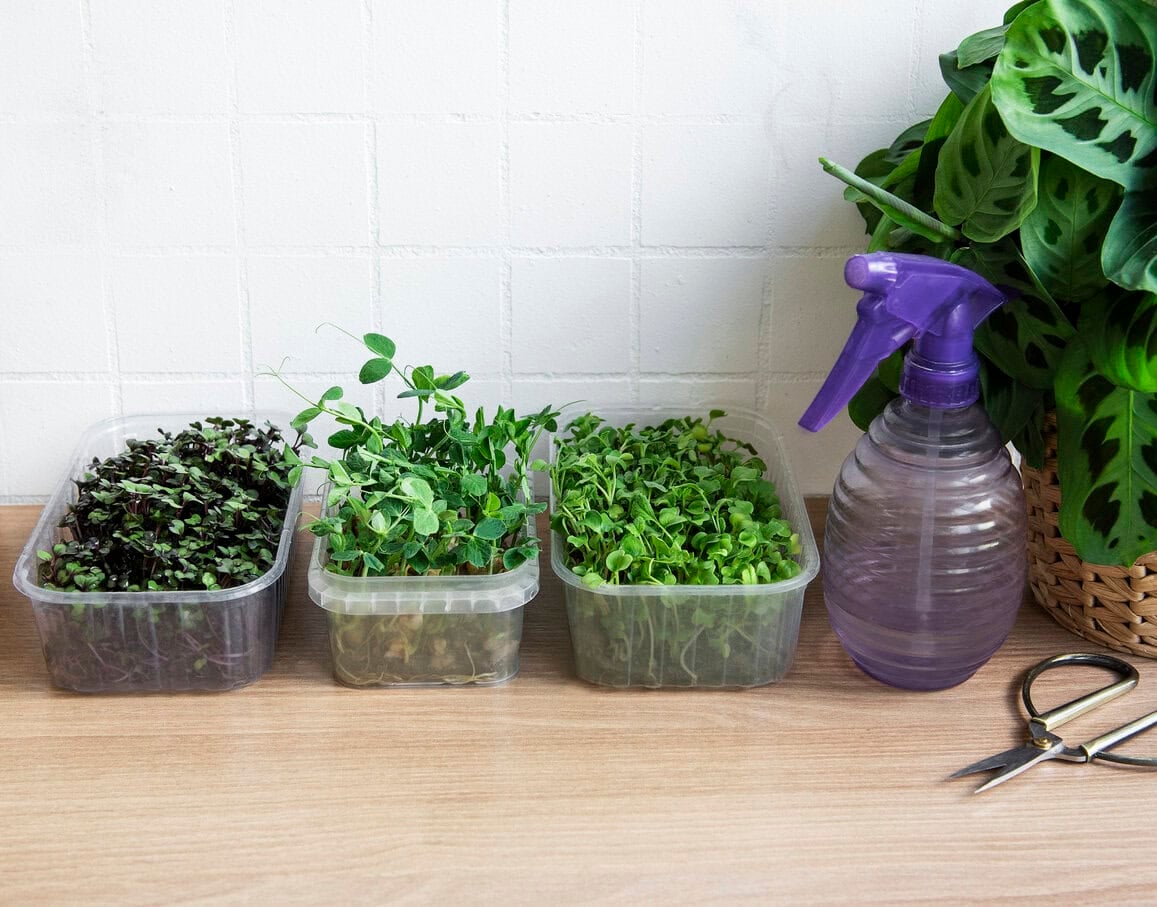
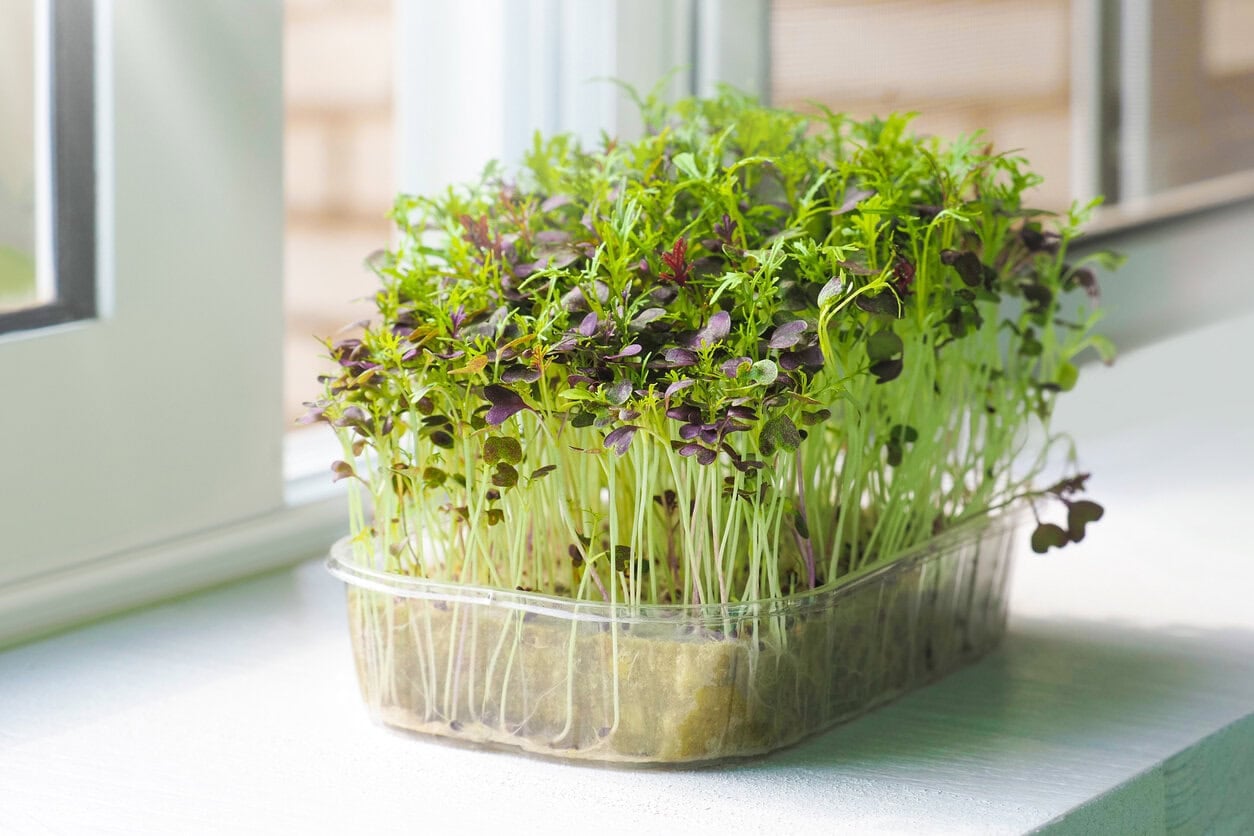
What You Need To Get Started
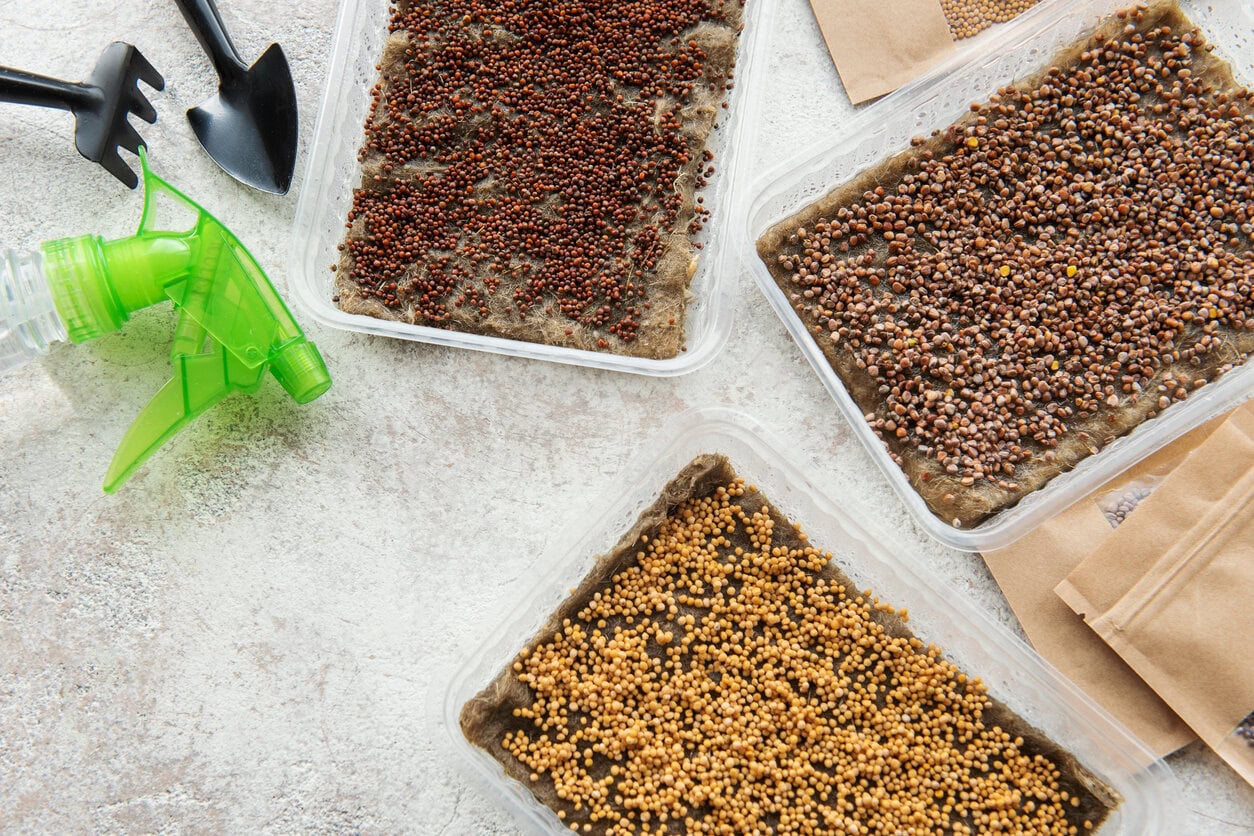
After experimenting with microgreens for months, I realized you don’t need much to get started. A few simple supplies make the whole process smoother and way more enjoyable.
This one is optional, but I’ve noticed that covering the tray with a thin plastic wrap or a small humidity dome really helps. It traps a bit of heat and moisture, and my microgreens always seem to sprout faster when I do it.
If your windowsill gets good light, it opens up way more options for indoor growing. I’ve had great luck with a few windowsill herbs too, so you might want to check out my little list of herbs that thrive on a windowsill.
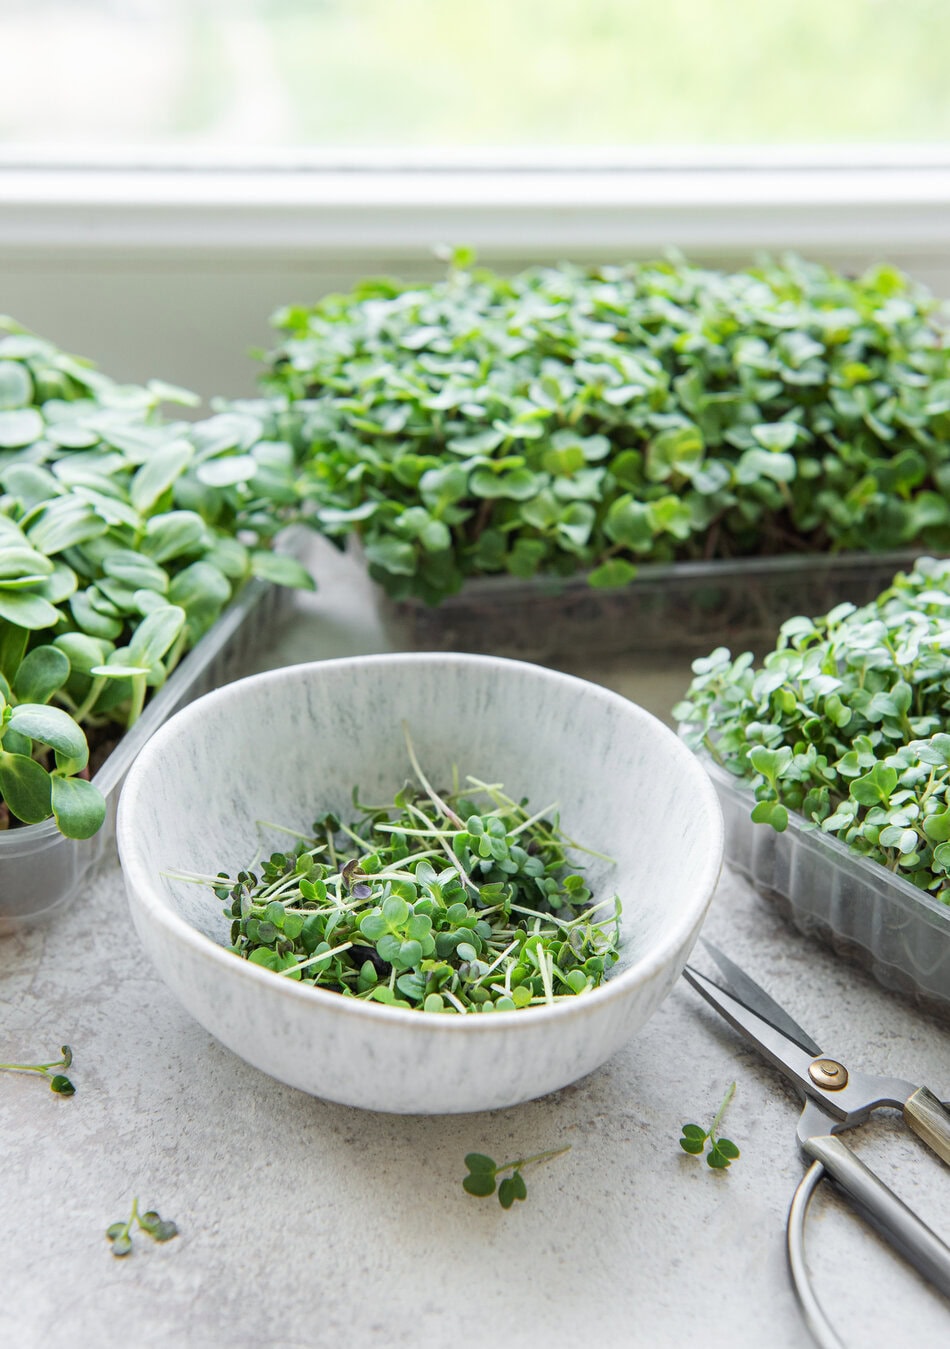
My Simple Microgreen Growing Routine
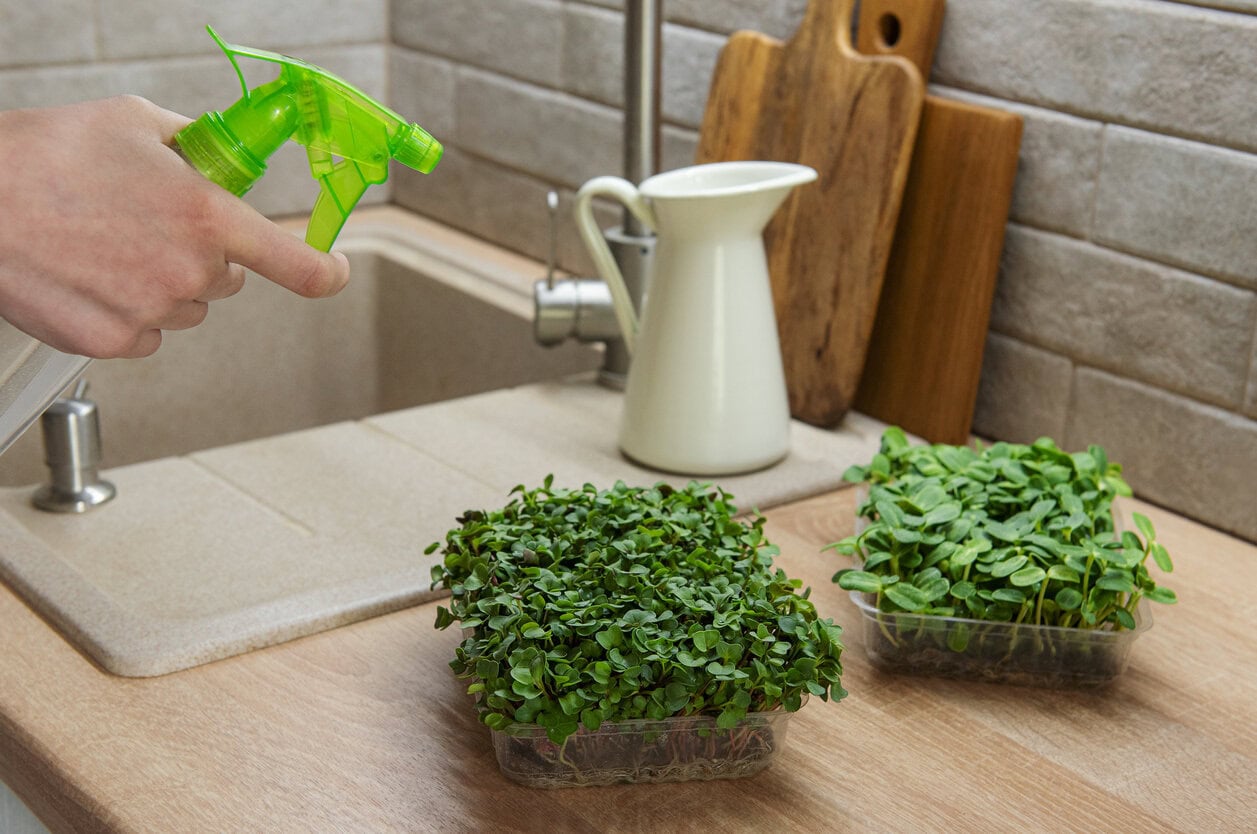
Before you start, here’s the exact step-by-step process I follow every time I grow microgreens. It’s genuinely simple, and once you do it once or twice, it becomes second nature.
And that’s really all there is to it. Once you get the hang of these steps, microgreens become one of the easiest things you can grow indoors.
If you already have a sunny spot set aside for microgreens, you can use that same space for other easy crops too. Things like garlic grown in water indoors are surprisingly simple, it’s one of my favorite little side projects.
Let’s Conclude
After experimenting with tons of different microgreens, I’ve found the best to be those that grow super fast and easily.
I can say with confidence that most microgreens we discussed today will give growers an easy and pleasant time, which is something you’ll hear very rarely in the gardening world.
And if you enjoy growing food from scratch, you might also like experimenting with regrowing veggies from kitchen scraps in water, it’s shockingly easy and kind of addictive once you start.