

You’ve seen them – those thin plastic lids that snap over the top of a seed tray. Maybe you’ve even used one before. Now you may be wondering, are humidity domes really the miracle garden tool that will spell the difference between success and failure in your garden this year? Read on to learn what exactly a humidity dome is, when and how to use one, and even how to build your own!
A humidity dome is nothing more than a plastic lid sized to fit a seed tray. These glorified lids help accelerate germination by creating a microclimate in your seed-starting room. Many gardeners have great success with humidity domes, and some opt to not bother with them. Humidity domes aren’t essential to your seedlings’ success, but when used correctly, can make a world of difference!
What is a humidity dome?
A humidity dome is designed to work like a greenhouse. These pieces of plastic or glass fit just perfectly over standard seed trays. The idea behind humidity domes is to capture heat and retain moisture – both variables that improve and quicken seed germination. Humidity domes come in a few different types – there are tall or short domes, and some with vents that open and close to regulate humidity levels inside the dome.
Advantages of humidity domes
There are several advantages of using humidity domes to start seeds. Humidity domes trap heat and moisture during a time when seeds need these particular conditions the most – during germination.
Improved germination
Humidity domes are proven to speed up the germination process. By design, humidity domes hold in the moisture that most seeds need to sprout. When used in tandem with a heat mat, humidity domes actually do retain heat – and these higher temperatures result in increased germination. More seeds are likely to sprout under a humidity dome, and those seeds are likely to sprout quicker.
If you don’t have a heat mat, don’t worry! Humidity domes are effective with or without them. Seedlings generate their own heat as they sprout, and a humidity dome will still catch the warmth and multiply it.
Humidity domes are particularly useful if you have older seeds. Usually, seed will lose its vitality year after year, and using a humidity dome to create the perfect conditions for germination will ensure that you get the most possible seedlings sprouted from that seedstock.
Protects vulnerable seeds
While seed protection might not be the premier purpose of a humidity dome, it certainly can accomplish this purpose! I’ve found that humidity domes are perfect for creating a barrier for birds and other animals from getting to your seeds. This is especially true for bigger seeds like sunflowers, or certain vegetable seeds like squash, that might draw rodents to your seedlings trays for a midnight snack.
Seeds in your seedling room may not need this extra protection, but I have found humidity domes to be extremely useful in greenhouses. I put the domes on the seedlings’ flats when I leave the greenhouse for the day, and sleep that night worry-free.
Disadvantages of humidity domes
The warm, humid conditions that seeds need to germinate can be deadly for seedlings themselves. Humidity domes call for a little more responsibility than a lidless seed tray.
Leggy seedlings and fungal disease
If you opt to use a humidity dome, you must monitor your seedlings once a day at a minimum, ideally twice. Humidity domes are excellent for creating microclimates for your seedlings, but the danger is that your seedlings will quickly outgrow these conditions.
A good rule of thumb is to remove the humidity dome as soon as your seeds begin sprouting. If only one or two seedlings have germinated, leave the dome on until at least half of the tray has sprouted, but then remove the lid! If you don’t remove a humidity dome in time, you run the risk of leggy seedlings or fungal issues. Seeds require moisture and heat to break dormancy and germinate, but seedlings need airflow to grow into healthy plants.
How to use a humidity dome
So – humidity domes have piqued your interest (for good reason) and you’ve decided to give them a go in your seed starting room! Humidity domes may seem self-explanatory, but using them correctly is key to sprouting healthy seedlings. Read on to learn how to properly use a humidity dome.
How to sow seeds
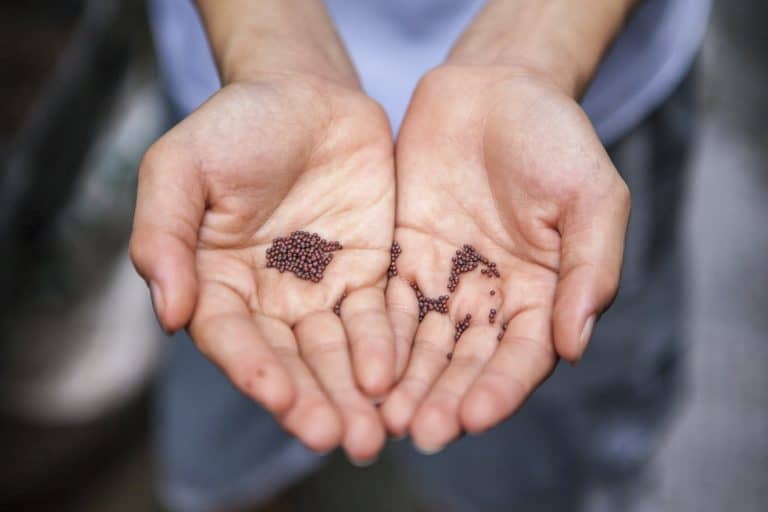
Fill your seed tray with seed-starting soil as you normally would. I like to moisten the soil with water before filling the tray because dry soil tends to pack down in the cells once watered. Fill the tray with soil and gently tap down, and make little indentions for the seeds. Sow seeds normally, according to the variety. Cover with soil (or don’t cover, if the seeds require light to germinate).
How to water
Bottom watering is ideal for seed starting as this technique is less likely to disturb the seeds than overhead watering. If you moistened the seed starting mix prior to sowing, you may not need to water the seeds until the soil dries out again.
To water seedling trays under a humidity dome, first, remove the dome and check the soil. If the soil is moist, there is no need to water. Humidity domes trap moisture, so you likely won’t have to water as frequently as trays that don’t have lids.
If the soil is dry, either fill the bottom trays with water and drain the excess after 30 minutes or carefully water using a watering wand on the shower or mist setting.
When to vent
Humidity domes need to be vented periodically. How often you need to open the humidity domes may vary, depending on what kind of humidity domes you have and how much light your seed trays receive. Even if your humidity domes have vents at the top, you will still want to check the domes once a day. I like to vent the seedlings tray at around noon and again a few hours later, especially on a warm, sunny spring day.
Venting humidity domes is essential because they often work a little too well, and actually end up trapping too much heat and moisture. You can easily monitor this problem by periodically removing the domes and shaking the excess water off before returning the lids to the trays.
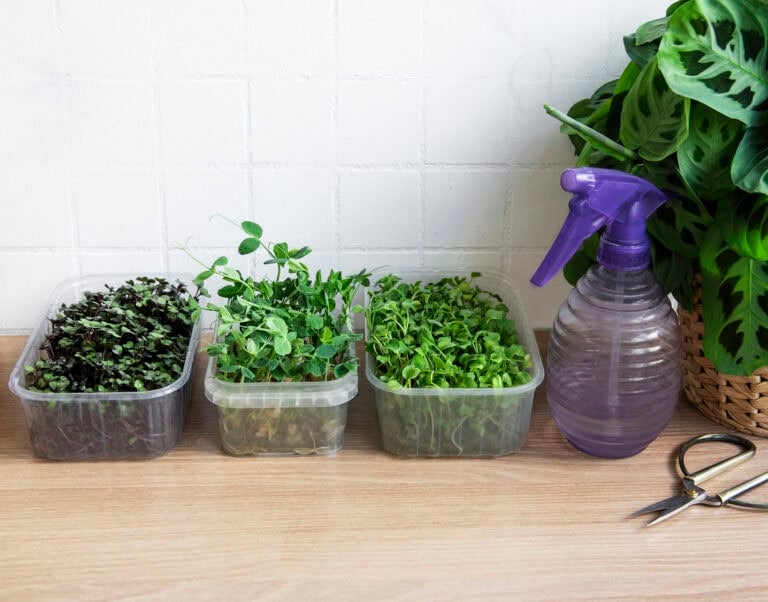
When to pop the lid
Remove the humidity domes on your seedling trays as soon as the majority of the tray has sprouted. Domes can stay on when the first couple of seedlings have appeared, but once half the tray has popped up, take the dome off the seedlings, and take the tray off its heat mat, if you are using one.
Homemade humidity domes
Humidity domes generally aren’t too expensive, but if you are striving to stay away from buying plastic for environmental reasons, you may want to create your own out of materials you already have on hand.
Plastic bag
A plastic bag is the original humidity dome. We’ve all used a moist paper towel and a Ziploc bag to germinate a few seeds for a school science project. It’s really that simple. Moisten a paper towel (not dripping) and wrap a few seeds in it. Put the paper towel in a sunny place inside and don’t seal it. The plastic will trap warmth and the paper towel will provide moisture.
This is a popular seed-starting method and is often referred to as pre-sprouting. Pre-sprouting is an effective technique for some seeds, sweet peas, in particular, being one of them. As soon as you see taproots and stems forming, carefully remove the paper towel from the bag and plant your sprouted seeds in a seedling tray.
Plastic container
Do you have any takeout food containers lying around your house? Or any old plastic bins? Why not repurpose them into a DIY humidity dome of your own design? Clear plastic works best for seed germination because it lets in the sun’s rays and holds in the heat. Fill the bottom of the container with moist soil, sow your seeds, and fold the lid over.
Plastic wrap
Plastic wrap may be the most inexpensive material to create a makeshift humidity dome. Sow your seeds as normal, and then just wrap the entire tray in plastic wrap. The only drawback here is that you will have to remove the plastic wrap to water. So be sure to water the tray thoroughly before wrapping it. It is essential to remove the plastic wrap as soon as your seeds sprout–or the seedlings’ growth will be stunted when they come into contact with the plastic wrap.
Conclusion
Humidity domes are an excellent addition to your seed-starting ritual. These inexpensive tools are easy to use and noticeably improve seed germination. Just pay close attention to your seedlings’ needs, adjust accordingly, and see if a humidity dome (storebought or homemade) doesn’t make a difference in this years’ seed germination.


Ms Sarah,
I’m going to start the seeds in pellets in a plastic shoe box with water. After they have expanded spill excess out. Then should I cover with plastic wrap till they sprout & then watch them for moisture & temperature? How does this sound?
Thank you,
Joe
What’s the maximum temperature inside the humidifier dome?