
Every morning, you might reach for your own little energy boost, whether that’s coffee, a smoothie, or whatever gets you functioning before 9 a.m. Your hydrangeas need nutrients too.
When they do need a little help, you can even make a few useful homemade feeds and soil amendments from things you already have around the house or garden.
I’ve tried enough DIY garden “miracle cures” over the years to know that some are mostly wishful thinking. These are the homemade options I actually bother making, and more importantly, I’ll show you when they’re worth using so you don’t end up feeding your hydrangeas just for the sake of it.
Why, When, and How Often Hydrangeas Need Fertilizer?
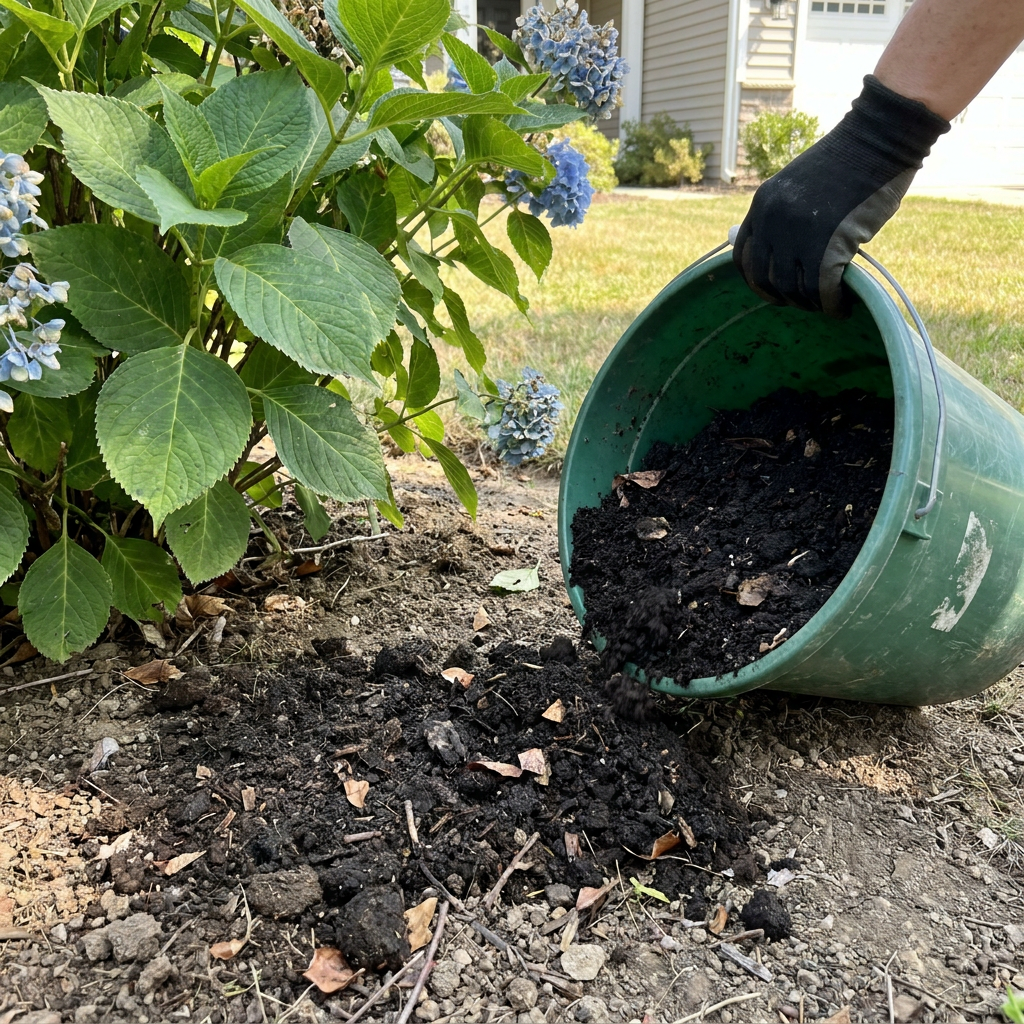
With flowers that big, you’d think hydrangeas eat breakfast, lunch, and dinner. Thankfully, they’re not actually heavy feeders.
If they’re growing in decent soil, they may need very little help. But if growth is looking a little sad or your soil isn’t exactly winning any awards, a gentle nutrient boost can help.
That’s where these homemade options come in. They’re cheap, surprisingly easy to make, and give you another excuse to turn things you’d normally toss out into something your garden can actually use.
I like to give mine a little help once growth gets going in spring and, if they need it, again in early summer. Just don’t get carried away. Too much nitrogen can give you a magnificent shrub full of leaves… and precious few flowers. Ask me how I learned that one…
By midsummer, the fertilizer kitchen is closed. Late feeding can encourage tender new growth just when your hydrangeas should be getting ready for cooler weather.
5 Easy Homemade Fertilizers for Hydrangeas
You don’t need to turn your shed into a chemistry lab to feed your hydrangeas. A bucket, a few garden scraps, and a little patience can go a surprisingly long way.
Some of these recipes smell better than others, fair warning, but they’re all simple enough to make at home.
1: Homemade Compost
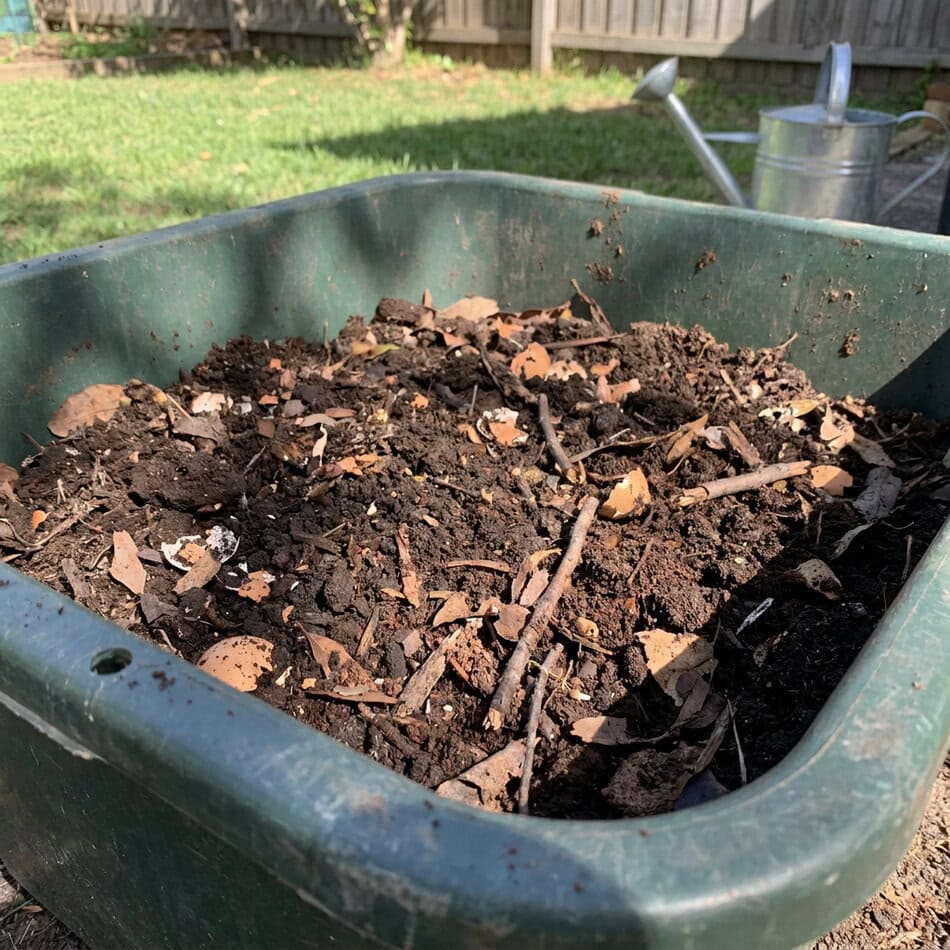
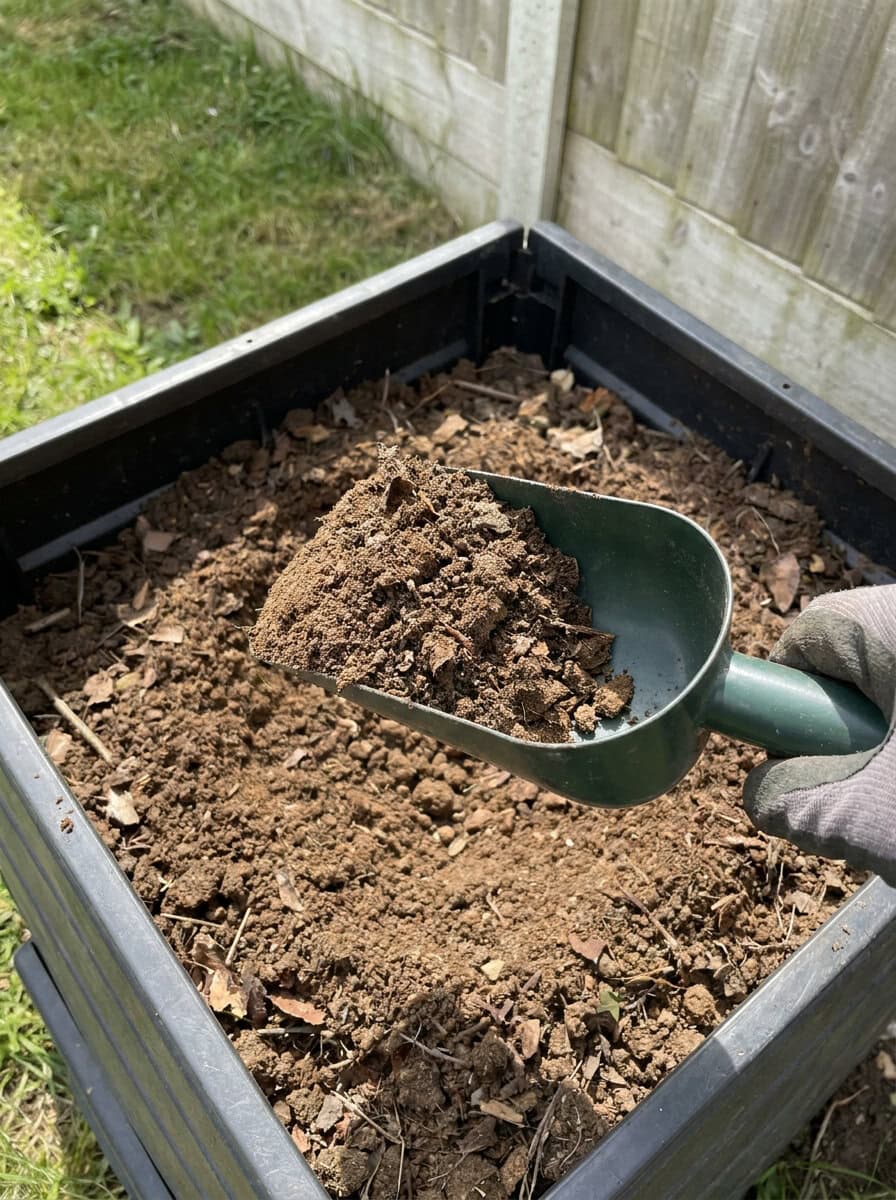
If I had to pick just one homemade option for hydrangeas, finished compost would win every time. This is by far my favorite homemade option, and I can actually see the soil getting better year after year.
I make mine from a mix of dry leaves, cardboard, grass clippings, plant trimmings, and kitchen scraps. Once it’s dark, crumbly, and smells like soil instead of yesterday’s lunch, it’s ready. The catch? It usually takes around 3 to 6 months, and a lazier pile can take closer to a year.
Spread about 1 to 2 inches around the root zone, keeping it a few inches away from the stems. It’s not flashy, it doesn’t come in a pretty bottle but it reliably improves the soil and adds nutrients slowly.
Quick tip: Just make sure the compost is fully finished. Half-rotted scraps belong in the compost pile, not tucked under your hydrangeas.
2: Comfrey Liquid Fertilizer
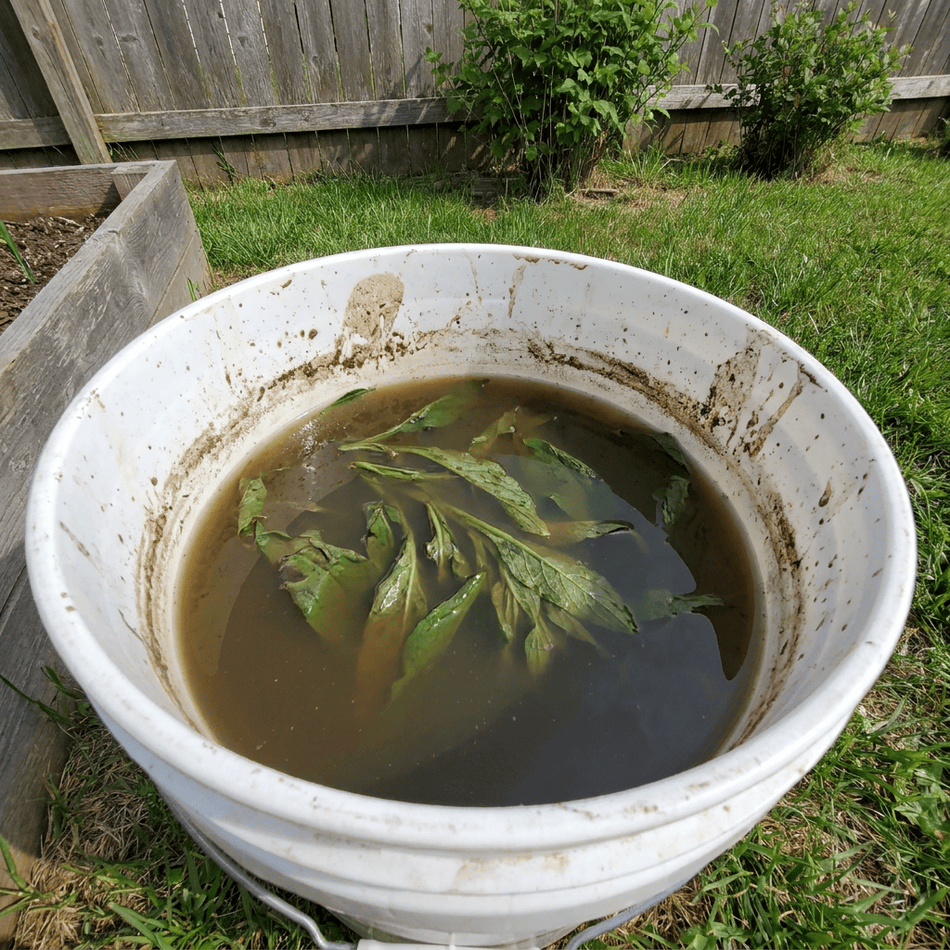
If compost is the sensible one, comfrey feed is the slightly smellier overachiever. Comfrey leaves contain useful amounts of potassium along with some nitrogen, so I like using them for a gentle homemade feed during active growth.
I roughly chop the leaves, fill a bucket about halfway, cover them with water, and leave it for 2 to 3 weeks. When the liquid is dark and thoroughly funky, strain it and dilute it at around 1 part comfrey feed to 10 parts water before pouring it around the root zone.
I use it in spring or early summer rather than constantly. More is not always better, and we’re trying to encourage flowers, not grow a six-foot salad.
Fair warning: Once it starts fermenting, you’ll know. Your nose will know. Your whole neighborhood will know. Heck, even your cousins in Europe will know!
3: Homemade Worm Castings
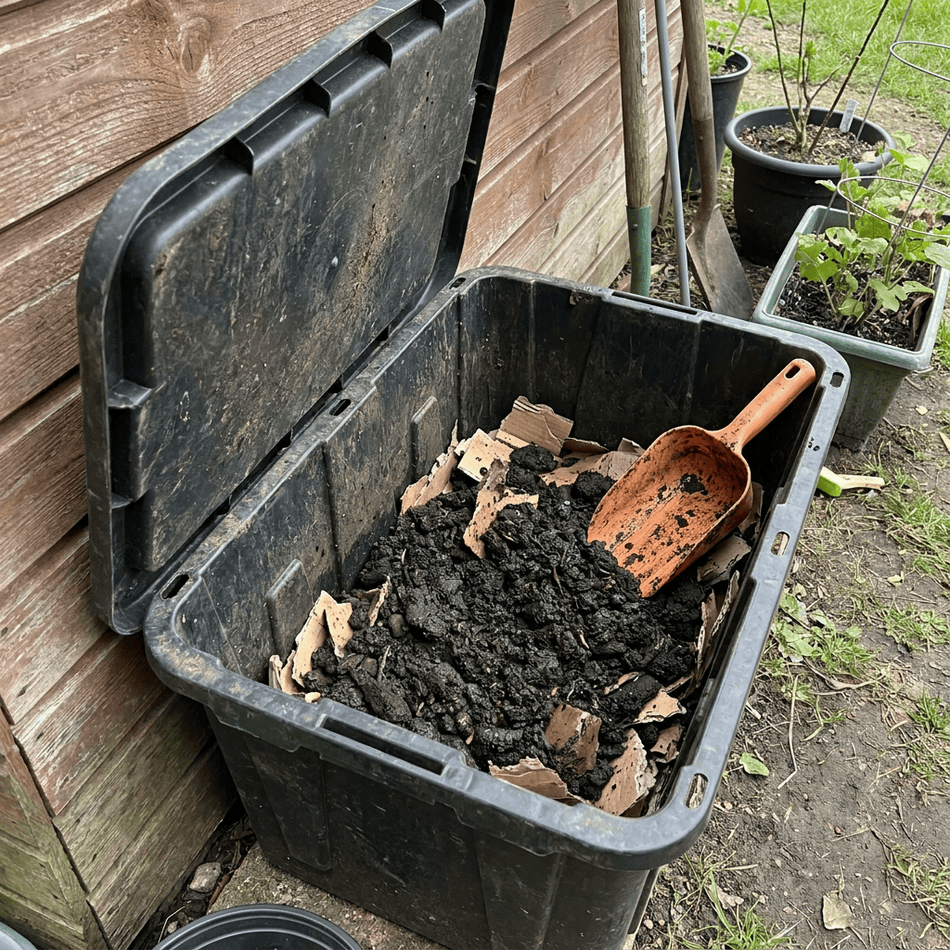
If the smelly options are not for you, let me introduce you to worm castings, the much more civilized cousin (although I’ll admit, a little gross at first). They add small amounts of nutrients while also improving soil structure and moisture retention.
I keep a simple worm bin with red wigglers, damp shredded cardboard, and kitchen scraps. The worms do most of the work. I just add scraps gradually and try not to overfeed them. I learned that lesson after creating what was basically an all-you-can-eat buffet for fruit flies. Oops.
Like regular compost, worm castings take a little patience, usually a few months before there’s enough to harvest. Once they’re dark, crumbly, and earthy-smelling, I scatter a thin layer around the root zone and lightly scratch it into the surface.
Quick tip: Don’t dump huge amounts around your hydrangeas. Worm castings are gentle, but (I’m saying this again) more isn’t always better. I usually add them in spring, with a light top-up in early summer if needed.
Since spring is when I do most of this feeding, we also put together a guide to the spring hydrangea tasks that help set up a great blooming season.
4: Nettle Liquid Feed
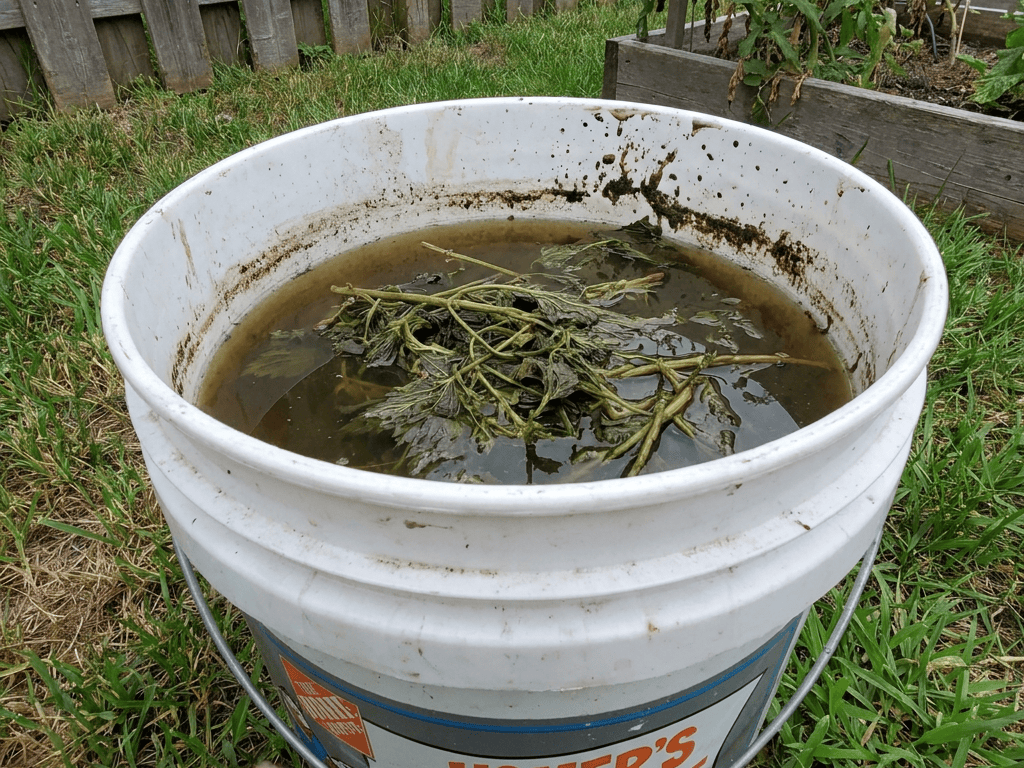
Nettles are excellent at finding bare ankles, but they’re much more useful once they’re in a bucket. Nettle feed tends to be fairly nitrogen-rich, so I mainly use it while hydrangeas are putting on fresh growth in spring.
Wearing gloves, roughly chop the leaves, fill a bucket about halfway, cover with water, and leave for 2 to 4 weeks. Stir it occasionally. Then strain it and dilute at around 1 part nettle feed to 10 parts water.
Use it sparingly in spring or early summer. Too much nitrogen can give you lots of leaves when what you actually wanted was flowers.
Fair warning: Wear gloves when handling the nettles, and prepare yourself for the smell once they start fermenting. Honestly, nothing really prepares you for that…
5: Coffee-Ground Compost Mix
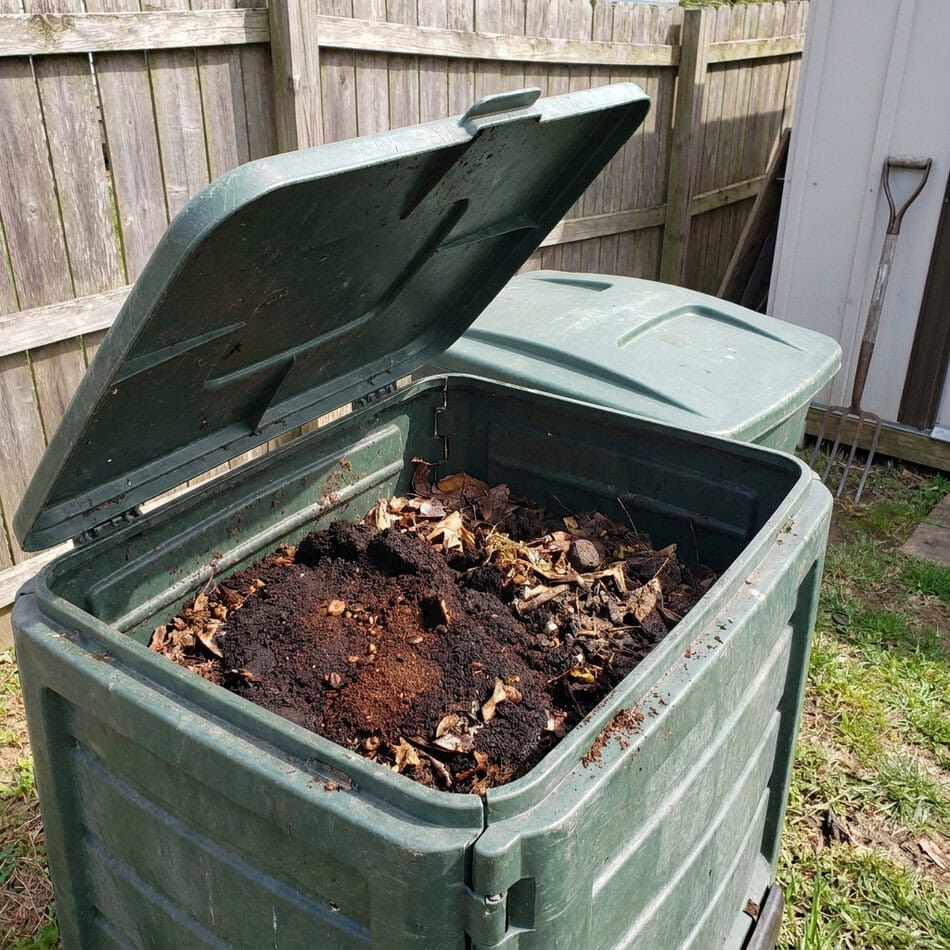
We drink enough coffee in this house that throwing all those used grounds in the trash feels slightly offensive. Luckily, they make a useful addition to homemade compost when mixed with plenty of other materials.
I combine used grounds with dry leaves or shredded cardboard, plus grass clippings and other kitchen or garden scraps. Keep the coffee grounds to roughly 20% or less of the pile, then let everything break down until it’s dark and crumbly.
Once finished, I spread a thin layer around the hydrangea’s root zone, usually in spring. It adds organic matter and small amounts of nutrients without dumping concentrated grounds straight onto the soil.
Quick tip: I know someone is going to ask me this and no, coffee grounds alone won’t reliably make your hydrangeas blue. Sadly, our morning coffee isn’t quite that powerful.
And if you want to go beyond these homemade options, we wrote a month-by-month guide to fertilizing hydrangeas that explains what to use and when throughout the growing season.
Could This Soil BE Any Better for Hydrangeas?
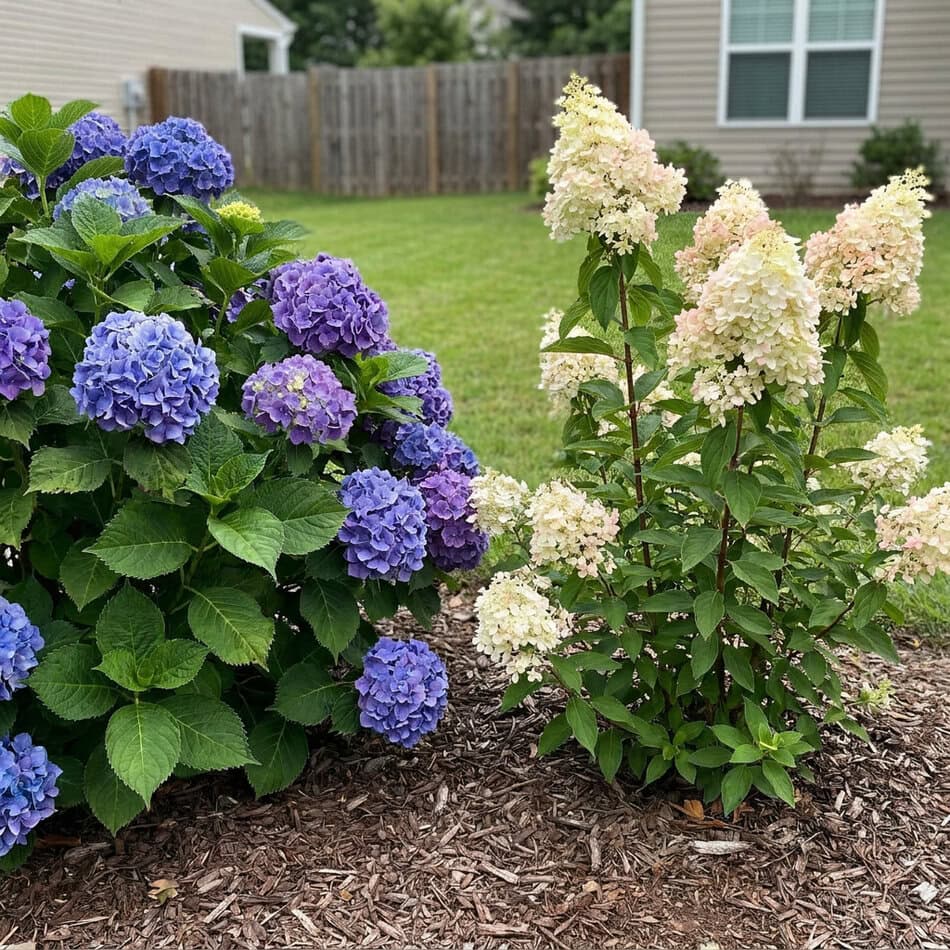
If you haven’t noticed by now, hydrangeas seem to have a thing for smelly stuff, unlike me. Compost, worm castings, fermented plant feeds… apparently good taste is not a requirement for good blooms.
What they do care about most is moist, well-draining soil that’s rich in organic matter. I aim for soil that feels like a wrung-out sponge: damp, but never soggy. A yearly layer of compost helps with both moisture retention and soil structure.
Most hydrangeas do well in slightly acidic soil, around pH 5.5 to 6.5. Just remember that with blue-capable bigleaf and mountain hydrangeas, soil pH affects how available aluminum is to the plant, which in turn influences flower color.
And if keeping them happy once summer really heats up is the struggle, we have a guide explaining exactly what hydrangeas need during hot summer weather.
Smelly Hydrangea, Smelly Hydrangea… What Are They Feeding You?
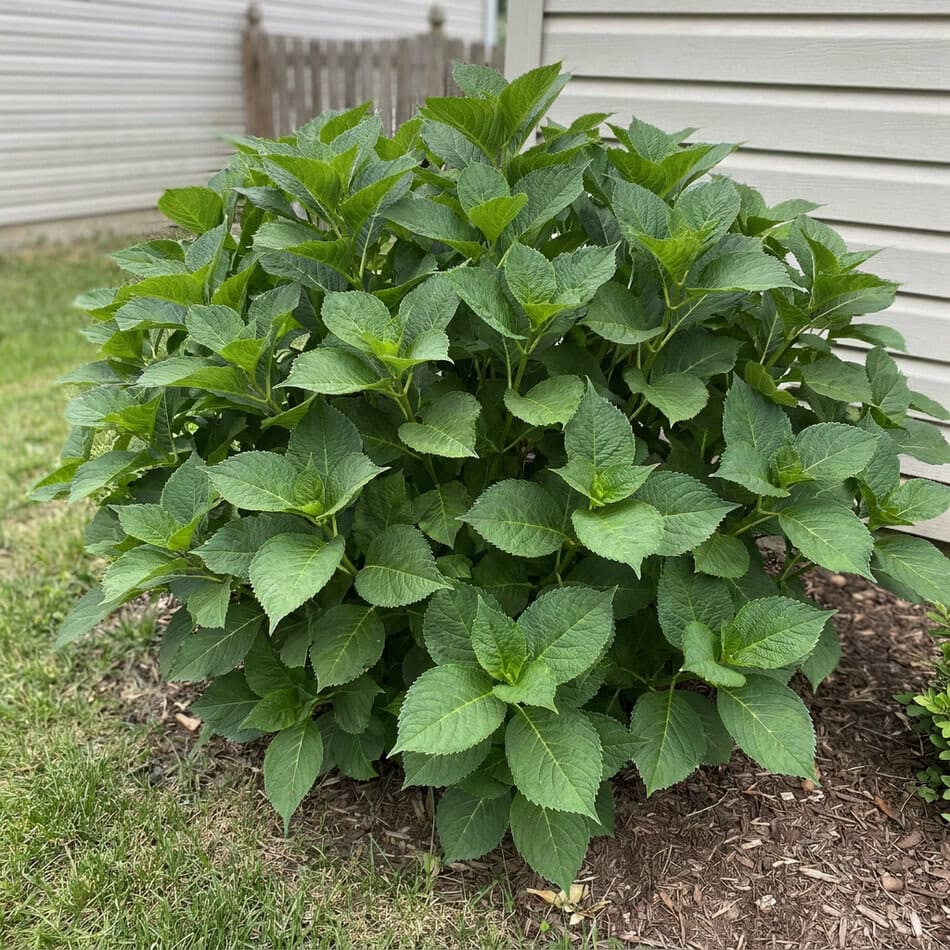
Sorry, I’ve been rewatching Friends for what feels like the thousandth time, and after all that comfrey and nettle feed, I couldn’t resist.
The good news is that feeding hydrangeas doesn’t have to mean buying another bag of fertilizer. Compost, worm castings, comfrey, nettles, and even used coffee grounds added to your compost pile can all be put to work.
Just keep one thing in mind: homemade doesn’t mean harmless in unlimited amounts. Start small, feed when the plant actually needs it, and resist the urge to turn your hydrangea bed into an all-you-can-eat buffet. Your hydrangeas may not thank you for the smell, but the blooms might.
And if you’re feeding them properly but the flowers still aren’t showing up, fertilizer may not be the problem. We wrote a full guide on when and how to prune hydrangeas without sacrificing next year’s blooms.




Good tips
Thank you
Hi Sheila!
I’m so glad you found the information useful! Don’t hesitate to reach out if you have any more questions. 🌸😊
Can these flowers live in Miami Florida?
Hi Kacy! 😊 Hydrangeas can grow in Miami, but they do best in morning sun and afternoon shade, especially with Florida’s heat and humidity. You’ll want to choose heat-tolerant varieties like Hydrangea macrophylla (bigleaf) and make sure they’re in well-draining soil with plenty of water.
The fertilizers in the post can definitely help, but be sure to water deeply and mulch to keep roots cool. 🌿💧🌸
Thanks for your good information. How can I get a copy of this article.
Hi Debbie!
You’re very welcome! To get a copy of the article, you can print it directly from your browser or save it as a PDF. On most devices, just click the print option and choose “Save as PDF” instead of printing. Let me know if you need help with that! 😊🌸
I have lived here zone 6 Ohio for 10 years. 2 big hydrangas that round out and make beautiful shrubs.
Leave me with very long heavy sticks every year. 1 yup thats right 1 blossom in all that time. This year I’d like to whack it to the ground.Another location does very well. Must be different kind. what say you?
Hi Karen! It definitely sounds like you have two different types! 😊 The one that never blooms but has lots of long sticks is likely a bigleaf hydrangea (Hydrangea macrophylla), which blooms on old wood, meaning if it dies back in winter or gets pruned too hard in spring, no blooms. That’s super common in colder zones like 6.
The other one that’s doing well may be a panicle or smooth hydrangea, which bloom on new wood, much more reliable in colder climates.
If you’re ready to start fresh, you can cut that stubborn one down and see what grows back, but you may want to consider replacing it with a new wood bloomer like ‘Limelight’ or ‘Annabelle’ for more consistent flowers. Either way, you’re not alone, and your frustration is totally valid! 🫶💚🌸
What’s the best position in the garden for hydrangeas.
Hi Barry! 😊 The best spot for hydrangeas is one with morning sun and afternoon shade, they love light but don’t do well in harsh, direct sun all day.
🌿 Well-draining soil is key;
💧 Keep the soil consistently moist but not soggy;
🪴 If you’re in a hot climate, a little more shade helps protect them;
☀️ In cooler areas, they can handle a bit more sun.
That balance of light and protection really helps boost blooms! 🌸✨
We just planted hydrangeas and always looking for advice. Thank you
Hi! You’re so welcome! 😊 Congrats on your new hydrangeas, they’re such rewarding plants! Keep an eye on their sunlight, soil moisture, and feeding, and they’ll thank you with beautiful blooms. Wishing you lots of success!
Thanks I think I have four different hydrangeas 2 want bloom
Hi Tim! You’re so welcome! 😊 If two of your hydrangeas aren’t blooming, it could be due to too much shade, pruning at the wrong time, or even not enough phosphorus. Every variety’s a little different! You might find this article helpful too, it covers more tips to get them blooming: Super Tips To Help Your Hydrangeas Bloom.
Hi, how can we use the above fertilizers? One by one, or we can try all of them in a short period of time. Thank youuu
Hi Isabel! 😊 It’s best to use just one fertilizer at a time and give it a few weeks to see how your hydrangea responds. Using all of them too close together can overwhelm the plant. For example, you can use coffee grounds or banana peel water every couple of weeks, and something like compost tea or fish emulsion every 2–3 weeks. Slow and steady usually works best!
Hi!
I love my Hydrangea. This year I put coffee grounds around it and the blooms were a deep dark reddish purple. What do I do to get the back to the light lavender?
Hi Alicia! 😊 Coffee grounds make the soil more acidic, which is why your blooms turned that deep reddish-purple. To shift back to light lavender, try adding a bit of garden lime or wood ash (in small amounts) to raise the pH. It may take a season or two to fully shift, but it works!
I believe a gallon is 4.54 litres
Or 8 pints in old money
Hi Ian! Haha yes, you’re absolutely right! 😄 A UK gallon is 4.54 liters, while the US gallon is 3.78 liters. Dragana (our writer) was using the US measurement, but it’s always good to clarify, especially for international gardeners! Thanks for pointing it out!
In colder climates like Maine and Vermont when is the best time to prune hydrangeas? I have a huge one in my back yard that’s about 12 ft High and I’d like to trim it back about three feet. It’s gorgeous but it needs to be cut back.
Hi Jane! 😊 In colder zones like Maine and Vermont (Zones 4 to 5), it’s safest to wait until late spring to prune, after you see where new growth is coming in.
If it’s a bigleaf or oakleaf hydrangea, it blooms on old wood, so heavy pruning in fall or early spring can remove flower buds. But if it’s a panicle or smooth type, you can prune in late winter or early spring without losing blooms. You can still tidy it a bit now, but save major cuts for spring once you know what you’re working with! 😊