

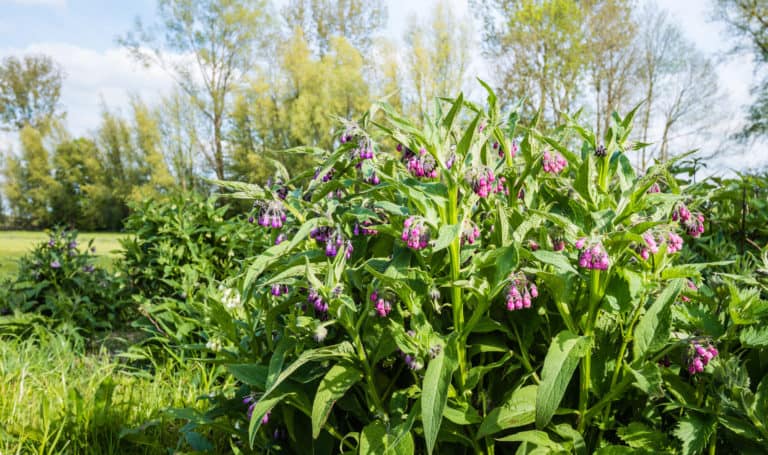
Every morning, you might reach for that energizing fertilizer you call a smoothie. But do your hydrangeas get the nourishment they need? Forget those store-bought supplements that can wilt your wallet.
The secret to whipping up simple, homemade boosters could be as close as your kitchen. Help your hydrangeas put their best petal forward and bask in the sun together with a cup of your own fertilizer.
Why, When, and How Often Hydrangeas Need Fertilizer?

Bountiful and color-rich hydrangea flowers are a true testament to your shrub’s vitality. And in a way, to your selfless side. But are your pockets truly deep enough to fit bags of industrial fertilizers?
Just to remind you what 10-10-10 means in the fertilizer lingo. It’s percentage of the N, P, and K present in the mix, meaning that the remaining 70% is just filler material.
Truth be told, to show off such a generous display, hydrangeas draw heavily on available nutrients. The right NPK smoothie is their foundational sustenance! And if the soil is lacking and they don’t get enough in supplements, you may expect:
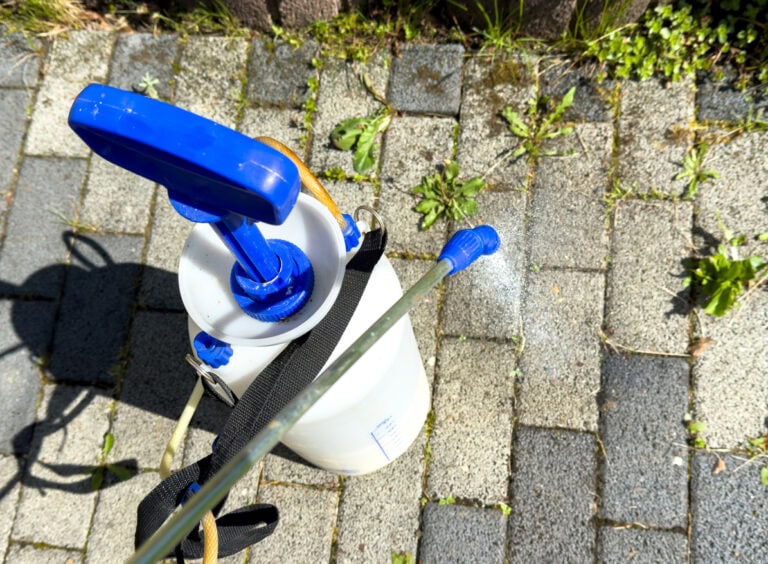
So, caught between plant health and unnecessary expenses, you’ll find homemade fertilizer recipes that are both budget and environment-friendly. You reuse, plants will recycle!
Your specific brew will work best if you apply it in careful doses, perhaps two or three times during hydrangeas’ active growth in spring and early summer. But as summer ends, ease off the feeding. Best not to encourage any tender new growth that could get nipped by early frost in your zone.
5 Easy Homemade Fertilizers for Hydrangeas

Are you a gardening chef or you’re cooking with your green thumb? Cultivate some fantastic results for your hydrangeas with these recipes, either way.
1: Banana Peel Soak

Your hydrangeas are about to go bananas for these kitchen castoffs. Simply chop up a few banana peels and let them steep in a container of water for 2 to 3 days. The soaking process will extract a wealth of potassium!
It will strengthen their stems and, most importantly, encourage abundant and robust flower production. Once the water has a light brownish hue, it’s ready to work its magic.
Alternatively, you can dry banana peels completely and then blend them into a powder. Soaking a tablespoon or two of this powder in the same amount of water for a day or two will also create a liquid fertilizer, releasing a bit more nutrients more quickly.
Gently water the base of your hydrangeas with this potassium-rich tonic, and watch them go head over peels with healthy flowers!
2: Coffee Grounds (Used)

Leftover coffee grounds are a brew-tiful source of nitrogen, and you have a couple of options for N-richment. You can either lightly sprinkle the used grounds directly around the base of your hydrangeas, gently working them into the topsoil.
Or, you can mix them into your compost pile. Over time, nitrogen will become available to your plants as you apply your compost.
As a bonus, in both cases, the grounds will improve drainage and soil structure. Speaking of a strong blend of benefits!
Also, read this article that shares 17 plants that LOVE coffee grounds!
3: Eggshell Powder

Don’t walk on eggshells around your hydrangeas, but rinse them, dry them, and smash them into a fine powder! The finely ground calcium carbonate is easier for your plants to absorb.
Chemistry says that the powder’s increased surface area allows for quicker and more efficient release of calcium into the soil as it breaks down. So simply sprinkle it around the base of the bush and gently rake it into the soil.
You can start with approximately 2 to 4 tablespoons of finely ground eggshell powder per plant for established, medium-sized hydrangeas. You can also toss this eggs-ceptional powder fertilizer into your compost pile for an extra kick.
I believe you’ll also like to read this article with 10 thinks every hydrangea owner NEEDS to know.
4: Epsom Salt Water

Epsom “Magnesium Sulfate” Salt is a real unsung hero when it comes to plant health. Between N, P, and K, it’s not the most popular chap at garden parties, and yet, Mg plays an important part in chlorophyll production.
The recipe is quite complicated (just kidding…): dissolve 1 tablespoon of Epsom salt in one gallon of water (it’s 3.78541 liters; I googled it for you, you’re welcome).
Once a month during the growing season (spring and early summer), gently water the base of your hydrangeas with the solution. It should encourage fuller, more vivid flowers. Essentially, a bit of Epsom salt is discreetly making sure the whole NPK operation doesn’t fall apart.
5: Compost Tea

Compost tea is basically a liquid extract of all the wonderful things that make compost so yummy …to plants.
Take about a shovelful or two of well-aged compost and suspend it in a breathable bag (like an old pillowcase or burlap sack). Put it in a bucket and cover with around 5 gallons or 19 liters of water. Then, just let it steep for 1 to 2 days, stirring occasionally.
The water will turn a lovely brownish color, hinting that the nutrients and microbes are moving into the liquid. Finally, you’d want to strain the soup to remove any solids, and then water the base of your hydrangeas.
It’s a quite effective way to deliver a balanced dose of nutrients and transplant a prosperous community of beneficial microorganisms to your soil.
Best Soil Conditions for Blooming Hydrangeas

Happy hydrangeas start with happy roots, and happy roots love soil that’s like a wrung-out sponge.
Well-draining yet always slightly moist. So make it a ritual to enrich your soil with compost or other organic matter each year.
What your hydrangeas absolutely dislike is extremes. Hence the Goldilocks method. Soil should be firm but not compacted, not too dry but not soggy either. So take another look around your pantry and make your old habits their new habits!
Conclusion

Although store-bought chemical fertilizers are the first thing that comes to mind when pondering over the topic of fertilization, your hydrangeas can actually benefit just as much from a homemade fertilizer.
There are more than a few ways to make your own fertilizer at home and every single method has some advantages or disadvantages over the other.
Pick one you like and give your hydrangea blooms the nutrient boost they need!


Good tips
Thank you
Hi Sheila!
I’m so glad you found the information useful! Don’t hesitate to reach out if you have any more questions. 🌸😊
Can these flowers live in Miami Florida?
Hi Kacy! 😊 Hydrangeas can grow in Miami, but they do best in morning sun and afternoon shade, especially with Florida’s heat and humidity. You’ll want to choose heat-tolerant varieties like Hydrangea macrophylla (bigleaf) and make sure they’re in well-draining soil with plenty of water.
The fertilizers in the post can definitely help, but be sure to water deeply and mulch to keep roots cool. 🌿💧🌸
Thanks for your good information. How can I get a copy of this article.
Hi Debbie!
You’re very welcome! To get a copy of the article, you can print it directly from your browser or save it as a PDF. On most devices, just click the print option and choose “Save as PDF” instead of printing. Let me know if you need help with that! 😊🌸
I have lived here zone 6 Ohio for 10 years. 2 big hydrangas that round out and make beautiful shrubs.
Leave me with very long heavy sticks every year. 1 yup thats right 1 blossom in all that time. This year I’d like to whack it to the ground.Another location does very well. Must be different kind. what say you?
Hi Karen! It definitely sounds like you have two different types! 😊 The one that never blooms but has lots of long sticks is likely a bigleaf hydrangea (Hydrangea macrophylla), which blooms on old wood, meaning if it dies back in winter or gets pruned too hard in spring, no blooms. That’s super common in colder zones like 6.
The other one that’s doing well may be a panicle or smooth hydrangea, which bloom on new wood, much more reliable in colder climates.
If you’re ready to start fresh, you can cut that stubborn one down and see what grows back, but you may want to consider replacing it with a new wood bloomer like ‘Limelight’ or ‘Annabelle’ for more consistent flowers. Either way, you’re not alone, and your frustration is totally valid! 🫶💚🌸
What’s the best position in the garden for hydrangeas.
Hi Barry! 😊 The best spot for hydrangeas is one with morning sun and afternoon shade, they love light but don’t do well in harsh, direct sun all day.
🌿 Well-draining soil is key;
💧 Keep the soil consistently moist but not soggy;
🪴 If you’re in a hot climate, a little more shade helps protect them;
☀️ In cooler areas, they can handle a bit more sun.
That balance of light and protection really helps boost blooms! 🌸✨
We just planted hydrangeas and always looking for advice. Thank you
Hi! You’re so welcome! 😊 Congrats on your new hydrangeas, they’re such rewarding plants! Keep an eye on their sunlight, soil moisture, and feeding, and they’ll thank you with beautiful blooms. Wishing you lots of success!
Thanks I think I have four different hydrangeas 2 want bloom
Hi Tim! You’re so welcome! 😊 If two of your hydrangeas aren’t blooming, it could be due to too much shade, pruning at the wrong time, or even not enough phosphorus. Every variety’s a little different! You might find this article helpful too, it covers more tips to get them blooming: Super Tips To Help Your Hydrangeas Bloom.
Hi, how can we use the above fertilizers? One by one, or we can try all of them in a short period of time. Thank youuu
Hi Isabel! 😊 It’s best to use just one fertilizer at a time and give it a few weeks to see how your hydrangea responds. Using all of them too close together can overwhelm the plant. For example, you can use coffee grounds or banana peel water every couple of weeks, and something like compost tea or fish emulsion every 2–3 weeks. Slow and steady usually works best!
Hi!
I love my Hydrangea. This year I put coffee grounds around it and the blooms were a deep dark reddish purple. What do I do to get the back to the light lavender?
Hi Alicia! 😊 Coffee grounds make the soil more acidic, which is why your blooms turned that deep reddish-purple. To shift back to light lavender, try adding a bit of garden lime or wood ash (in small amounts) to raise the pH. It may take a season or two to fully shift, but it works!
I believe a gallon is 4.54 litres
Or 8 pints in old money
Hi Ian! Haha yes, you’re absolutely right! 😄 A UK gallon is 4.54 liters, while the US gallon is 3.78 liters. Dragana (our writer) was using the US measurement, but it’s always good to clarify, especially for international gardeners! Thanks for pointing it out!
In colder climates like Maine and Vermont when is the best time to prune hydrangeas? I have a huge one in my back yard that’s about 12 ft High and I’d like to trim it back about three feet. It’s gorgeous but it needs to be cut back.
Hi Jane! 😊 In colder zones like Maine and Vermont (Zones 4 to 5), it’s safest to wait until late spring to prune, after you see where new growth is coming in.
If it’s a bigleaf or oakleaf hydrangea, it blooms on old wood, so heavy pruning in fall or early spring can remove flower buds. But if it’s a panicle or smooth type, you can prune in late winter or early spring without losing blooms. You can still tidy it a bit now, but save major cuts for spring once you know what you’re working with! 😊