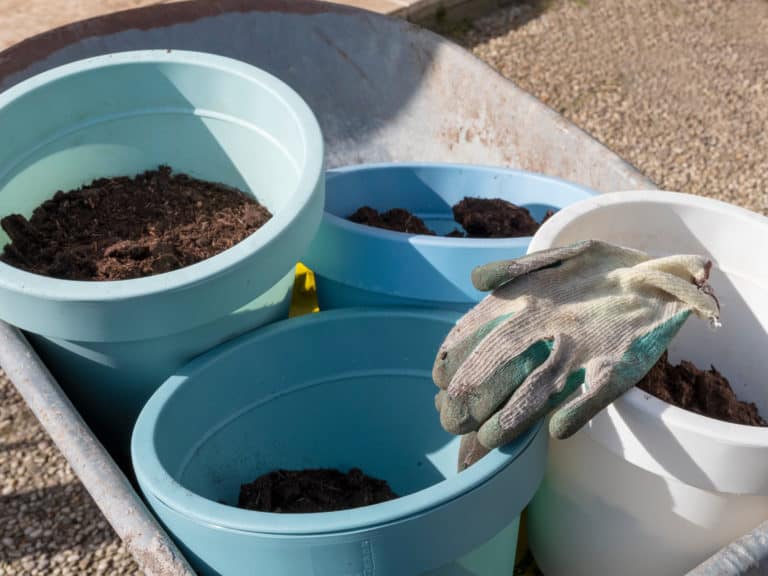
You’ve happily built your compost over time and you’re now anxiously waiting to use it in your garden. But right as you’re about to use it, you notice tons of green sprouts popping out of your compost pile, or worse yet, from the garden beds you’ve spread it on.
If this happened to you, you’re not alone! My first compost batch was a rich and crumbly pile of goodness that smelled like the forest and fresh rain. After a few weeks of spreading it in my garden, my beds got invaded with tomato seedlings and large squash sprouts (this happened in July). Weed-free compost? Yes. Sprout-free? Not so much.
So why does this happen? Is this normal, or is it harmful to your garden?
If you notice sprouts in your homemade compost, it simply means your compost pile didn’t heat up enough to sterilize some of the more resistant seeds. Lazy composting still kills pathogens and seeds over time, but some seeds will always survive and sprout when conditions are right.
How to manage seeds in your compost pile
Whether you have veggie sprouts or weeds popping up, there’s still no place for viable seeds in your finished compost. Weeding is a lot of extra work, and using chemicals on your organic patch just isn’t an option.
So here are a few things you can do:
Help your compost pile heat up
If you want to learn more about the differences between hot composting and cold composting, they’re covered below. This is what you need to remember for now in order to build enough heat to sterilize all seeds inside your compost pile:
- Insulate your compost bin and keep rain out
- Turn your compost more frequently
- Add compost activators like manure, coffee grounds, comfrey, nettles, etc.
- Build a large enough pile and monitor the temperature inside
If cold composting, avoid adding fruits to your pile
If you take a closer look, the main fruits and vegetables sprouting from your compost will be:
- tomatoes
- squash, melons and cucumbers
In my experience, these have been the only plants that survived the composting process. It would be a shame to stop adding fruits that contain seeds altogether – such as peppers, herbs and salads that have to seed, etc – because they bring a lot of nutrients to your finished compost.
However, tomato seedlings can often be invasive, so if you, like me, have ever dealt with volunteer tomatoes popping everywhere, you may want to stop adding tomato fruits to your compost bin.
Cucurbits are easier to manage since they’re large and easy to spot. Squash seeds aren’t as prolific as tomatoes, since they’re fewer than the tiny tomato seeds. No reason to throw them in the bin, either, unless the fruit has gone bad. You can easily save the squash seeds and eat them toasted.
Use the sun to your advantage
I’ve recently come across this concept called “soil solarization.” When used with compost, it involves spreading a layer of compost on your beds, covering it with clear plastic, and waiting for the heat of the sun to work its magic for a few weeks.
This method works best in summer, and even better if you give it 4 weeks to work. Supposedly, solarization kills weeds, seeds and pathogens without harming the soil’s fertility. Many gardeners have killed weeds in the past by depriving them of sunlight, but this takes sterilizing the soil to another level.
Since my homemade compost is mostly ready to use in summer, I would see “soil sterilization” working best before sowing autumn crops. That’s when most squash and tomato seedlings start popping up anyway.
Lazy composting vs hot composting in a small garden
As much as I’d like to have heaps of hot compost happily breaking down in my backyard, as the owner of a small garden, I simply don’t have enough ingredients to build impressive, steaming-hot piles of garden waste.
Hot composting is fantastic for destroying seeds and pathogens because it heats up to a sterilizing temperature, but it can also hold some disadvantages: hot compost isn’t as nutritious as cold compost.
You heard that right. There is such a thing as compost that gets too hot. Temperatures that are too high for too long will kill beneficial microbes and nutrients in your compost, whereas cold composting will keep all that goodness inside.
You can even tell the difference between commercial hot compost produced at high temperatures and your own homemade lazy compost: hot compost is black and cold compost is brown. And you can bet on your homemade compost to be more wholesome for your garden every single time.
The downside to cold compost? You’ll get veggie sprouts and the occasional weeds. You decide if that downside is off-putting because it indeed requires more work in the garden.
If you’re not familiar with the hot vs cold composting process, here’s a summary:
| HOT COMPOSTING | COLD COMPOSTING |
Strict Brown to Green Ratio 2:1 Brown (Carbon) material: – autumn leaves – cardboard / shredded paper – woodchips – sawdust Green (Nitrogen) material: – vegetable waste – grass clippings – animal manure (no pet or human waste) – coffee grounds | More forgiving Brown to Green ratio – Throw waste as it becomes available, supplementing with Brown material for every Green layer – Even if you don’t get the ratio right, you will still get compost if you let it sit long enough |
| You build your compost pile all at once. – You need to source enough Brown and Green material to build a large enough pile within a few days or weeks. Better suited for large gardens or homesteads with plenty of garden waste and manure. | You build your compost pile as you go through the seasons. – You build your compost pile as you progress through the seasons. This method is better suited for smaller gardens that don’t produce enough Green garden waste. |
| Your compost bin needs to hold enough volume – Your pile needs to be at least 1 cubic meter in size in order to generate enough heat. | Your compost bin can be any size you like – But, 1 cubic meter piles are still recommended since they provide more heat which helps with decomposition. |
| Your compost should heat up in a matter of days – Your compost pile should reach 120-170 F (49-77 C) in its center in 36 hours and finish decomposing in as little as 4 weeks | Your compost pile might heat up depending on the season and ingredients – Even if you’re cold composting, a.k.a lazy composting, it doesn’t mean your pile won’t heat up every once in a while, but it might not reach high temperatures that sterilize weed seeds – Summer temperatures and large volumes of waste in autumn help with faster decomposition |
You should turn your hot compost every week – The core tends to cool down and turning your compost improves bacterial activity | Cold compost doesn’t need frequent turning – Turning it once or twice within a year is enough |
Hot compost is finished within 4 weeks – If you manage the Brown to Green ratio perfectly, build your pile large enough and turn it frequently, hot compost will be ready FAST | Cold compost is typically ready within 1 to 2 years – You’ll know it’s ready when it’s crumbly and free of lumps. Both hot and cold compost should have an earthy smell and not be soggy. |
Veggie sprouts vs Weeds
Take a look at the unwanted seedlings sprouting in your compost. Can you identify them? Most of the time you’ll see cucurbits popping up where they have no business growing: squash, melon and cucumbers. And, if the weather is right, you might also see a bunch of rogue tomato seedlings popping up. This is because cucurbit and tomato seeds are some of the hardier seeds that survive the composting process.
Just because volunteer veggies aren’t weeds, it doesn’t mean they can’t act like them. Tomato plants can still grow high enough to smother other crops that are slow to germinate, like summer-sown carrots for example. And pulling tomato seedlings out from in between the rows is often a pain.
The nice thing about veggie sprouts is that you can actually use them if you wish – they make great microgreens for your sandwiches and salads.
Don’t be tempted to keep volunteer veggies unless their location is convenient and they’re in season. Otherwise, they’ll mess up your perfectly crafted garden plan. Once you pull them out, they won’t grow back, so it’s only a one time job.
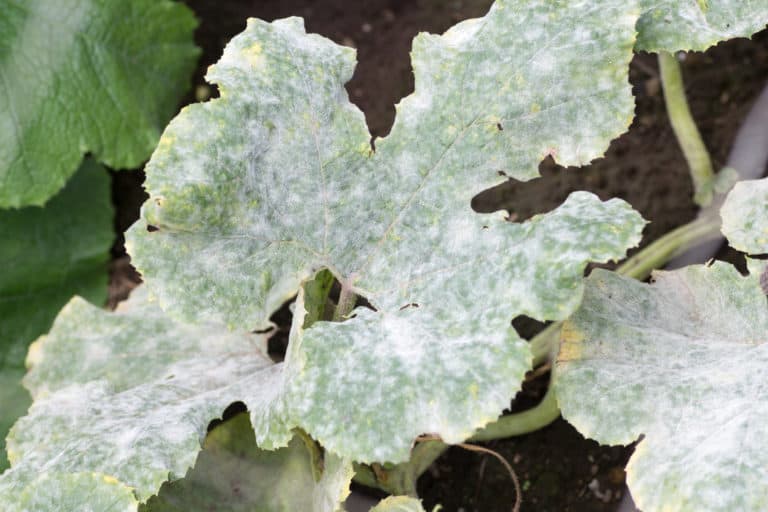
Weeds popping up in your spread compost are another story since they’re much harder to get rid of and they keep resurfacing. But are you sure that the weeds are originating from the compost you’ve spread on your beds, or are they coming from deeper underneath? In my experience, weed seeds rarely survive cold composting that’s been sitting long enough (at least one year).
Conclusion
Don’t be put off by composting if you don’t manage to create the perfect seed-free fertilizer for your garden. Hot composting is actually very hard to achieve for regular gardeners. Use the tips in this article and decide for yourself which route your want to go, but don’t forget that going organic, no-dig and fertile sometimes requires sacrifice.