
Daylilies are one of those plants I love because they don’t ask for much. They bloom like crazy, handle a bit of neglect, and still come back like nothing happened. But once that first big flush of flowers fades, they can start looking a little tired and dramatic.
The good news? You don’t need to panic or give them a full haircut. A small cleanup at the right time is usually enough to make them look fresh again. And it might even help them put on another little show later!
Why Daylilies Need A Mid-Summer Cleanup
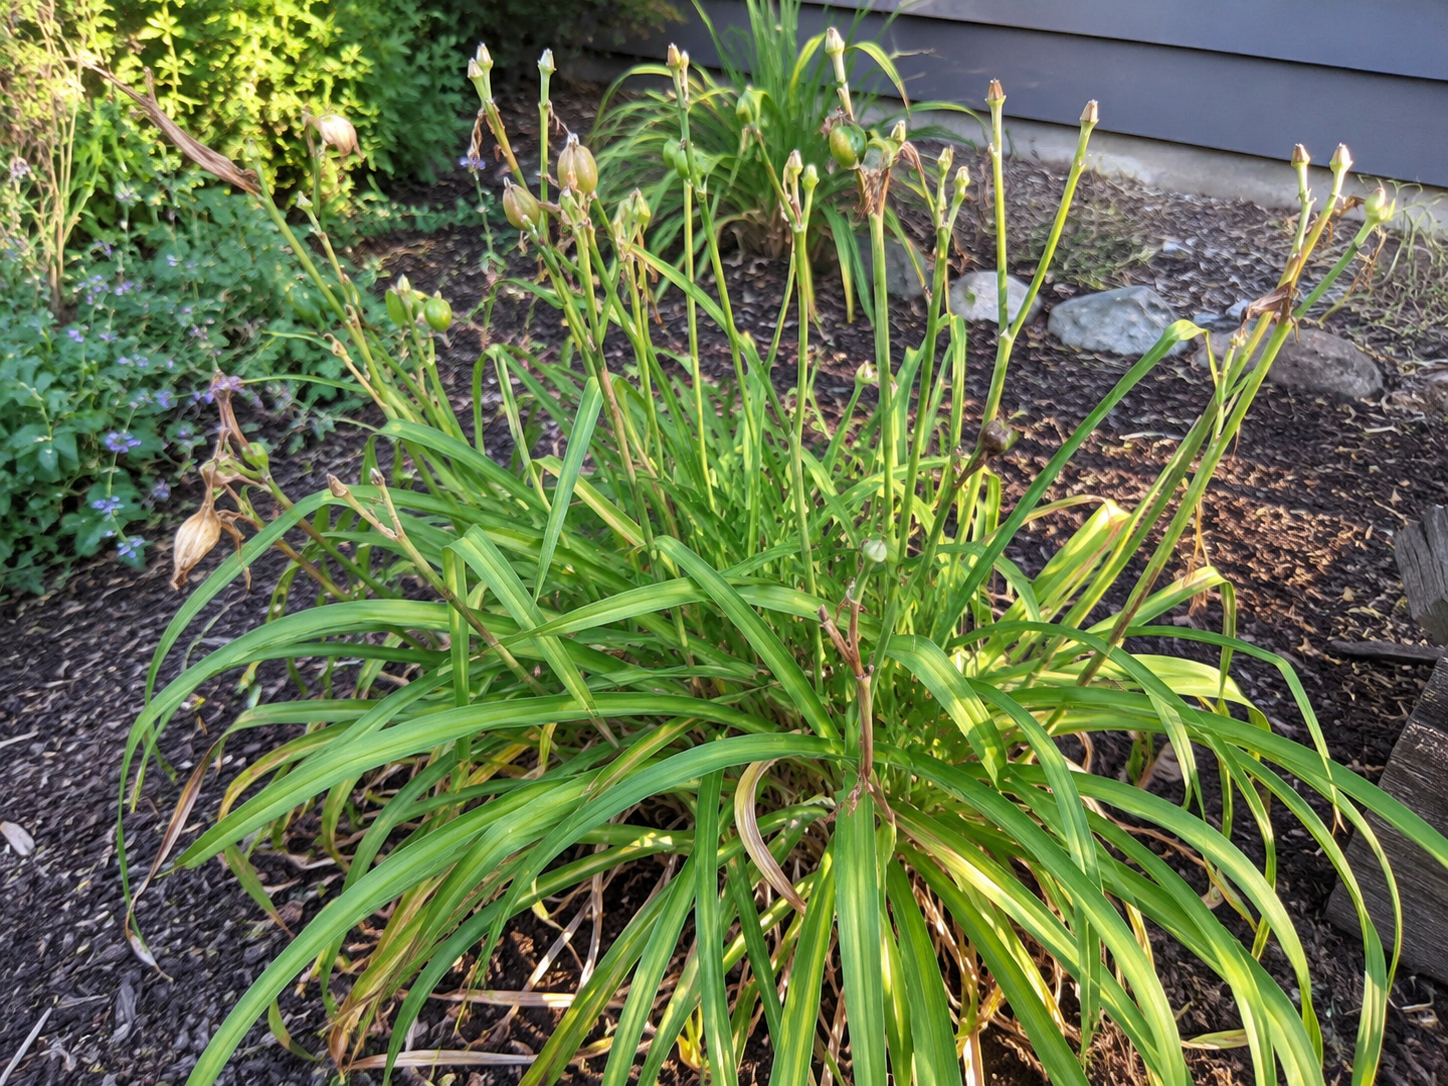
By mid to late summer, my daylilies usually start looking like they’ve had enough of me, the weather, and life in general.
The flowers are done, the stalks are standing there looking useless, and a few leaves always decide to turn yellow just to keep things interesting. Nothing is wrong with the plant. It’s just tired, hot, and ready for a little cleanup.
Cleaning them up now makes the whole clump look less abandoned, and the plant can stop wasting energy on seeds I never asked for.
Quick reminder: This doesn’t have to be a big dramatic pruning session either! Most of the time, you’re just removing what’s finished, ugly, or clearly past its prime.
We also wrote a full guide on how to encourage repeat blooming in daylilies if you want to give those reblooming varieties the best chance later in summer.
How To Know Your Daylilies Are Ready For A Trim
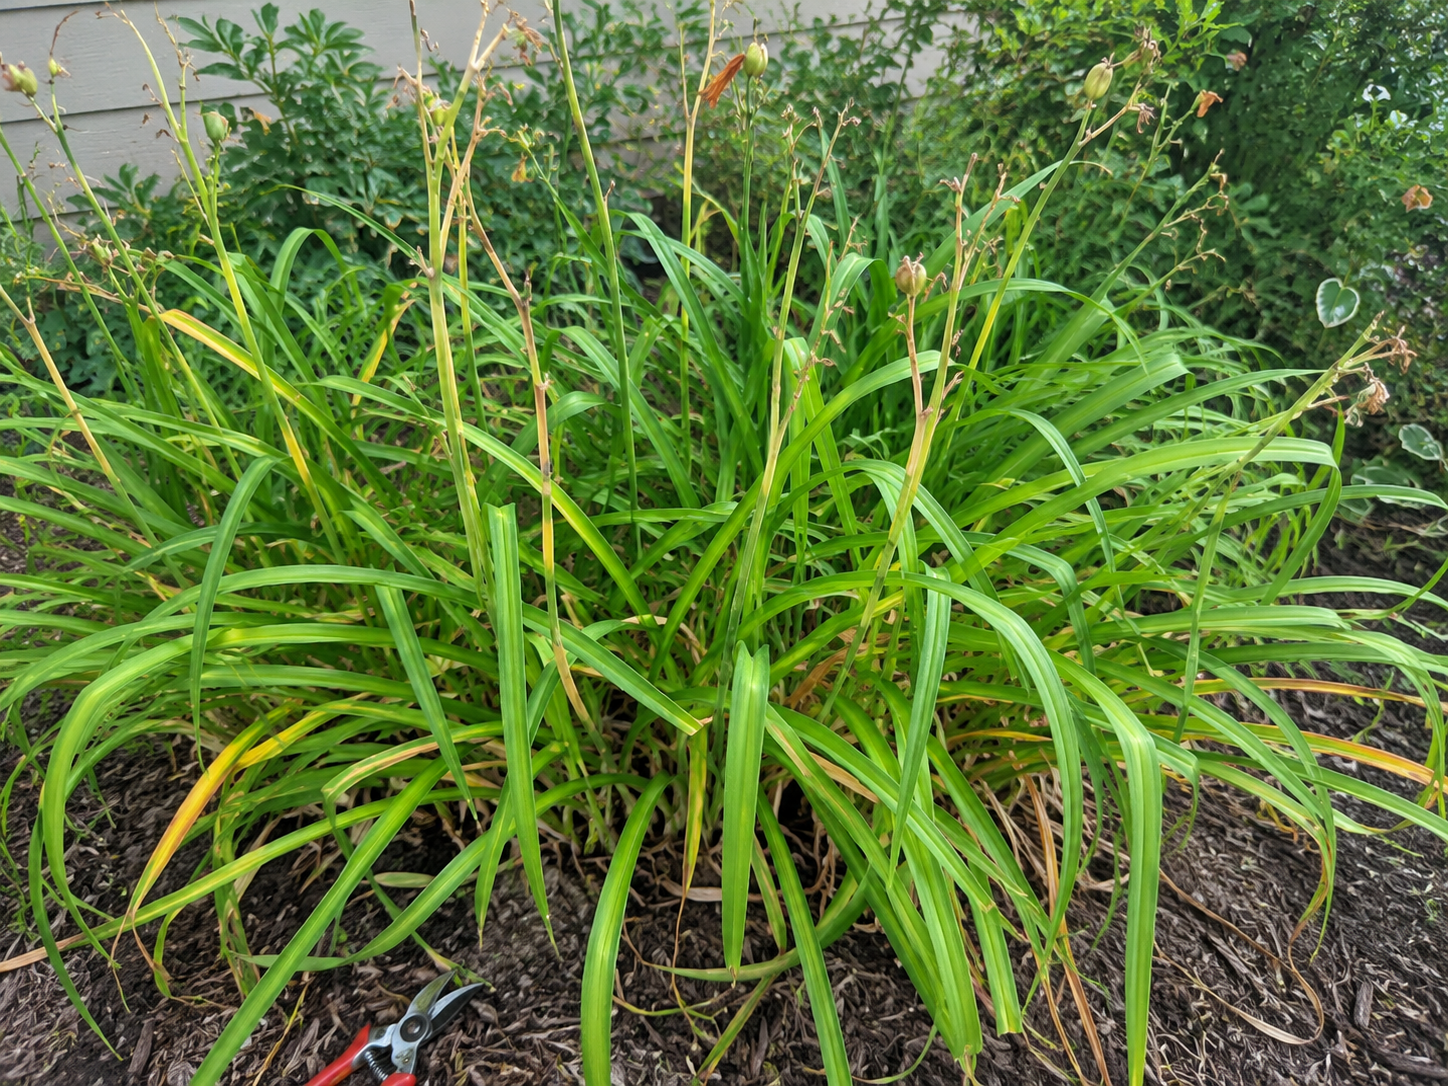
The best time to trim daylilies is after the big flower show is over, not while they’re still putting on a performance.
I don’t follow an exact date for this, because daylilies clearly do not care what month I wrote in my garden notebook. Some finish earlier, some keep going a little longer, and reblooming types may still have more to give.
Once the flower stalks are bare, dry, or mostly finished, that’s my cue. Just don’t chop down all the green leaves yet. They may not be the exciting part, but they’re still doing the boring important job of feeding the plant for next year.
How I Trim Daylilies Without Cutting Too Much
1: Start With The Flower Stalks
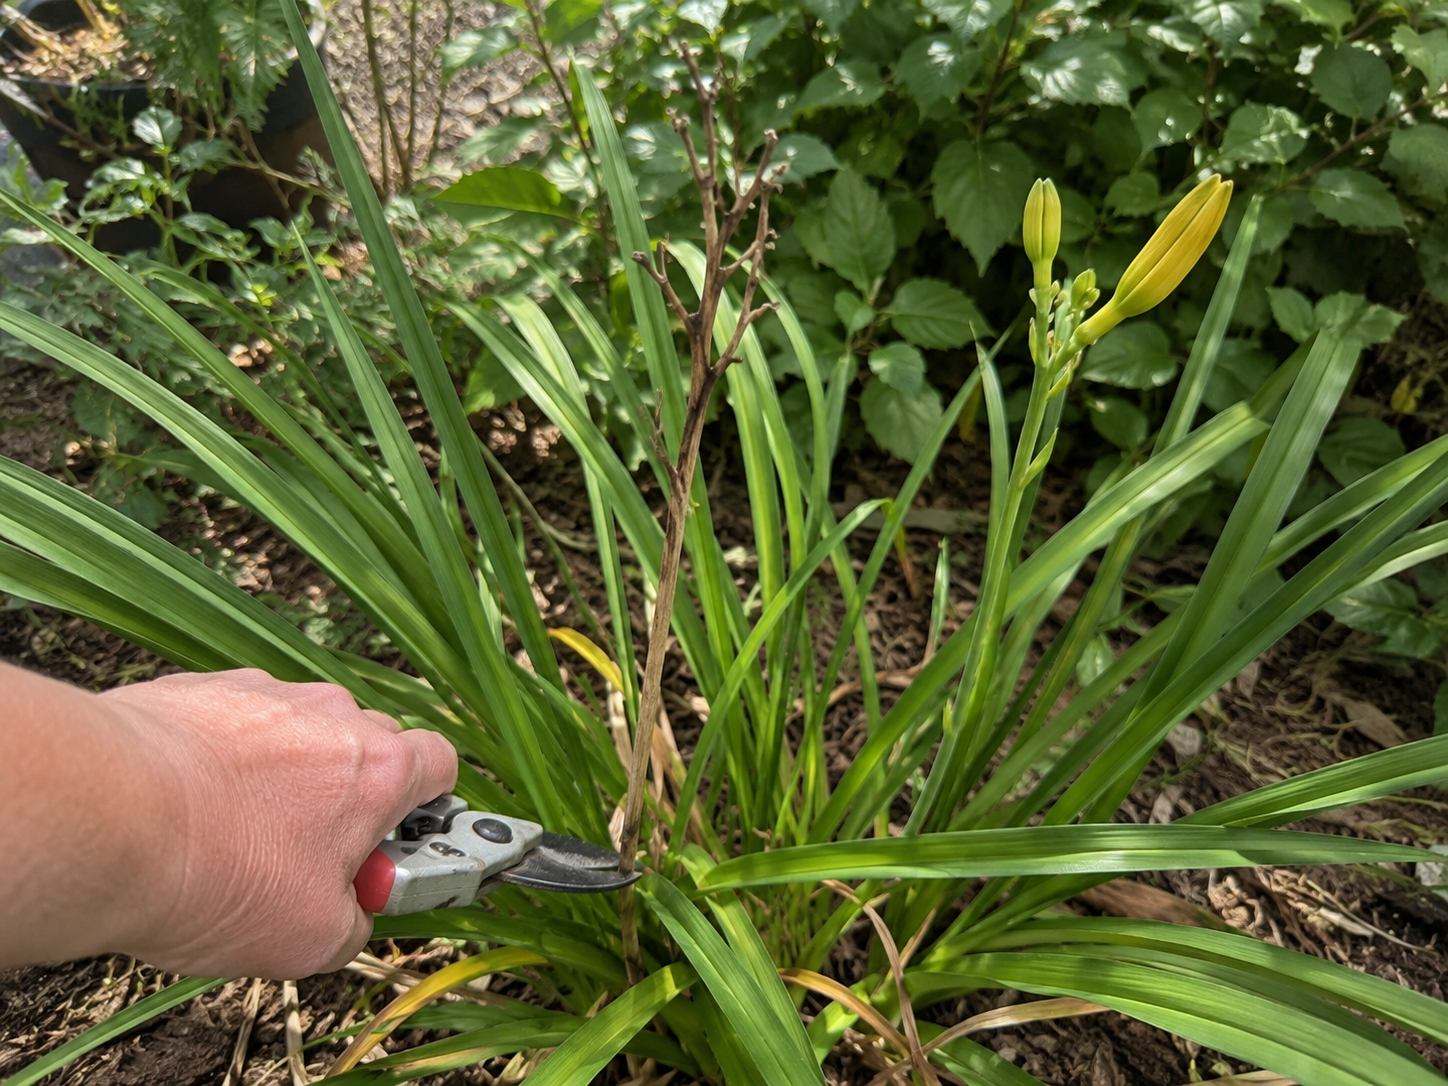
Look for stalks that have finished blooming completely. If there are still unopened buds on the stalk, leave it alone for now.
Once the stalk is done, cut it down close to the base of the plant. Don’t yank it out unless it comes away easily, because daylilies do not appreciate being wrestled.
2: Remove Seed Pods
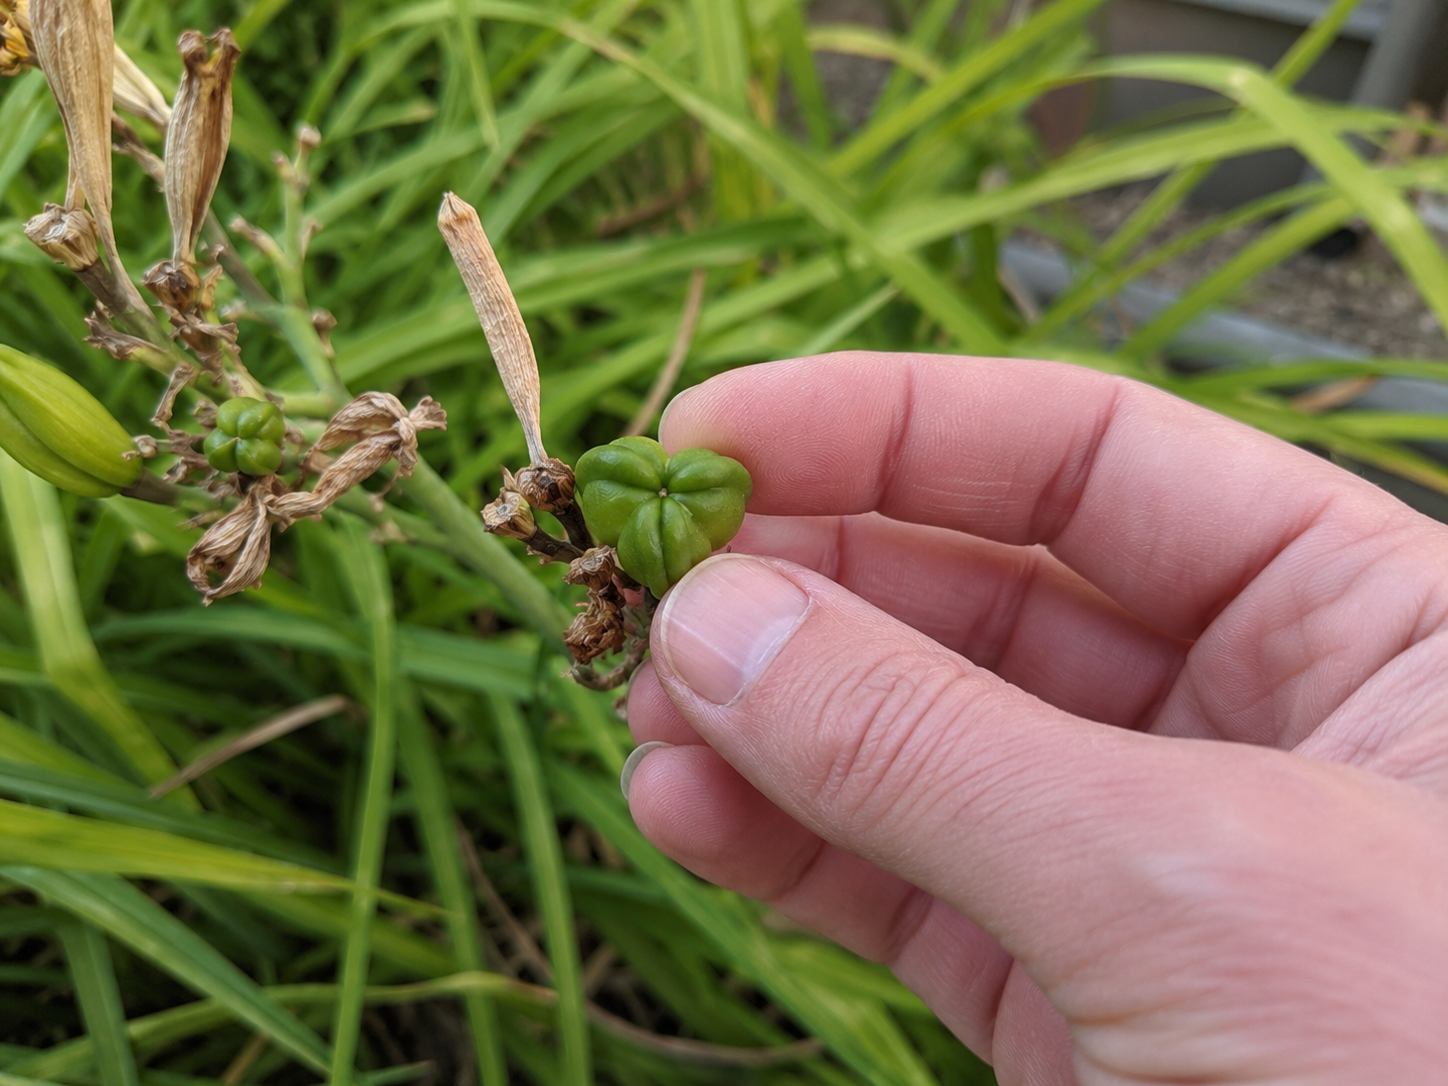
If you see little green pods where the flowers used to be, snip them off.
Those are seed pods, and unless you’re trying to grow daylilies from seed, they’re just stealing energy from the plant like tiny freeloaders.
3: Clean Up The Ugly Leaves
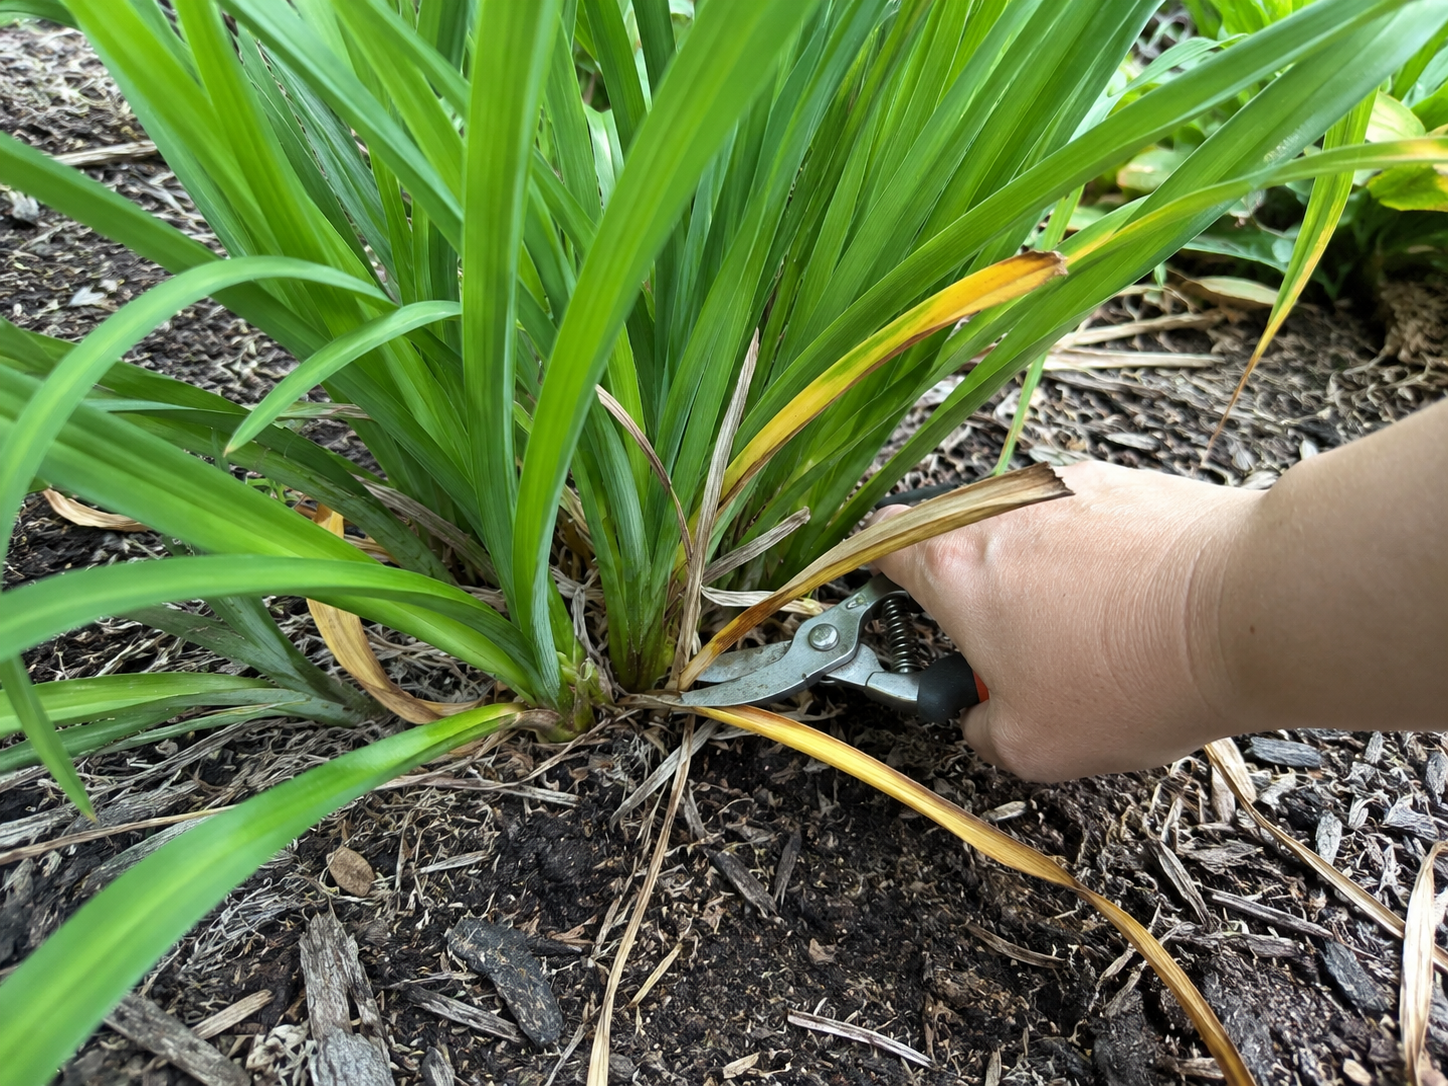
Remove yellow, brown, mushy, or damaged leaves at the base.
I leave the healthy green leaves alone, even if they’re not winning any beauty contests. They’re still feeding the roots, and that matters for next year’s growth.
If your hostas are doing the same tired yellow-leaf routine nearby, we also explain how to trim back yellowing hosta leaves without cutting too much.
4: Toss Diseased Foliage
If any leaves look spotted, slimy, or diseased, don’t compost them. Throw them away so you’re not spreading problems around the garden.
Healthy flower stalks and spent blooms can go in the compost pile.
What To Expect After Trimming Daylilies
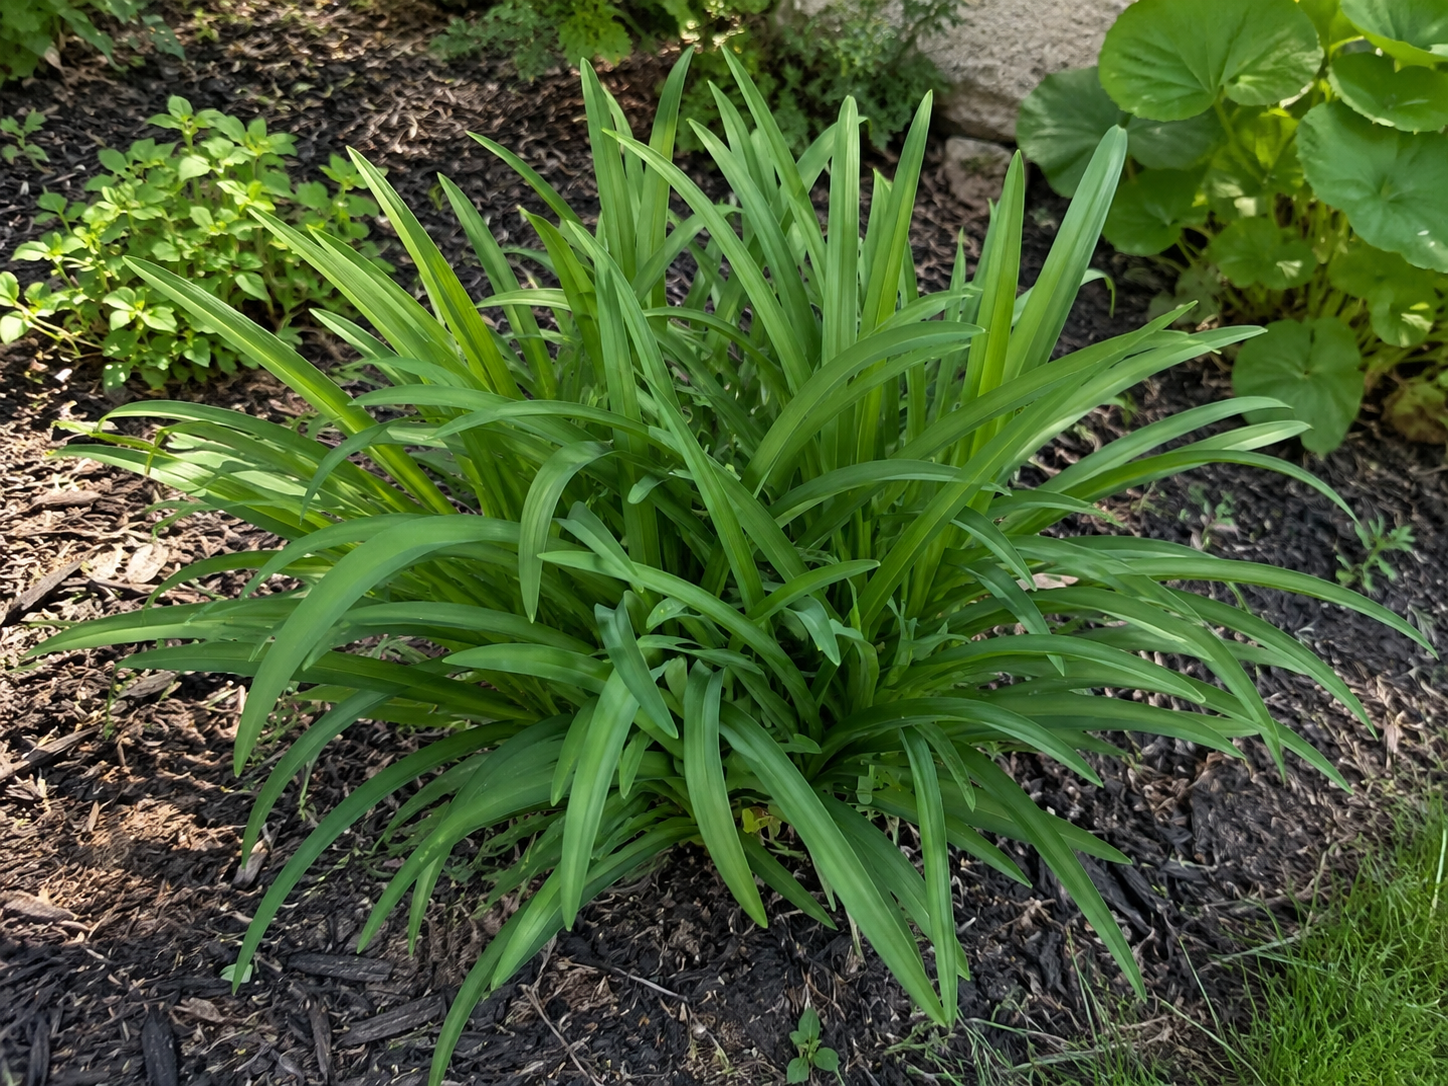
After trimming, don’t expect your daylilies to suddenly turn into brand-new plants overnight. They are daylilies, not magicians.
Most of the time, the first thing you’ll notice is that the clump simply looks cleaner. The old stalks are gone, the worst leaves are out of the way, and the plant looks like someone finally helped it get its life together.
You may also see the remaining foliage stand up a little better once all that dead, floppy stuff is gone. It’s not always dramatic, but it makes the whole plant look fresher through the rest of summer.
And this is where it gets interesting: if you’re growing reblooming daylilies, a cleanup can give them a better chance of sending up more flower stalks later!
If your daylilies still look rough after a few weeks, check the basics: too little water, too much heat, poor soil, overcrowding, or not enough sun can all slow them down.
Daylilies aren’t the only plants that can benefit from a summer cleanup either. We put together a guide on perennials that can bloom again after a mid-summer cutback if you’re tidying up more than one tired-looking corner of the garden.
Daylily Trimming Mistakes That Can Backfire
Daylilies are tough, but they still don’t need a dramatic haircut. Before you start cutting, watch out for these common mistakes:
A Little Cleanup Goes A Long Way
Daylilies are pretty forgiving, which is exactly why I love them. You don’t need to fuss over them or treat every faded leaf like an emergency. Just give them a little attention when they start looking tired, and they’ll usually bounce back looking much happier.
And if they still look a little scruffy after a hot summer? Honestly, same.




T Y I did not know how to refresh my Plant,
Hi Linda 🙂 You’re very welcome! A small cleanup really can make a tired daylily clump look fresh again.
When is the best time to separate day lilly.? How do you separate?
Hi 🙂 The best time to divide daylilies is in early spring or right after they finish flowering. Dig up the whole clump, gently pull or cut it into smaller sections with 2 to 3 healthy fans and roots attached, then replant them with the crown about an inch below the soil surface and water them well while they settle in.
thnks for your info on trimming day Lillies. Question #1. If I cut all the seed pods off will the plant bloom next year? How do I know what is a seed pod and what is a flower that has not bloomed yet
Hi 🙂 Yes, you can remove all the seed pods and the plant should still bloom next year. Keep the healthy green leaves, since those feed the roots. Seed pods are rounded and swollen, while unopened buds are narrow and pointed.
What do you do with the seed pods, to use them for new plants?
Hi Loni 🙂 Let the seed pods mature on the plant until they turn brown and begin to split. Collect the dark, firm seeds inside and let them dry briefly. You can sow them, but daylilies grown from seed may look different from the parent plant and can take a few years to bloom.
I adore your humor. “By mid to late summer, my daylilies usually start looking like they’ve had enough of me, the weather, and life in general.” 🤭😅 Being educated, gaining new knowledge with fun is the best way to learn and keep my adhd brain focused. I appreciate you. Thank you.
~Tara
Hi Tara 🙂 This made me smile! 🤭 I’m so glad you enjoyed the humor and found the information helpful too. Gardening is definitely more fun when we can laugh at it along the way. 😂
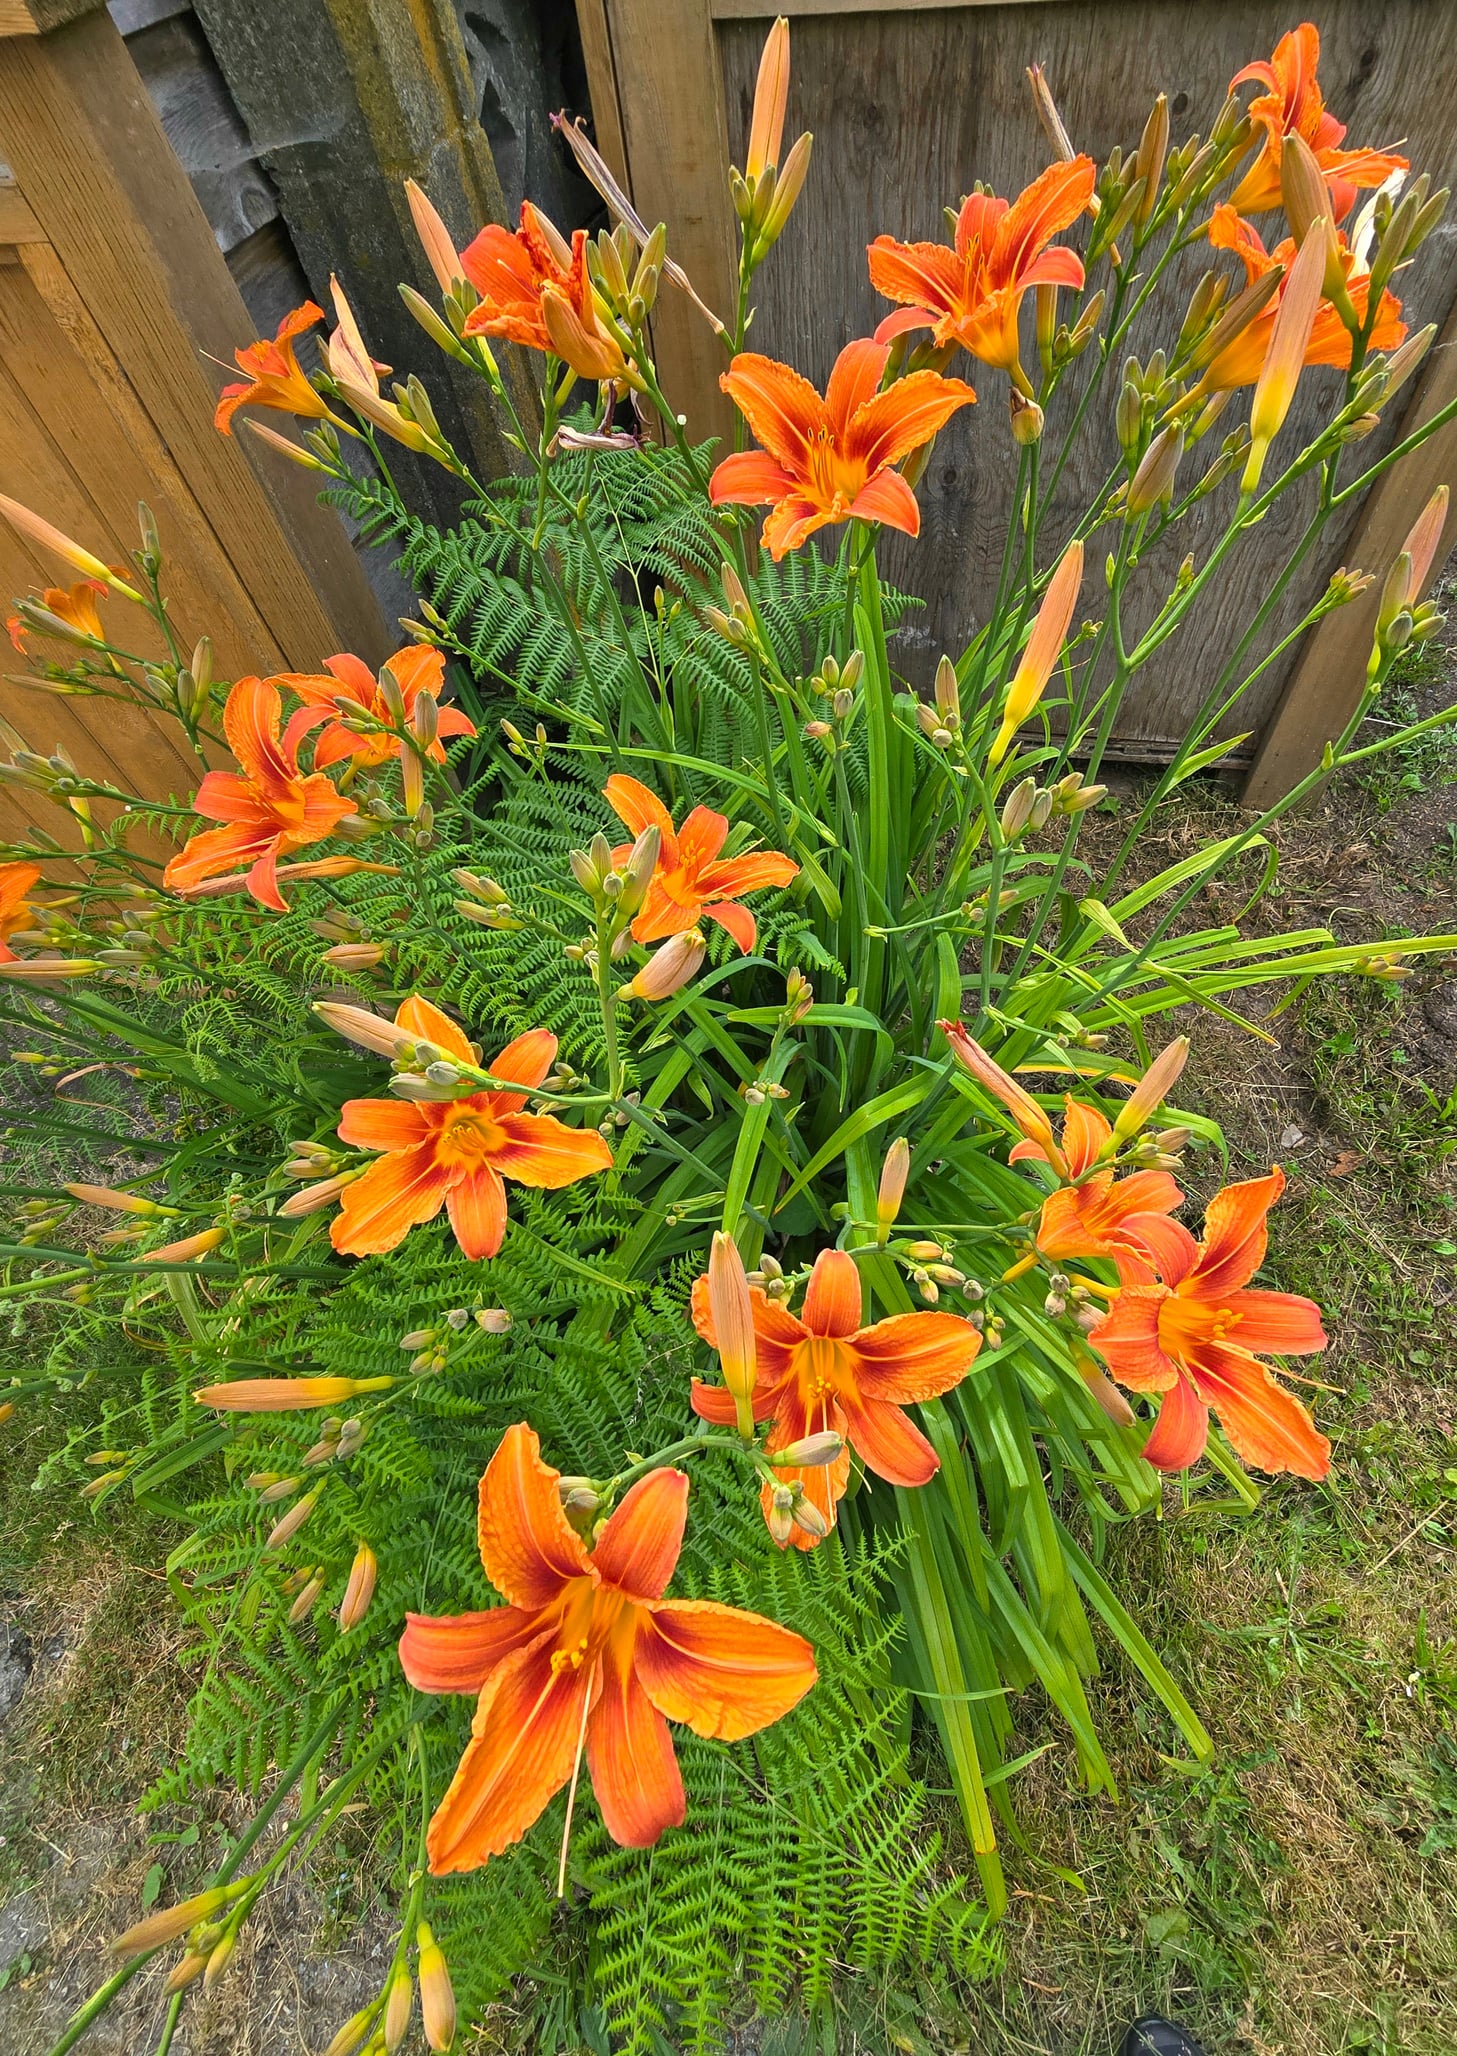
In that 2nd picture– With a faded bloom in the foreground. I think I see blooms that have yet to flower. Am I correct?
Hi 🙂 If you’re referring to the Facebook post we shared rather than the images in the article, then yes, you’re correct!
Your tips are very helpful. My daylillies are presently very thick. How and when to thin out.
Hi Susan 🙂 Thick daylily clumps are best divided in early spring or just after flowering. Lift the clump, separate it into smaller sections with two or three leafy fans and healthy roots, then replant and water well.
When l want to decide the plant what is the best time. Therese Holmquist
Hi 🙂 The best time to divide daylilies is in early spring or just after they finish flowering. I usually prefer after flowering because you can divide the clump and give the new sections time to establish before winter.
Dear Rita,
Please write a book! You are a riot.
Hi Lisa🙂 Thank you! I’m not sure the world is ready for a whole book of my garden drama, but I’m so glad you enjoyed it. 😂
I inherited my Mother’s day lilies and have never known how to really take care of them properly.
They have finished blooming and I have three new raised beds I am going to move them to so they have their own space instead of squished in my veggie garden just yo save them from being dug up and left to die.
I appreciate your humor and writing style and look forward to many more articles from you!
I have been told by older gardeners that I should move them in the fall.
Would you give me counsel on the best way to go about this?
Hi Deb 🙂 Since they’ve finished blooming, this is actually a good time to move them. Fall can work too, but I wouldn’t wait too late in colder areas. Dig up the clump, separate it into sections with 2 to 3 leafy fans and healthy roots, replant with the crown about an inch below the soil, and water well while they settle in.
Hello! I have 5 yellow day lilies that have seen better days. I have no idea what I did this summer but they’re wimpy and scrawny. Even several of the green leaves break easily. Being that it’s the end of July, is there anything I can do to keep them healthy for the rest of the season? Thank you…
Hi Kathy 🙂 At the end of July, I wouldn’t cut all the green foliage back. Remove the finished flower stalks and any yellow, brown, or badly damaged leaves, then check that they’re getting enough water and sun and aren’t badly overcrowded. Those are some of the first things I check when my daylilies start looking tired after flowering.
I wish there was a way to print these. My Small Garden Club would love this information.
Hi Vivian 🙂 I’m so glad you’d like to share this with your garden club! One easy option is to use your browser’s Print command and print the article directly from there.
Thank you so much for the info very helpful I do not have a green thumb but I love my flowers
Hi Marcia 🙂 You’re very welcome! Loving your flowers is the best place to start, and you’ll learn more every season. 😍
I have always clean up my daylilies that way. No one ever told me how or when I just thought it made them look nicer. Do the same to my hosta.
Hi Beverly 🙂 That’s pretty much how I handle mine too. With hostas, I remove tired or damaged leaves as needed, then clean up the dead foliage in late fall. I leave healthy green leaves alone while they’re still doing their job.
Do we tie up the leaves after all the clean up?
Hi Tracey 🙂 No, I wouldn’t tie the leaves up after cleanup. Just remove the finished stalks and yellow or damaged foliage, then leave the healthy green leaves loose so they can keep feeding the plant.
Hi Rita! Would you have any idea why my colorful coneflowers I had planted last year come back this year every flower completely green? Is it a soil problem?
Hi 🙂 That doesn’t sound like a soil problem. If the flowers are coming out completely green, especially if they’re also oddly shaped or distorted, aster yellows is a strong possibility. Unfortunately there’s no cure, so if the symptoms match, remove the whole affected plant including the roots and put it in the trash rather than composting it.
Thank You !!
Having some information day lilies is so help I’m new to them. Moved into house that has a lot and want to separate them will do next year with this information you posted.
Do you have a book published would love to buy for help with garden.
Hi Jody 🙂 You’re very welcome! We don’t have a general gardening book at the moment, but we do have some free e-books available on our website, plus tons of gardening articles you can read anytime.
zone 3. can I cut my day lilies to the ground after first frost
Hi Maggie 🙂 In Zone 3, yes, you can cut your daylilies back after a hard frost has killed the foliage. I’d wait until the leaves are yellow or brown, then cut them down to a few inches above the soil rather than cutting into the crown.
Might be a dumb question but, will the seed pods produce new plants if planted???
Hi Janice 🙂 Not a dumb question at all! Yes, mature daylily seeds can grow into new plants. Just keep in mind that seedlings from named varieties may look quite different from the parent, so you might end up with a fun surprise.
How about Lillie’s of the Valley
What should be done with them after bloom ?
Hi Debbie 🙂 After lily of the valley finishes blooming, leave the green foliage in place so it can keep feeding the plant. You can remove the spent flower stems if you like, then wait until the leaves naturally yellow and die back before cleaning them up. If the patch needs thinning, it can also be divided after flowering.
This is my first time for Day Lillies. I had such Beautiful ones. I am ready to clean them up. Thank you for all the Great Info. I never knew any of that. Have a Nice Fall and Winter. Happy Holiday’s. 🎃🎃🎃🎄🎄🎄
Hi Susie 🙂 I’m so glad it helped, especially with your first daylilies! Enjoy cleaning them up, and I hope they come back even bigger and better for you next season. Happy Holidays 😍❄️
Thank you for this information I happen to stumble upon it , and enjoyed reading it
Hi Rita 🙂 You’re very welcome! I’m so glad you enjoyed it. 😍
Hi, I am new to how to manage my daylillies. I usually just lop them all off instead of keeping the green leaves so your information is greatly appreciated. I have just one question. Then the tips or 1/2 of the leaf is yellow but the base is still green should I remove the whole leaf or just the yellowed part.
Hi Carol 🙂 If the base of the leaf is still healthy and green, I’d just trim off the yellow or brown portion and leave the green part to keep feeding the plant. If most of the leaf has yellowed, you can remove the whole leaf at the base.
No fertilizer in September but early next spring?
Hi Sharon 🙂 Yes, I’d skip fertilizer in September! If they need feeding, early spring as the new growth starts is a much better time. I’d use a light application of a balanced fertilizer, and avoid overdoing nitrogen since that can give you lots of leaves without helping the flowers.