
Another wonderful garden season has ended! And you have some perfectly good seeds left over. You could, of course, try building a grand pyramid to store them in, but history shows that doesn’t always work out.
A better idea is to use some clever techniques to keep your precious seeds viable for …ages! For a lifetime, or thirty. Or, at least until you perfect embalming.
The Seed-Killing Triple Threat
Your seeds have some serious enemies. They are all deadly threats, they just have a different method of destruction:
Each of these deadly factors can foil your seed-saving efforts, so a truly great storage strategy must be a master of avoiding all three.
When you’re collecting your own seeds, don’t forget flowers too, here’s a full guide on which flower seeds to collect in September.
A Step-by-Step-by-Step Storage Guide

A good seed-saving approach is sure to grow on you. It’s all about the steps you sow.
Step 1: The Great Drying
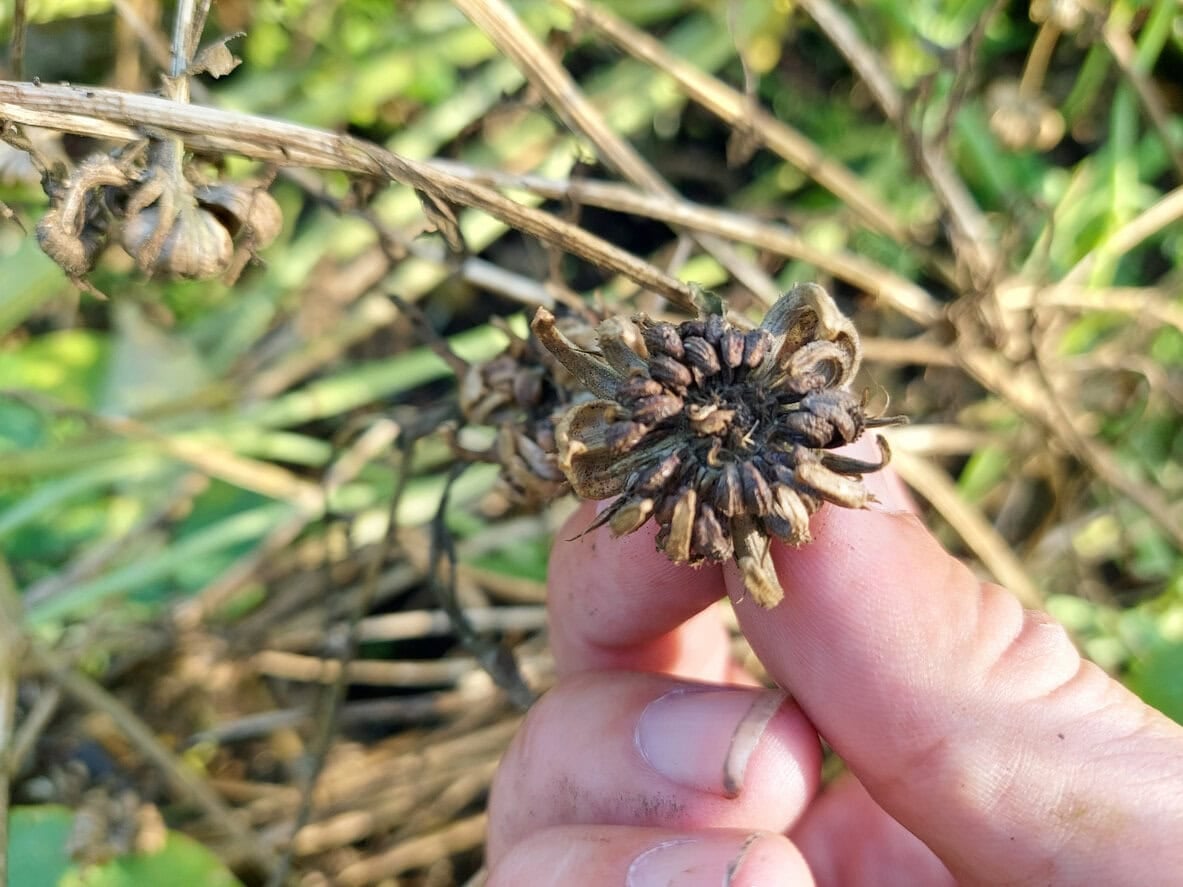
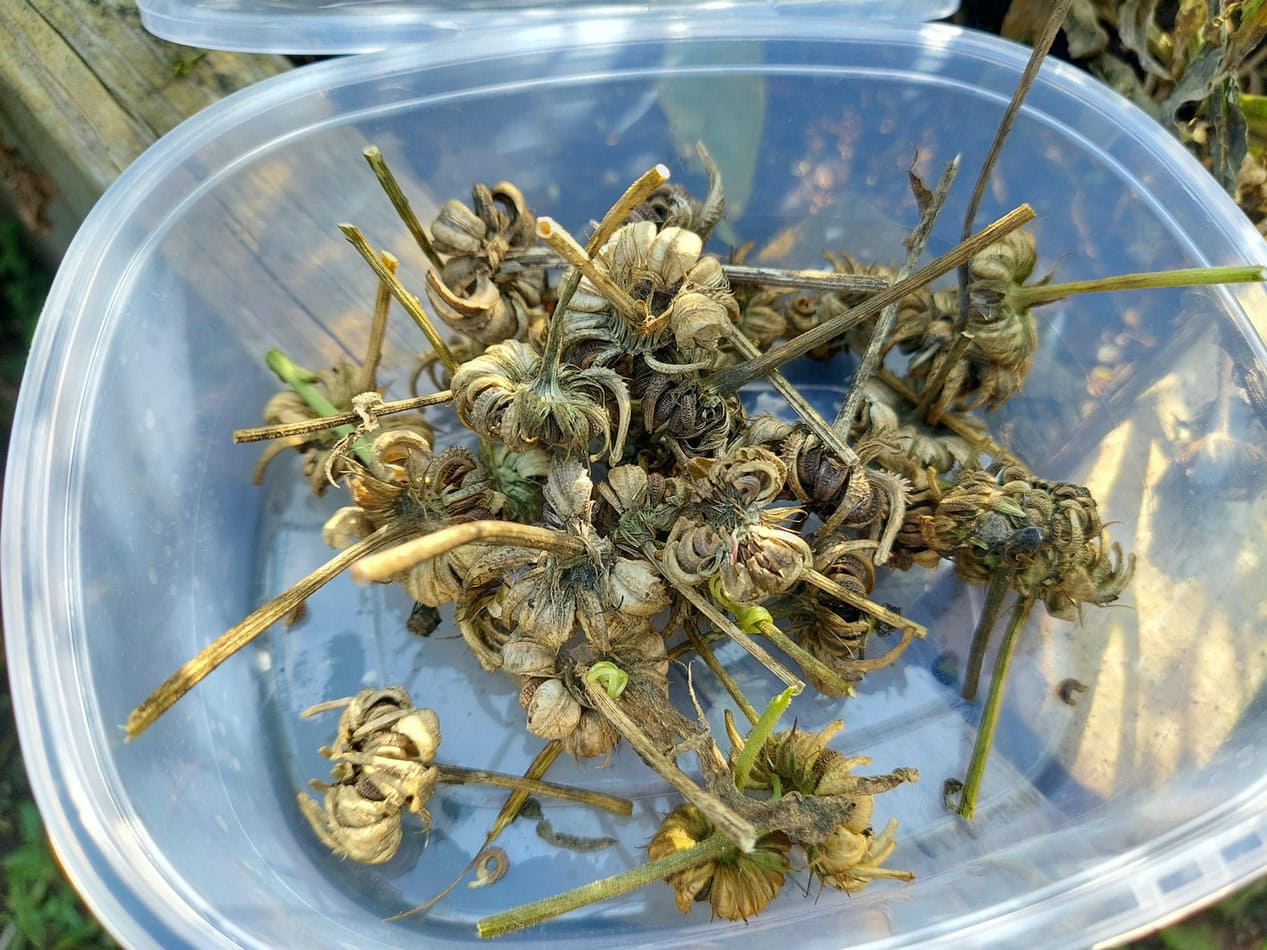
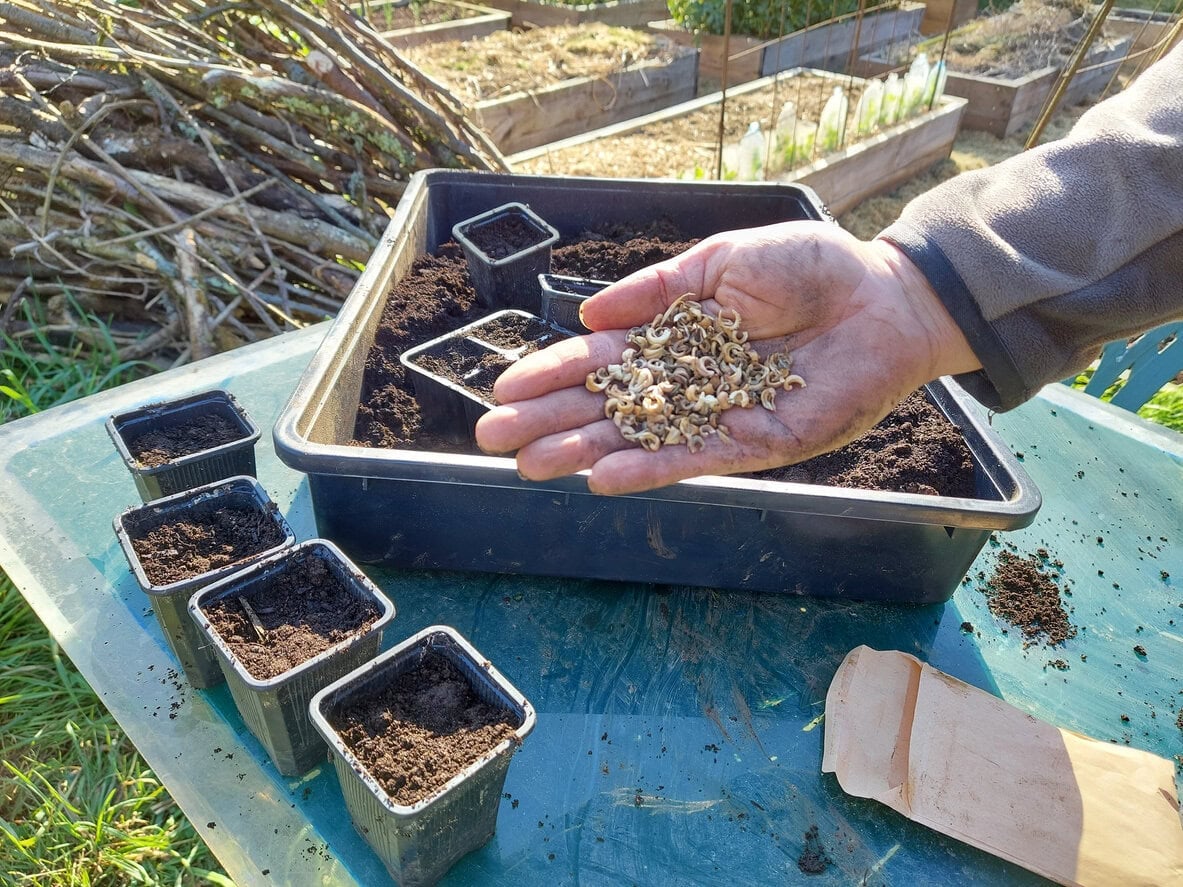
First things first, make sure your seeds are ready for their long slumber. If you’ve harvested them yourself, they need to be completely dry.
A great way to tell if a large seed is dry is by snapping it. It should break with a sharp snap. If it feels squishy and bends, that one needs a little more time to dry out.
If you have tiny seeds you can’t snap in half unless you operate a microscopic scalpel in your home lab, a simpler plan is probably a better idea. Spread them on a paper towel or a screen in a warm and airy spot for a few days.
Good air circulation is a must-have, and you should store only the purest and most pristine seeds. So, once they dry, remove any leftover plant bits, chaff, or other debris. Don’t let one bad seed Cave your efforts.
Step 2: The Perfect Container
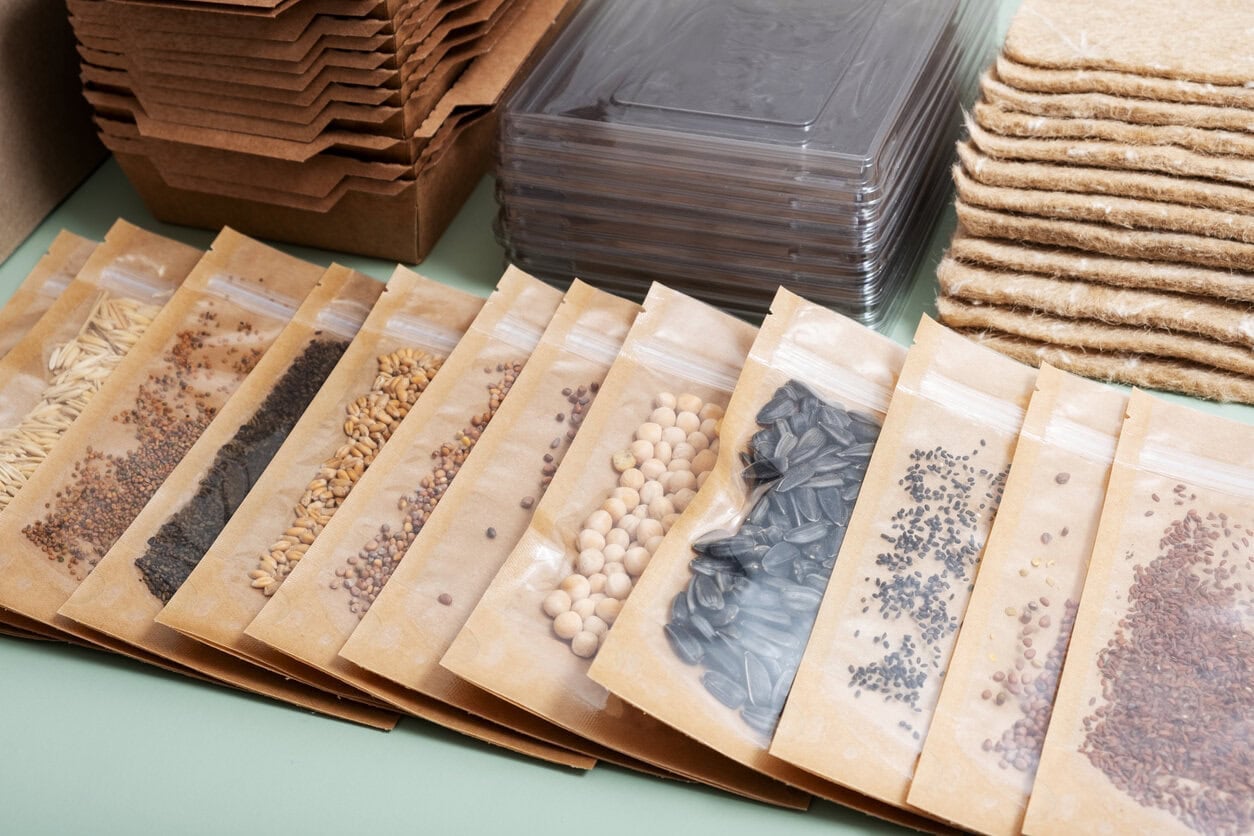
Your storage containers need to be exclusive, meaning no light or moisture is allowed in. The essential qualities are airtight and opaque.
A glass canning jar with a tight-fitting lid and a rubber seal is a fantastic and reusable option. You can also use plastic zipper-style bags. Just make sure they are a bit thicker to prevent tears.
Also, vacuum-sealing can definitely help. You may find food-grade containers with a little hand pump that pulls a good amount of air out and creates a nice, tight seal. Just remember that these containers are almost always clear, so you will want to place them inside a dark cabinet, a box, or another opaque container.
It’s an excellent technique for anyone planning to store seeds for an extremely long time. Vacuum-sealing is the icing, but for the average (read: sane) gardener, the cake itself is the most important part.
And whatever you choose, always label and then label some more. Remember to record the plant name, variety, and the month and year of storage for every single plant. A mystery seed packet is thrilling until your parsley grows into lavender. And yet, you’ll love it anyway.
If you’re already planning ahead for spring, you can even make your own homemade seed starting soil to give stored seeds the best start when planting time comes
Step 3: The Ideal Location
After prepping and packing your garden seeds, you need to find them a perfect napping spot. The ideal temperature for seed storage is between 35 and 40 degrees Daniel Gabriel Fahrenheit (around 1 to 4 degrees Anders Celsius).
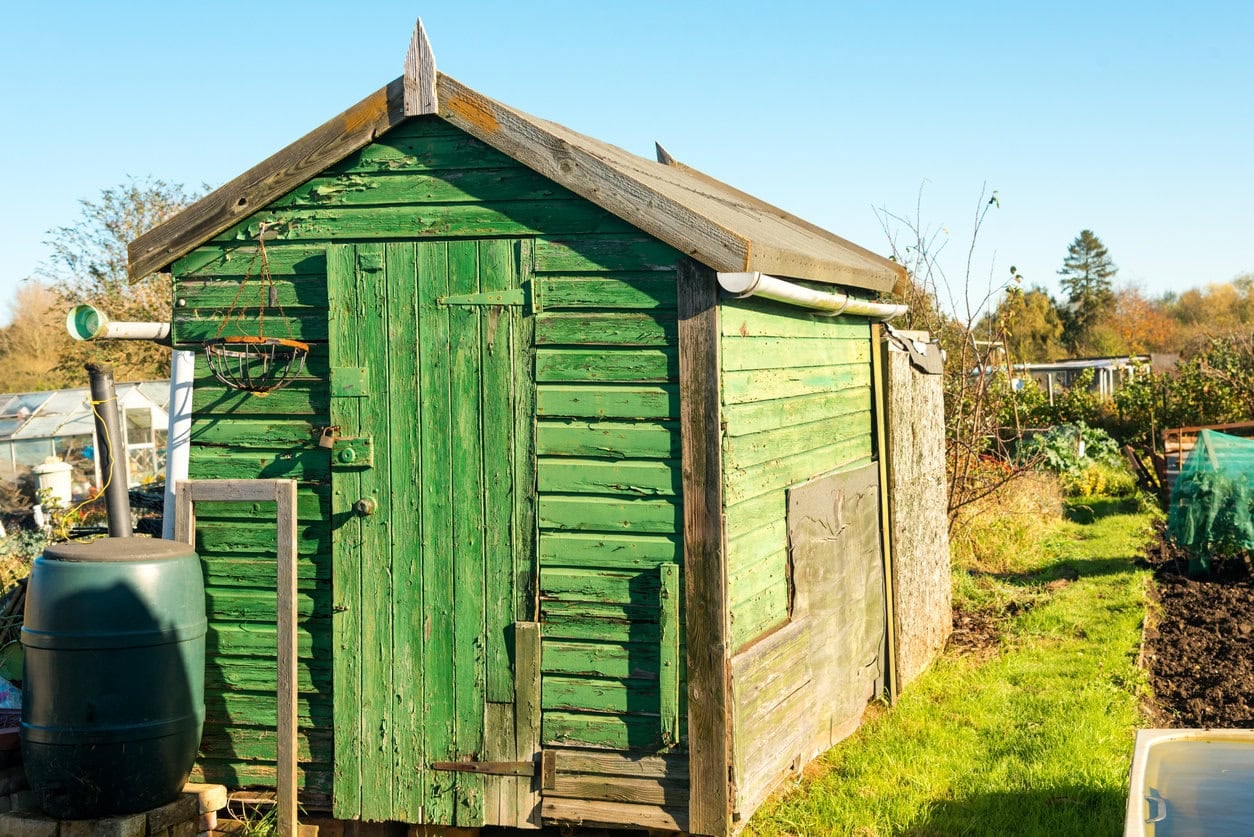
A refrigerator is an excellent place to store seeds, but you need to put them in a sealed container within another sealed container. If you’re not into Inception, a cool and dry basement or a climate-controlled cellar is also a good choice.
Avoid places like a garden shed or an unheated garage, as temperatures can get too hot in the summer and too cold in the winter. A kitchen cabinet can get humid (if you cook) and is also usually too warm (if you also bake).
Next-Level Seed-Saving Tips

A master seed-saver uses little extras, like silica gel, Epsom salt, or powdered milk, as desiccants. Just wrap a small amount in a piece of tissue paper or a paper towel and toss it into your seed container.
A desiccant is done when it becomes clumpy (powdered milk) or feels a bit damp or loses its crystalline feel (Epsom salt).
Some silica gel types you can find in gardening supply stores are called “indicating” because they are made with beads that change color when they have absorbed all the moisture they can hold. Either way, desiccants can be recharged in a low-temp oven.
Some gardeners also weigh the pros and cons of different seed types, here are the disadvantages of heirloom seeds to keep in mind if you’re saving those.
It also pays to know which seeds will last for many years and which ones… will not.
Short-lived seeds (1 to 2 years):
Medium lifespan (3 to 4 years):
Long-lived (5+ years with proper storage):
Keep in mind: A seed’s actual lifespan is not a story of chance but actually depends on how well you store it.
Tomatoes, in particular, can last for many years in storage, here’s how long old tomato seeds last and how to revive them.
A Legacy in a Pouch
While ancient seeds sprouting after millennia are a neat and spooky idea, they were probably just lucky. Yet, pharaohs’ tombs and a safe seed pouch have something in common.
Both are sealed, dry, and kept in the dark to protect their contents from the elements and the passage of time. There is no better proof that proper storage truly leads to… the afterlife.
When you’re ready to put those seeds back in the ground, check out this guide on direct sowing and outdoor seed germination.


Thanks for the info. It would be great if you could source some supplies, like the sealable seed envelopes in the 2nd and 4th pictures.
Hi Lori! 😊 I got those seed envelopes from Amazon, but you can find similar ones in most garden stores or online. Just look for resealable paper or kraft seed envelopes.