Your patio geraniums (aka pelargoniums: the tender types we grow in pots and summer beds, not hardy perennial geraniums) spent all summer living their best life outdoors.
Now the nights are getting colder, and reality is crashing the party. If you want to bring the same plants back out next spring, it’s time to prep your geraniums for winter and launch Operation Windowsill.
Step 1: Survival of the Stemmed
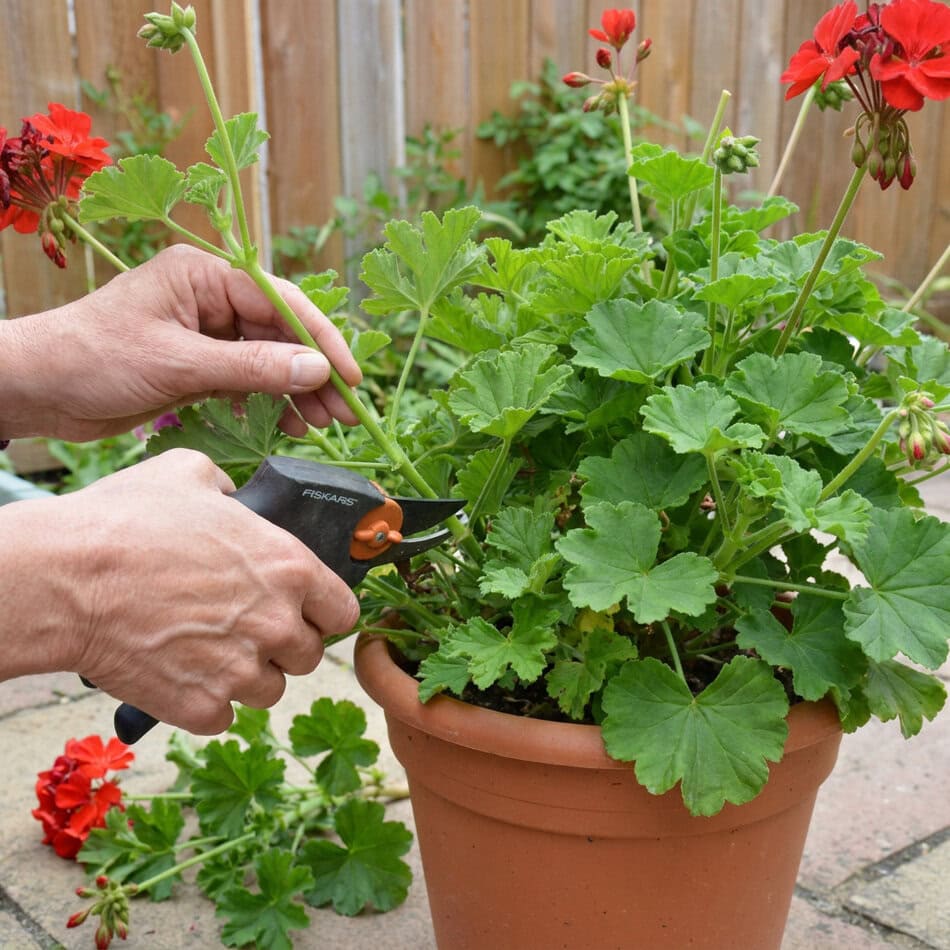
When September nights start getting cold and frost is creeping closer, I stop admiring my geraniums and start judging them. Windowsill real estate inside my house is strictly limited, and I refuse to spend all winter babysitting a spindly spider-mite factory out of sentimentality.
September is when you walk outside with pruners and zero mercy:
Quick tip: Give the newly potted plants a thorough drink, let the excess water drain away, then drag them inside before frost gets the chance to finish the job.
Geraniums aren’t the only plants worth rescuing, either! We wrote a guide to 9 plants you should bring indoors before frost hits if you’re deciding what else deserves precious windowsill space.
Step 2: Slice of Life
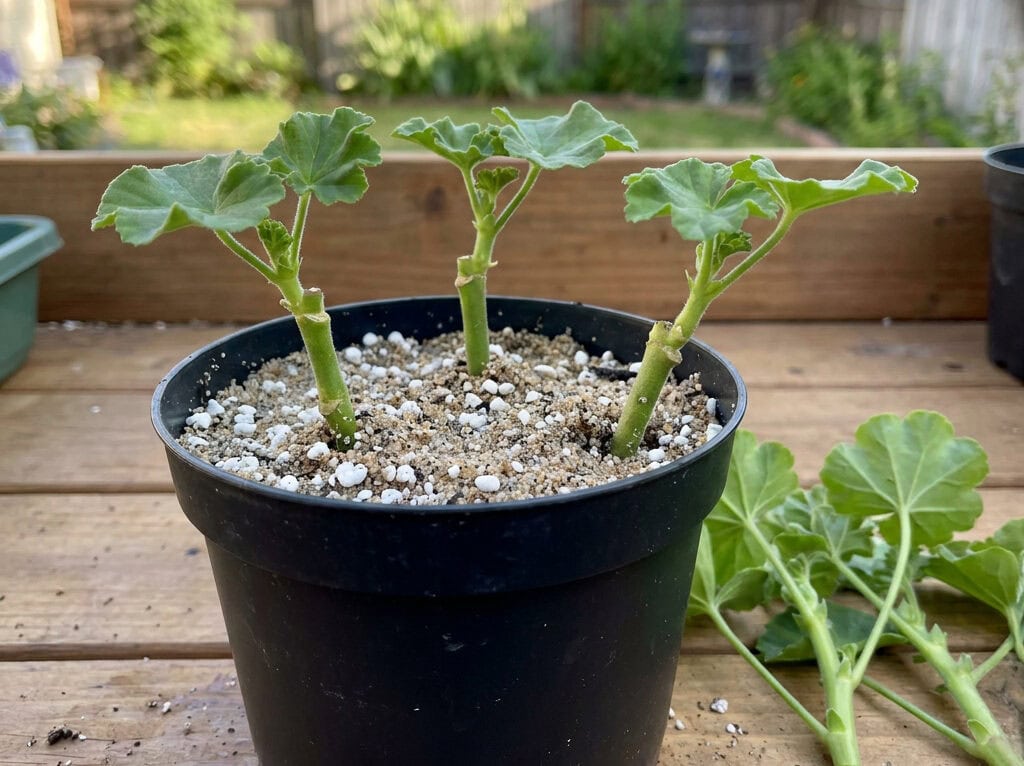
Taking cuttings right now isn’t optional extra credit. It’s cheap insurance. If the parent plant dies over winter, these small clones carry the torch.
Find non-flowering side shoots about four inches long and cut right below a leaf node using a sharp razor blade or clean pruners. Strip off the bottom leaves, flower buds, and tiny leafy stipules near the base.
Jam three or four cuttings into one four-inch pot filled with damp coarse sand and perlite, deep enough that they can stand upright. Keep a little space between them so air can move around the stems.
Quick tip: Keep the pot in bright, indirect light and keep the rooting mix lightly moist, not soggy. After about four to eight weeks, give each cutting a very gentle tug. If you feel resistance, roots have started to grab hold.
Step 3: Don’t Bug Me
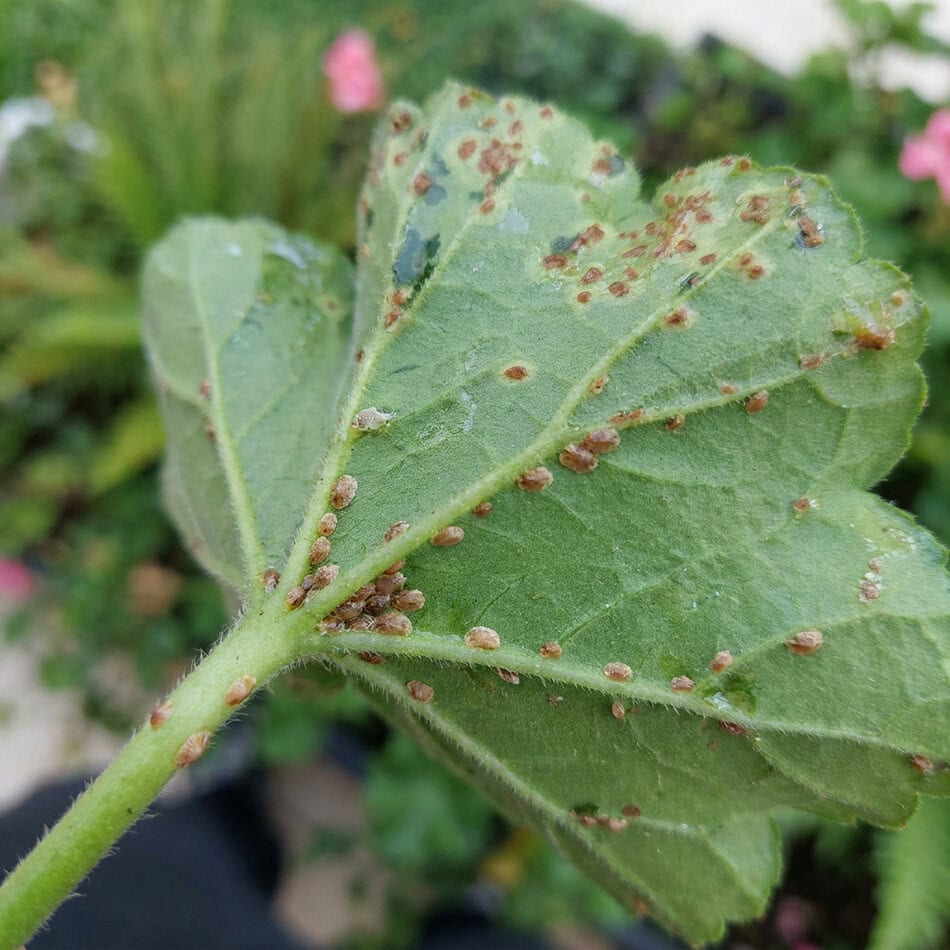
Congratulations on butchering your prized plants and jamming their babies into sand. Now comes the part where you stop spider mites, whiteflies, and scale from crashing on your couch all winter long.
Take those potted survivors straight to the hose and blast away their free ride with a strong, steady spray.
Scrub around the pot rims, drainage holes, and any little crevices where pests might be lurking, then give the whole plant one last inspection before any stem crosses your threshold.
Quick tip: Make sure to spray the undersides of the leaves and along the stems too, because that’s where tiny hitchhikers love to hide!
Step 4: Chill Out or Die Out
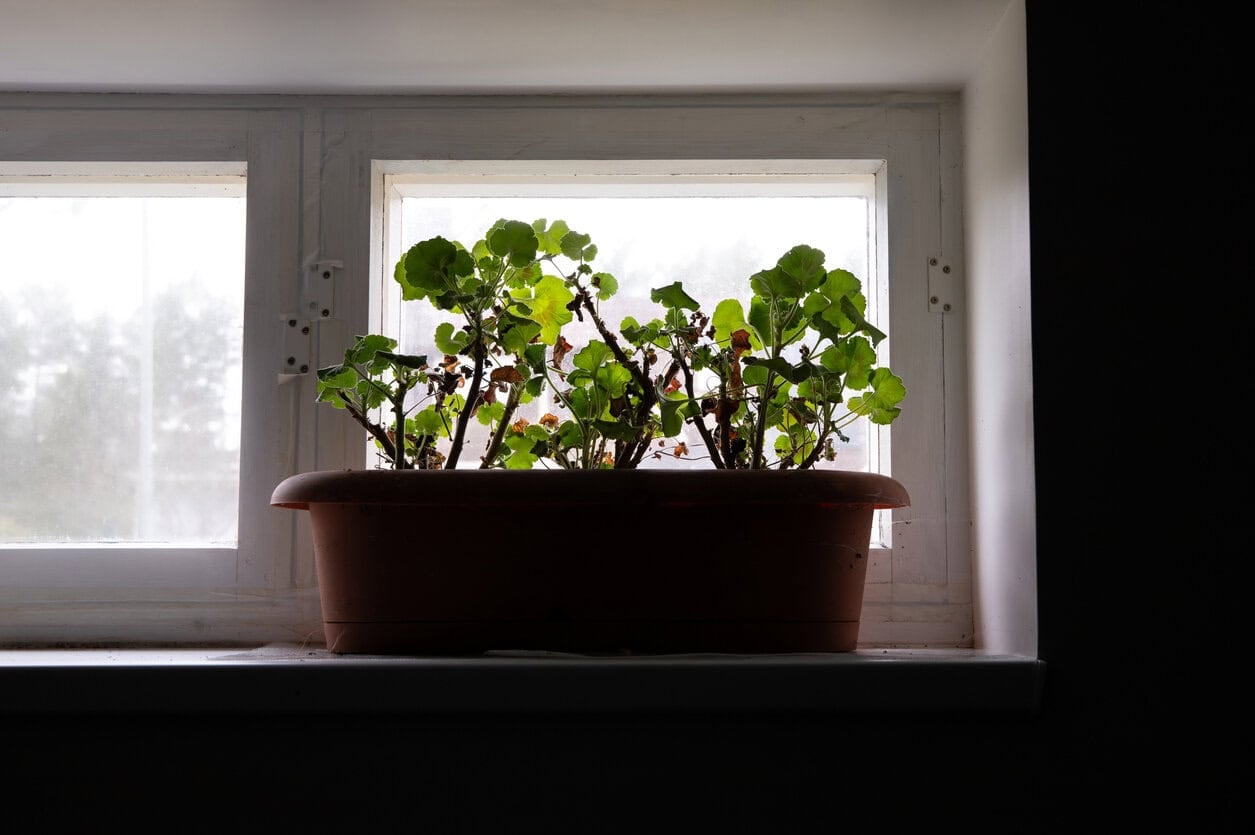
Once those plants pass inspection, don’t shove them next to a roaring radiator and call it a day. Indoor heat will encourage weak, leggy growth while the plant is supposed to be taking it easy.
Stick the pots in an unheated back room, enclosed porch, or frost-free garage that sits somewhere near 50ºF. Ideally, you want to pick a spot with some natural light, but the real goal here is cool conditions that keep the plants alive without encouraging much top growth.
If a plant starts reaching for the glass like my favorite uncle, that’s usually my sign that it’s getting too warm for the amount of light available. Trim that lanky growth back and keep it cooler. Keep them cool, frost-free, and resting.
Step 5: Hold the Fertilizer, Extra Dry
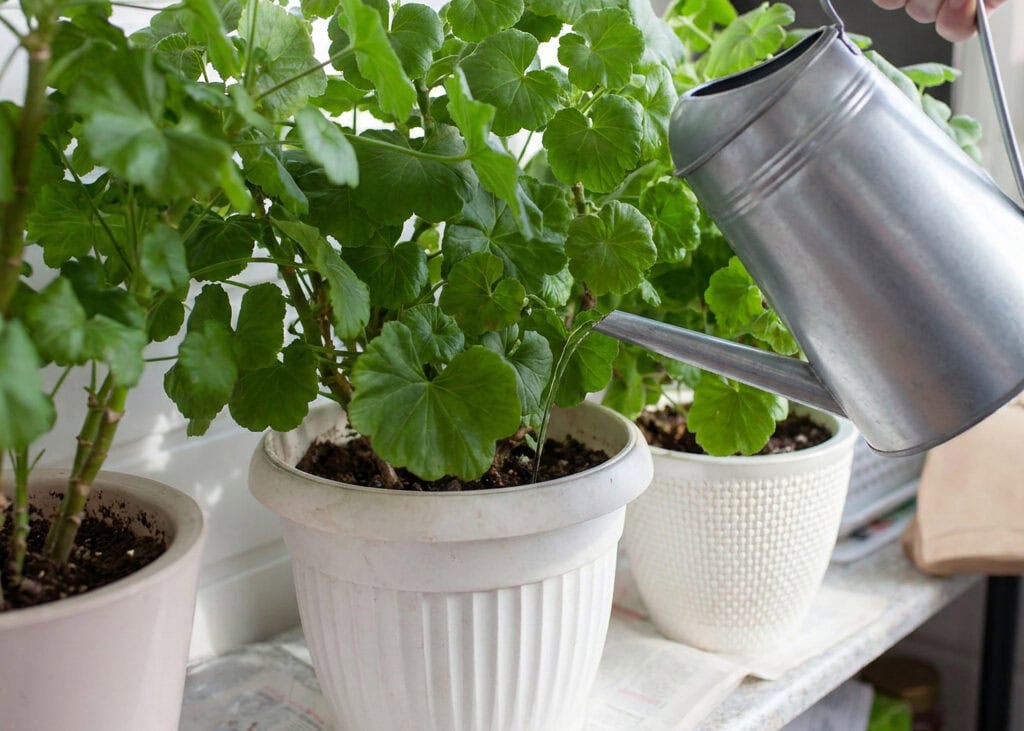
If you water these stubs like it’s July, they rot. Cold roots sitting in wet soil are a recipe for trouble. Turn off your plant-mom instincts, put the watering can away, and mostly ignore them.
Only pour water when the pot feels light and the potting mix has dried out well. Give them just enough to keep the root ball from drying into dust or shrinking away from the sides of the pot; maybe every few weeks, depending on how cold your room gets.
And do not even look at a bottle of fertilizer until the plants start pushing fresh growth again, often around March, or whenever the plants start pushing fresh growth again. Feeding a semi-dormant geranium over winter only encourages the kind of soft, leggy growth I’m trying to avoid.
Once they’re actively growing again, we wrote a full guide on how to fertilize geraniums for strong growth and plenty of summer blooms.
Troubleshooting Geraniums AKA Fix It or Fling It

Before mourning every fallen leaf, check this list to see if your green baby is just playing dead or… not.
Bottom line? Trust the scratch test, not your feelings.
Rooting for Spring
There you have it: five steps to cheat winter out of your garden budget. You’ve chopped, blasted, starved, and stashed your way to a free geranium show next spring.
Once they’re back outside and growing again, we also have a complete guide on how to keep geraniums blooming all summer.