Huddling by the heater in February is for my Great Aunt, not for us. We have a secret gardening window that would be a shame to miss.
This month represents a Goldilocks moment where the ground isn’t a popsicle anymore, but most plants haven’t started their spring sprint.
Success in moving certain perennials boils down to a high-yield, organic philosophy where we let the heavy soil do the lifting.
8 Perennials You Can Transplant in February

If your garden needs a little reshuffling, these eight perennials can handle a February transplant without throwing a fit.
Quick note: This one’s for USDA Zones 7-9. If you’ve got snow on the ground (or frozen soil), hit pause, wait until it melts and the soil crumbles instead of clumps.
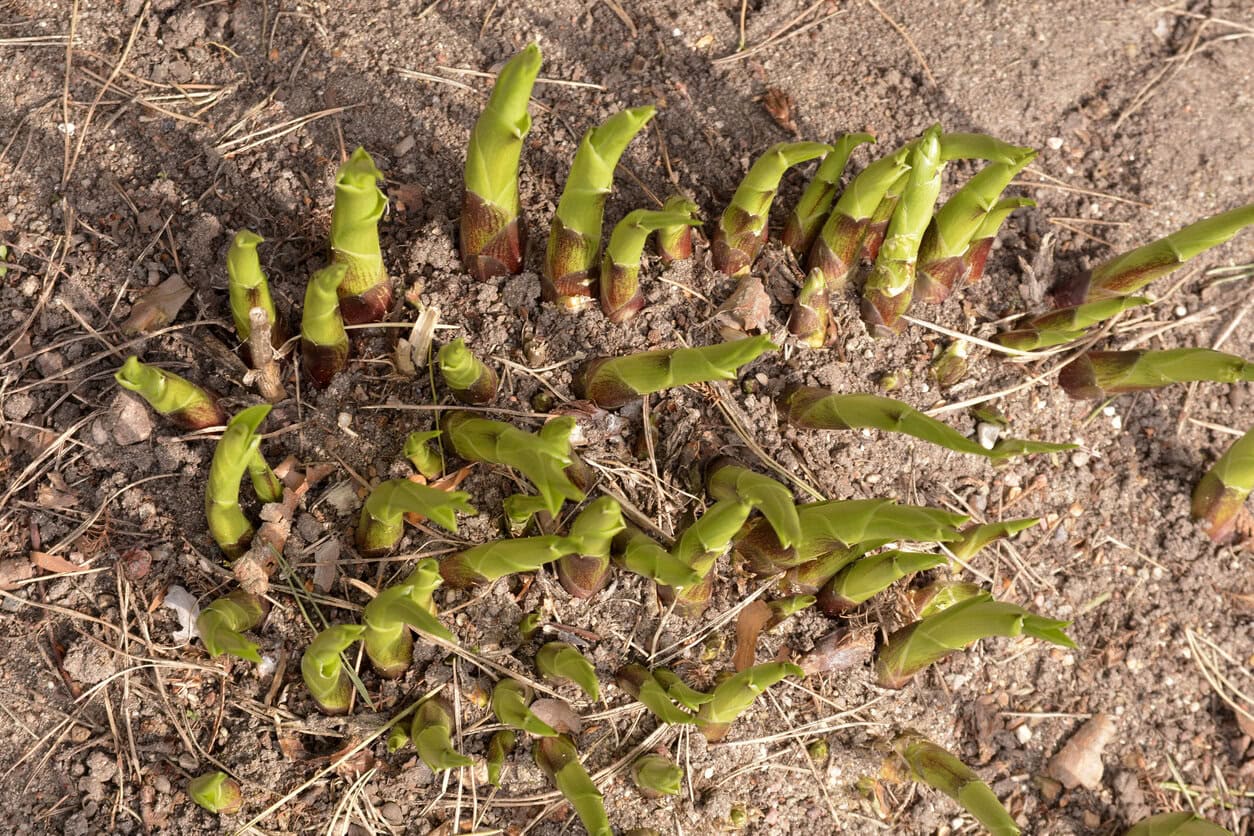
1: Hostas

Hostas are the undisputed kings of the divide-and-conquer, and February is a great time to split them. It’s when their eyes (little pointed buds) are just starting to peek through the mulch.
They’re easiest in zones 7-8, so give them afternoon shade if late winter already feels like spring. I’ve also noticed they bounce back faster when I move them before the leaves fully unfurl.
How I do it: I find it best to slice the clump into halves with a sharp spade. Then, space them out (at least 18 to 24 inches) for better airflow, which keeps the leaves dry and fungus-free.
If you’re in full hosta mode right now, we wrote an article on essential hosta tasks to do in February to set them up for a better spring start.
2: Thyme

Thyme has a habit of growing long legs that stop producing the tender, aromatic leaves you want for your Sunday roast. Moving the clump in February gives the plant a much-needed second wind.
It’s a sneaky move but it coaxes brand-new roots to pop right out of your thyme’s buried stems. It builds a much tougher foundation for the plant, which (eventually) rewards you with a far more fragrant harvest.
How I do it: I scoop up the whole messy tangle and replant it about an inch deeper so those buried stems can root.
3: Daylily

Daylilies are practically immortal, so they get crowded. If yours stopped blooming last summer, they are likely feeling a bit claustrophobic.
Shake off excess dirt to see the tubers clearly before replanting them with plenty of elbow room. When daylilies have space, the whole clump gets more energy and airflow; meaning more flowers and fewer sad, leaf-only clumps.
How I do it: I pull the clump apart into smaller sections and replant them with room to breathe, making sure the crown sits right at soil level.
If you want to keep the momentum going, we wrote an article on essential daylily tasks to do in February for stronger blooms later on.
4: Peony
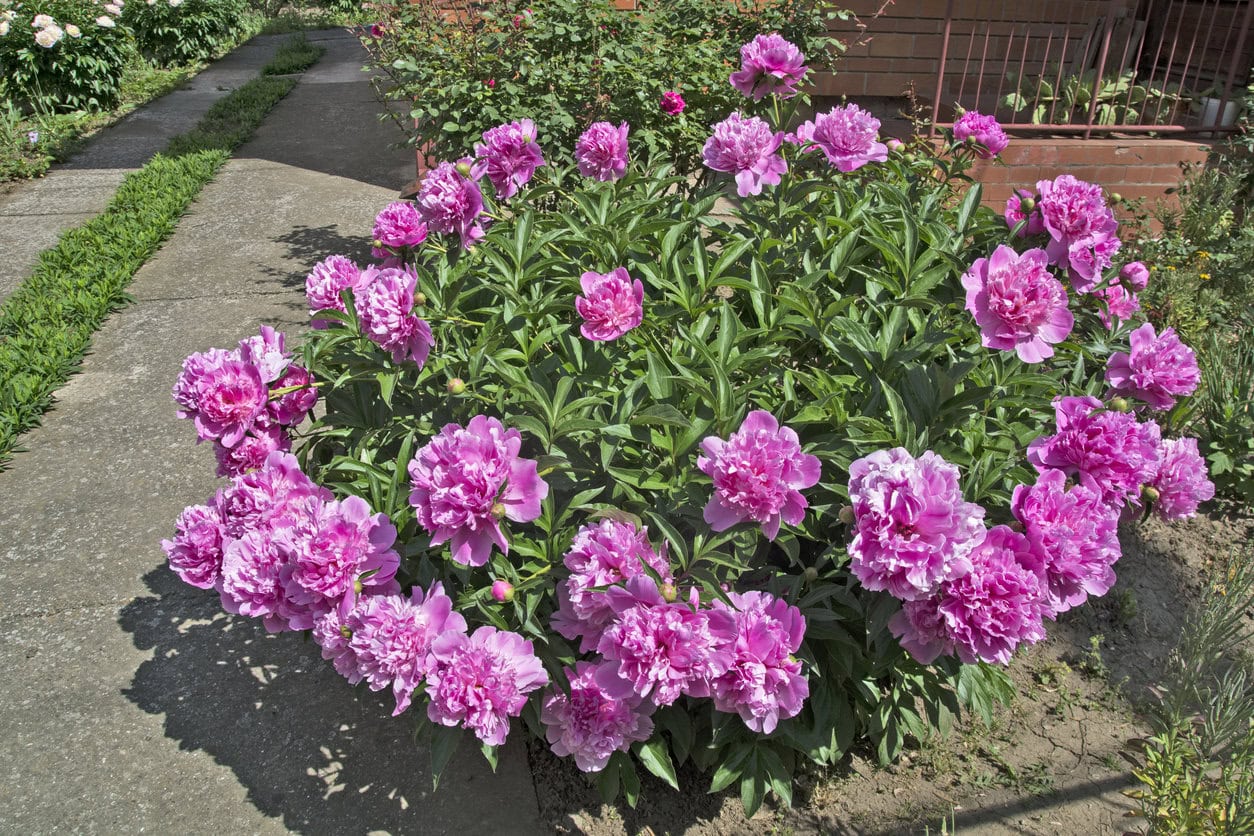
Peonies possess a famously grumpy attitude regarding any change of scenery, so handle them with care.
Triumphant relocation in February depends entirely on keeping the eyes shallow in rich, organic soil.
You must ensure those little pink buds sit exactly one to two inches below the surface. If you bury them four inches deep, you’ll end up with lush green leaves but no flowers, which is a tragic trade-off that can last for a decade.
How I do it: I replant with the eyes just 1-2 inches deep, water it in once, and then I leave it alone. Peonies hate being fussed over after a move.
And if you’re still deciding where they’ll be happiest, we wrote an article on where to plant peonies for gorgeous blooms (because placement matters more than people think).
5: Coneflower

Echinacea adds a rugged but chic look to any organic garden. They have deep taproots, so bring some muscle to the digging party.
You need to dig at least 12 inches down to get the whole root system. Your plant is much less likely to wilt if you preserve the taproot, because that main root is like a straw for deep-ground moisture.
How I do it: I dig a wide circle first, then go deep and lift slowly so I don’t snap the taproot in half.
If you want to keep your echinacea thriving long after transplant day, we explain everything you need to know about growing and caring for coneflowers.
6: Perennial Sage

Perennial sage can become a jumbled sprawl. I know it because I left mine to its own devices for too long. The best moment to move it is February, as it lets you tuck it into a sunnier spot before spring growth takes over.
First, cut back dead stems to four inches before lifting the plant. Removing the old growth helps the plant focus its energy on the roots, because survival comes before vanity during a move.
How I do it: I trim it back first, dig up a generous root ball, and replant it in full sun with well-draining soil so it doesn’t sulk.
If you’re in a pruning mood, we wrote an article on flowers that come back strong after a February cut-back (it’s oddly satisfying).
7: Bee Balm

Monarda spreads like wildfire. If it is invading your garden paths, February is the month to show it who is boss by relocating the runners.
Grab the outer runners and discard the woody, older center. The edges are the youngest and strongest parts, because youth brings more vigor to the nectar-producing business.
How I do it: I replant the outer pieces in fresh soil, then thin the patch so air can move through it. Bee balm gets cranky when it’s too crowded.
If you’re planting with pollinators in mind, we also put together a list of native flowers that attract pollinators better than exotic blooms.
8: Fern

Autumn Ferns or Christmas Ferns often need a room-with-a-view change to stay lush. They prefer moving while the air is cool and damp.
Keep a large “pancake” of soil around the shallow roots to protect them. Fern roots are delicate and dry out quickly because they lack the thick, tough root systems you’ll find on hardier perennials.
How I do it: I dig wide, lift with as much soil attached as possible, and replant right away so the roots never sit out in the air.
If you’re working with a shady corner, we wrote an article on shade-tolerant perennials that brighten low-light spots.
Dirty Secrets

If the ground in your garden feels like a jar of Jif, find a different hobby for the afternoon.
Do you want a brickyard or a backyard? Digging in saturated muck ruins the soil structure, leaving you with a clump rather than crumbles. Do this:
Don’t skip the prep work, or you might compromise your plant before it settles into the new spot. Take the extra ten minutes to treat the soil right. When the foundation is solid, you can start shuffling your leafy deck.
The After-Party or Mulch Ado About Nothing
Once your green friends are in their new zip codes, tuck them in with three inches of organic mulch. This helps buffer the soil if a surprise cold snap shows up overnight.
I once ignored the weather report and left a freshly moved Salvia exposed; the poor thing looked like a frozen spinach leaf by morning.
Do not repeat my mistakes: cover those feet or they might just freeze their buds off, but keep the mulch pulled back from the crown so you don’t trap moisture and invite rot.