Fall is more than a season for admiring colorful leaves and pretending you like the cold. By November, many perennials have gone dormant, making it a good time to uncover a few healthy roots and chop them into pieces to grow new plants.
If you like your gardening with a side of mild panic, November root propagation is calling your name!
1: Oriental Poppy

The last thing you want to do with an Oriental poppy is attack its main taproot. Wait until the plant is dormant, then expose a few healthy, pencil-thick side roots. Leave the main taproot intact unless you want to risk losing the parent plant.
Chop those roots into 3-inch segments. Make a straight cut at the top end (closest to the crown) and an angled cut at the bottom so you don’t plant them upside down.
Push them vertically into a 50/50 mix of potting mix and coarse perlite, with the flat top just below the surface. Keep the container cool, sheltered, and barely moist so the cuttings don’t rot.
Quick tip: Keep the pieces in order as you work, or it’s surprisingly easy to mix up which end goes where.
Not every perennial appreciates being dug up and split apart. We also wrote a guide on 11 garden plants that don’t respond well to division, and why some root systems are better left alone.
2: Garden Phlox

With tall garden phlox (Phlox paniculata), the trick is to work with those slender side roots rather than looking for chunky taproots. Once the plant has gone dormant, snip a few healthy side roots into 4-inch pieces.
Lay them flat in a tray of gritty potting mix, cover with about ½ inch of mix, and keep them lightly moist in a cool, sheltered spot.
Unlike plants with thick, fleshy roots, garden phlox has much thinner roots with fewer stored reserves. That’s why horizontal planting is your best bet, rather than trying to stand every little piece upright.
3: Japanese Anemone
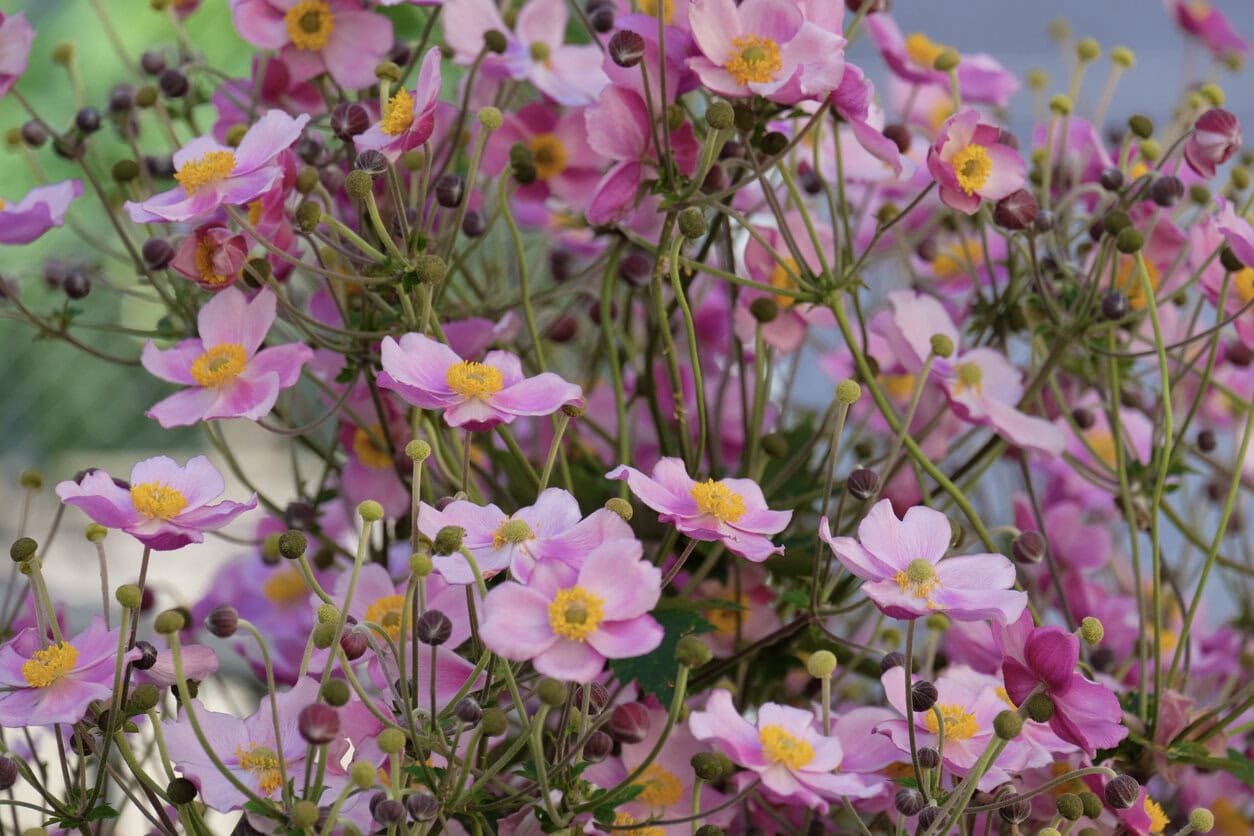
Japanese anemones are the ultimate survivors. That’s great when you’re trying to make more plants and slightly less charming when they decide to take over your flower bed.
Instead of lifting the entire clump, carefully expose a few healthy roots beside the clump without digging up the entire plant. Snip them into 3- to 4-inch segments.
Lay the pieces horizontally in a tray of gritty potting mix and cover with about ⅜ inch of mix. Keep them lightly moist in a cool, sheltered spot until new growth appears.
Quick tip: Be careful where you dig. Any viable root fragments left behind can produce rogue shoots right where you were working.
4: Globe Thistle

Never raid a young or struggling globe thistle. An established Echinops ritro can spare a few roots, but that doesn’t mean you should dig up half the plant.
Carefully expose one side of the root system and select two or three healthy, pencil-thick side roots. Leave the main taproot intact.
Chop the roots into 3-inch lengths. Square off the end closest to the crown and cut the bottom on a slant. Push each segment vertically into a deep container of gritty potting mix, with the flat top just below the surface. Keep the mix lightly moist and sheltered from freezing.
Quick tip: Mark the orientation as soon as you cut each piece. Otherwise, you’ll plant them upside down and wonder why nothing grows…
5: Perennial Verbascum
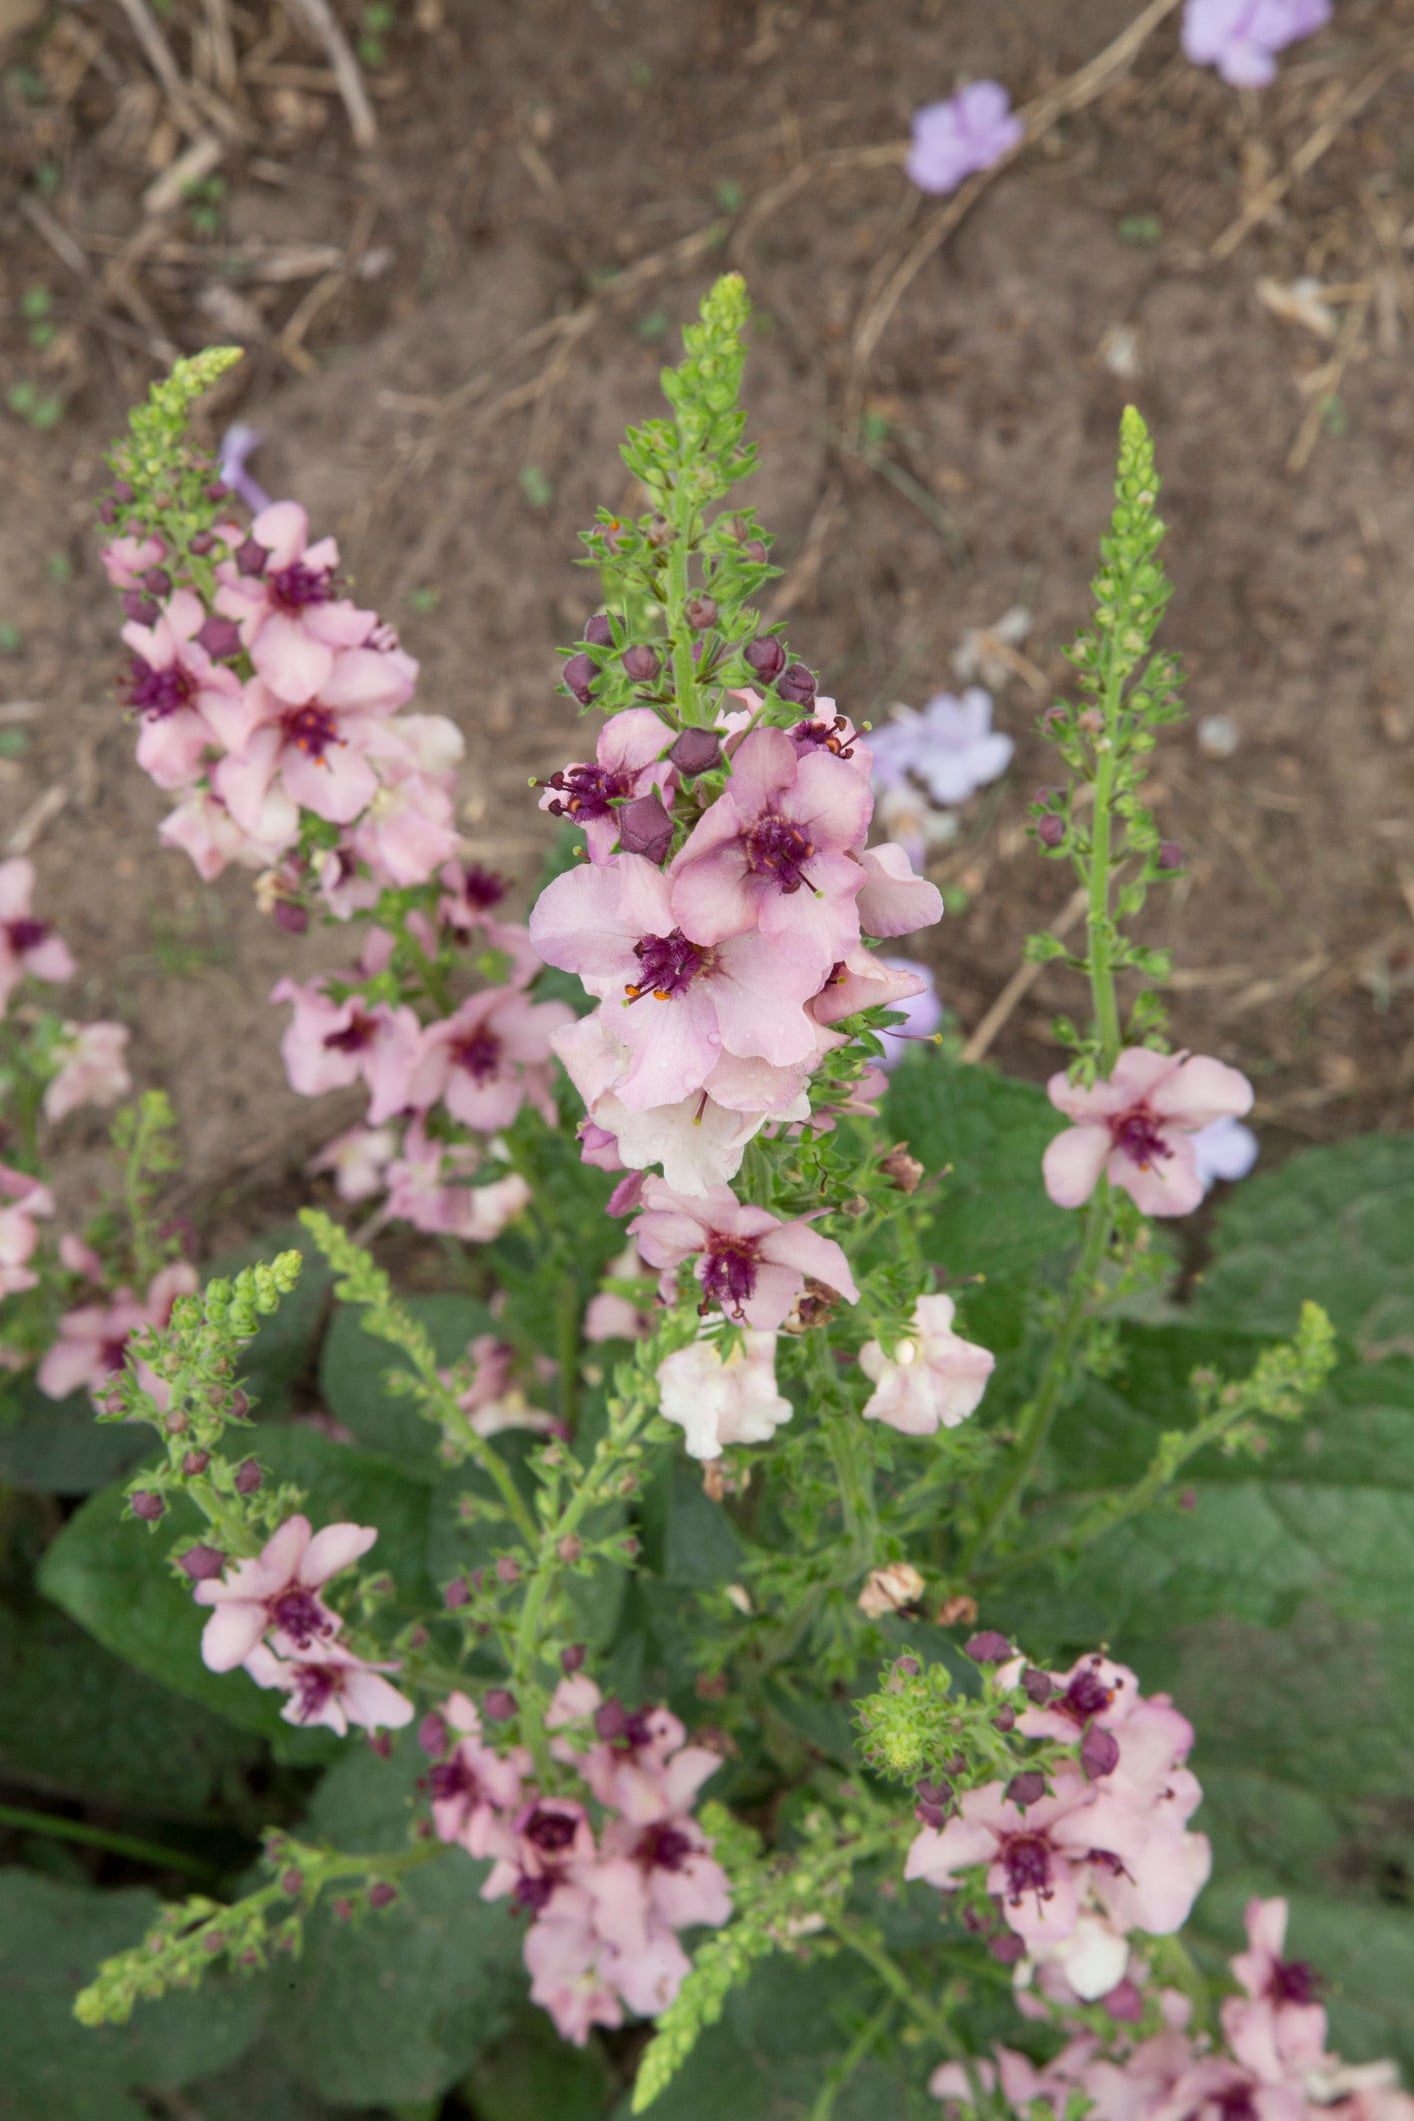
Skip the common biennial mullein right out of the gate. For this job, you want proper perennials like Verbascum chaixii or ‘Gainsborough’, which are worth multiplying year after year.
Once the plant is dormant, uncover a few healthy, pencil-thick roots and chop them into 3-inch pieces.
Square off the end closest to the crown and cut the bottom on a slant. Push each piece vertically into gritty potting mix, with the flat top just below the surface.
Quick tip: Add a thin layer of coarse sand or grit and keep the mix barely moist. Those fleshy roots won’t appreciate sitting in soggy soil all winter.
6: Bear’s Breeches
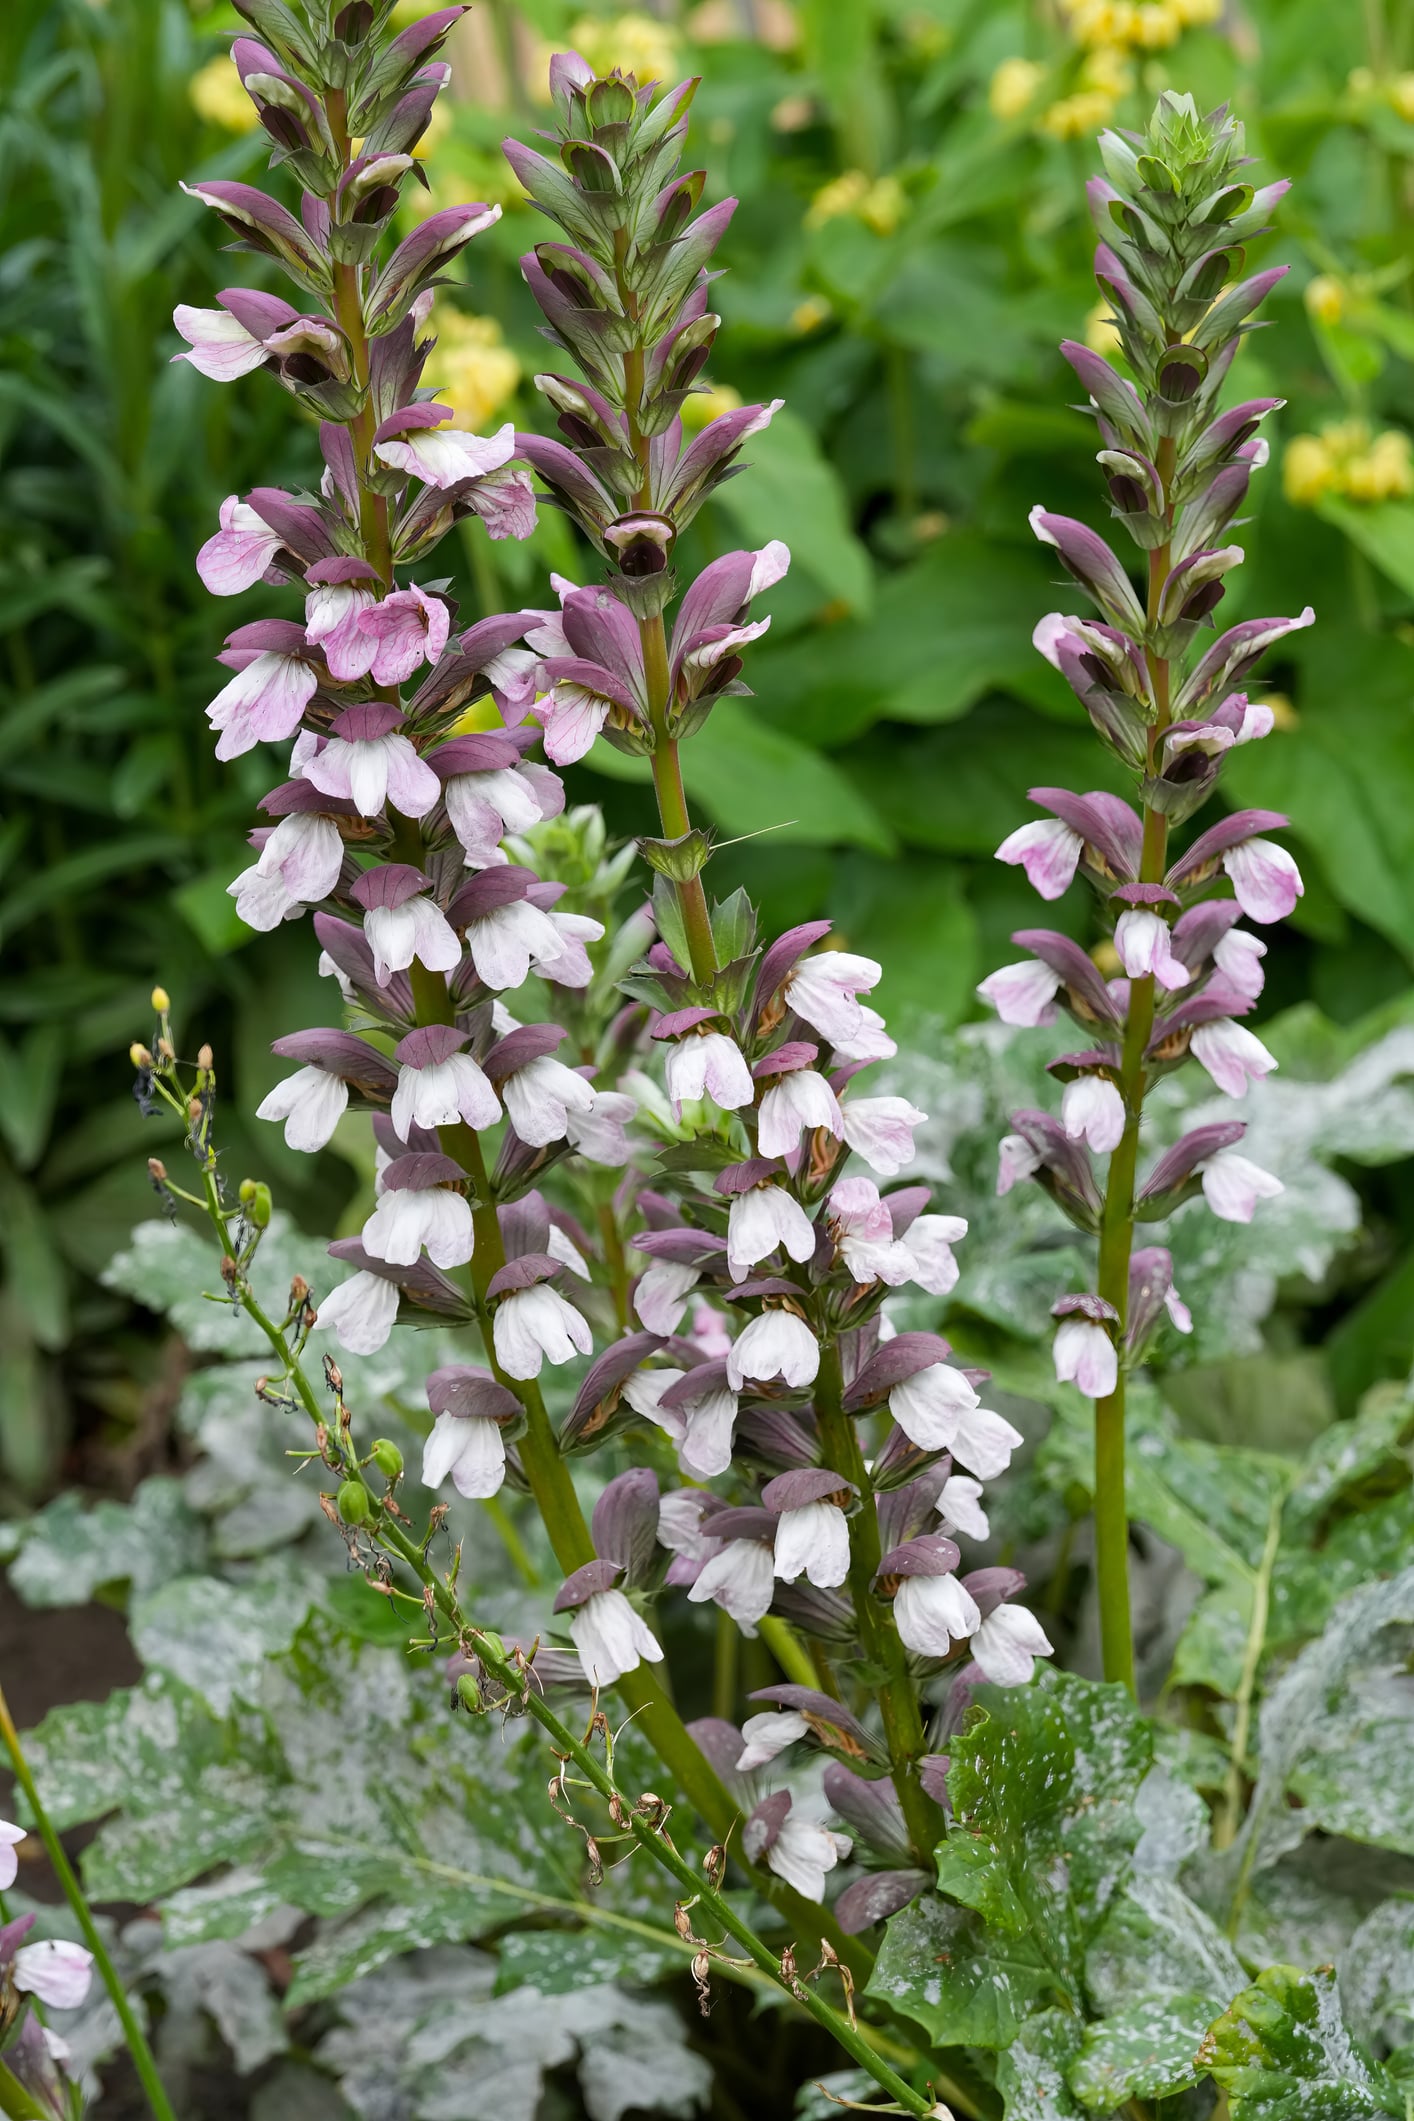
Propagating bear’s breeches doesn’t require digging up the whole plant. In late fall, when growth has slowed, uncover the outer edge of the root system and take two or three healthy, pencil-thick roots, leaving the main clump intact.
Chop them into 3-inch segments, with a straight cut at the crown end and a slanted cut at the bottom. Push them vertically into gritty potting mix, with the flat top just below the surface. Keep them barely moist in a cool, frost-free spot.
Quick tip: Don’t leave root fragments scattered around the flower bed. This stubborn plant can sprout from pieces left behind, and you may find yourself battling rogue shoots for years.
7: Drumstick Primrose
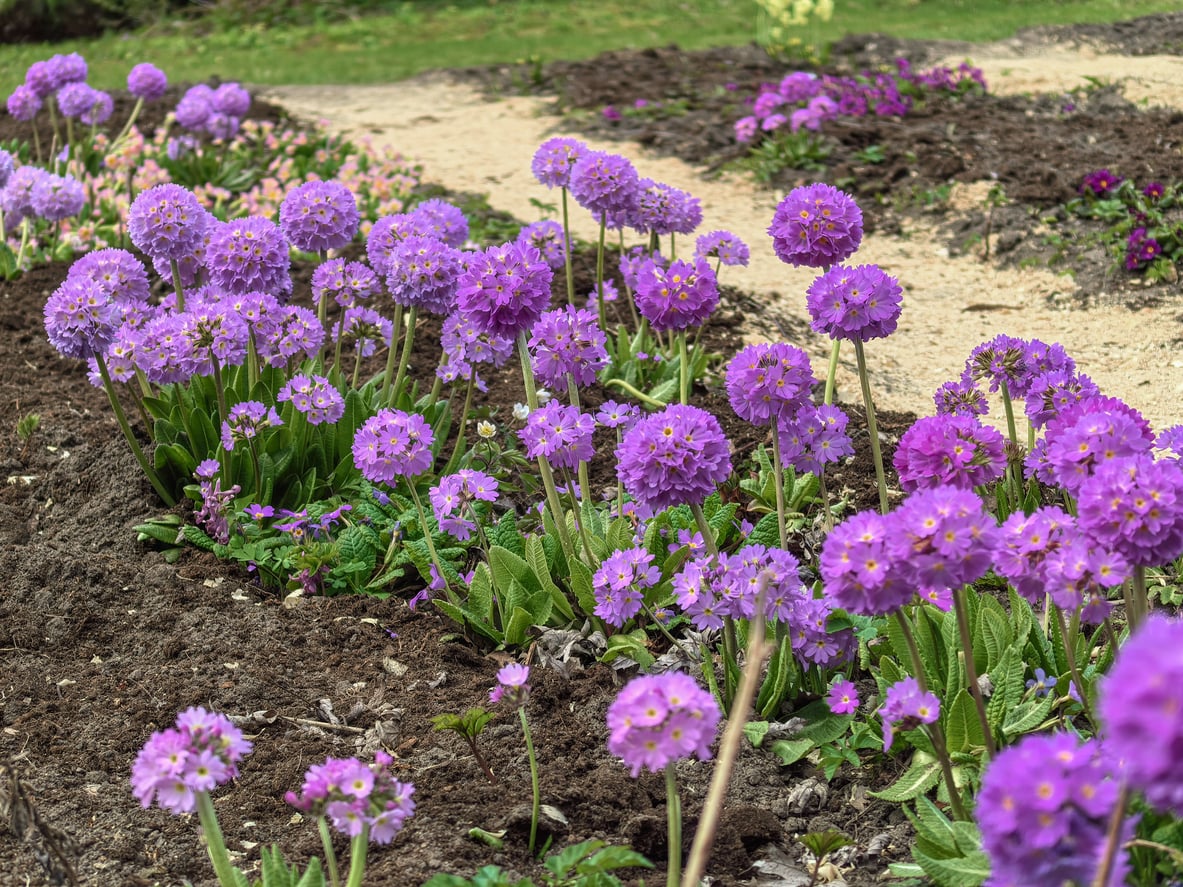
Don’t assume all primroses behave the same way. Drumstick primrose (Primula denticulata) is one that responds well to root cuttings, without needing to sacrifice the entire plant.
Once it’s dormant, carefully expose a few healthy roots without damaging the crown. Cut thinner roots into 3-inch sections.
Lay them horizontally in a shallow tray of gritty potting mix and cover with a thin layer of mix. Keep the tray lightly moist in a cool, sheltered spot until new growth appears.
Why These Specific Dimensions Matter
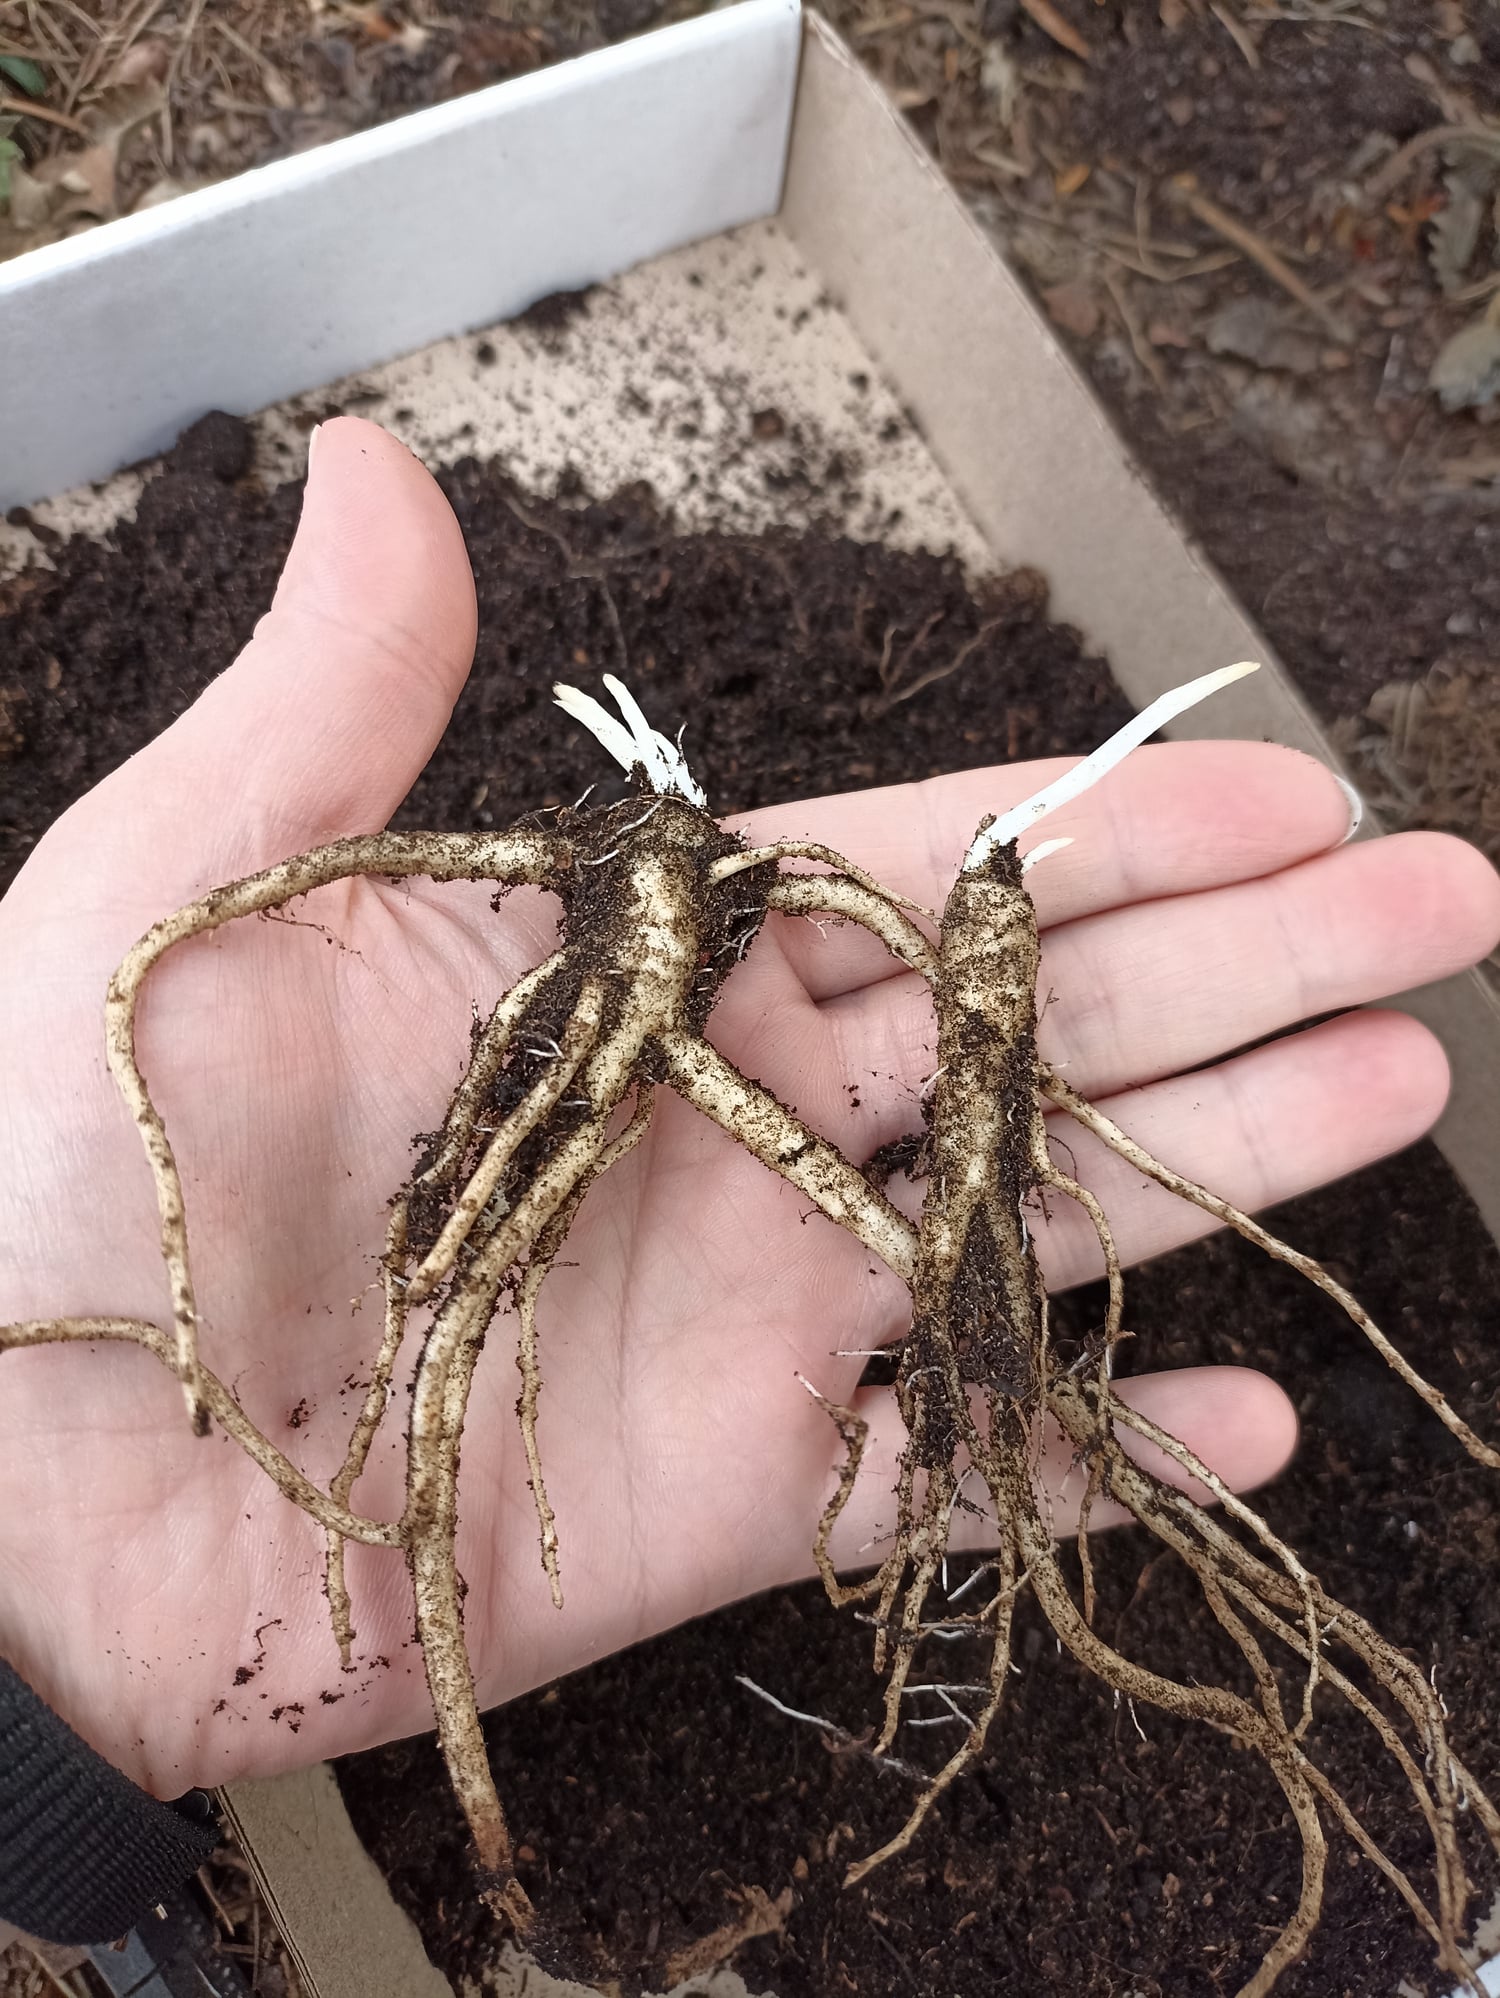
You might wonder why some roots get chopped into 3-inch pieces while others need a full 4 inches. Or why certain plants only surrender a few side roots. There’s a reason for all that fuss:
Successful propagation from root cuttings means adapting to what your plant can handle. You cannot force every species into the same mold.
And roots aren’t the only things worth cutting in November. We also wrote a guide on 7 shrubs you can propagate from hardwood cuttings this month, if you fancy getting a few more free plants out of your garden.
Don’t Over-Dig, Do Over-Tag
Don’t get shovel-greedy. Take more roots than the plant can spare, and you’ll leave the momma clump struggling to recover. Set your cuttings into pots or trays, label them before you forget what you buried, and tuck them somewhere cool and sheltered. Keep the mix lightly moist, not soggy.
Oh, anyone promising you identical success rates or a riot of spring color? They’re selling something. Some cuttings take months to show signs of life, and flowering may take even longer. Nature takes its sweet time, and half the fun is seeing what actually wakes up.