
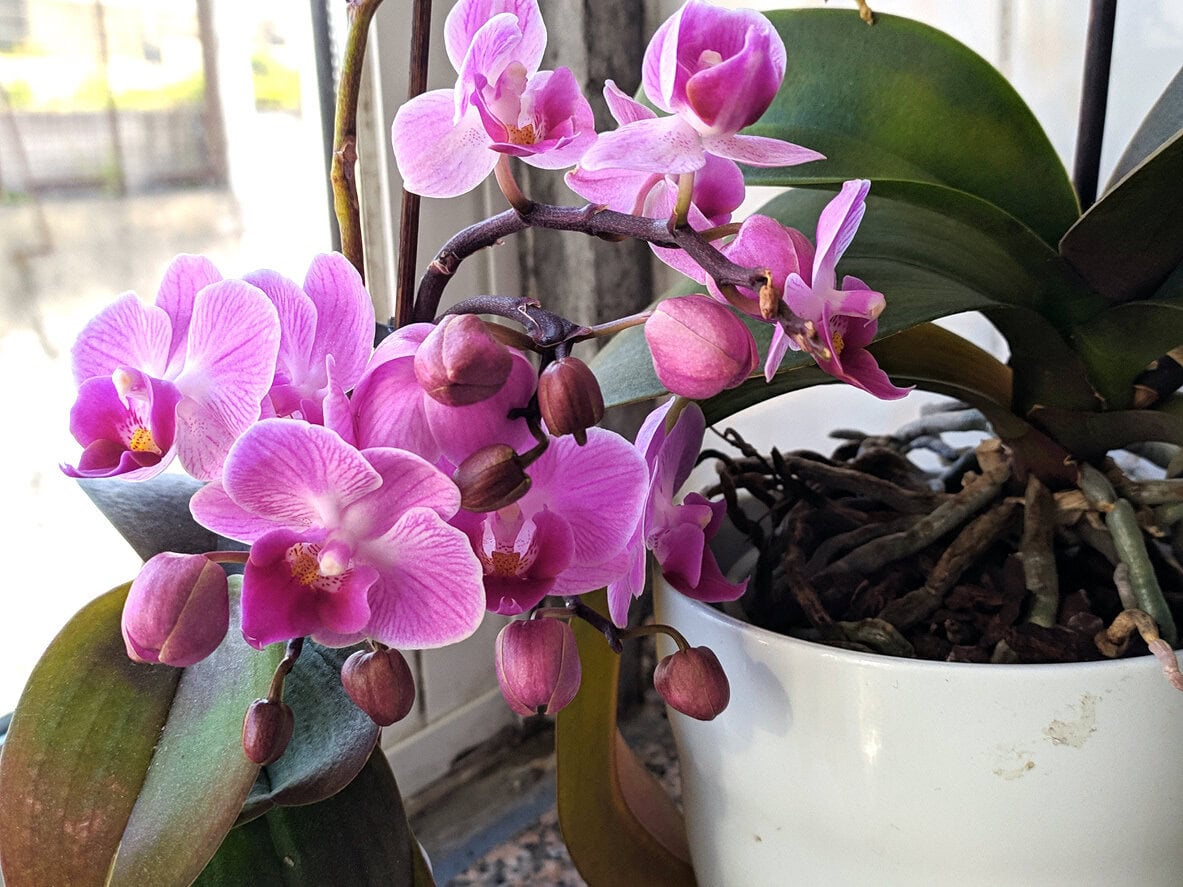
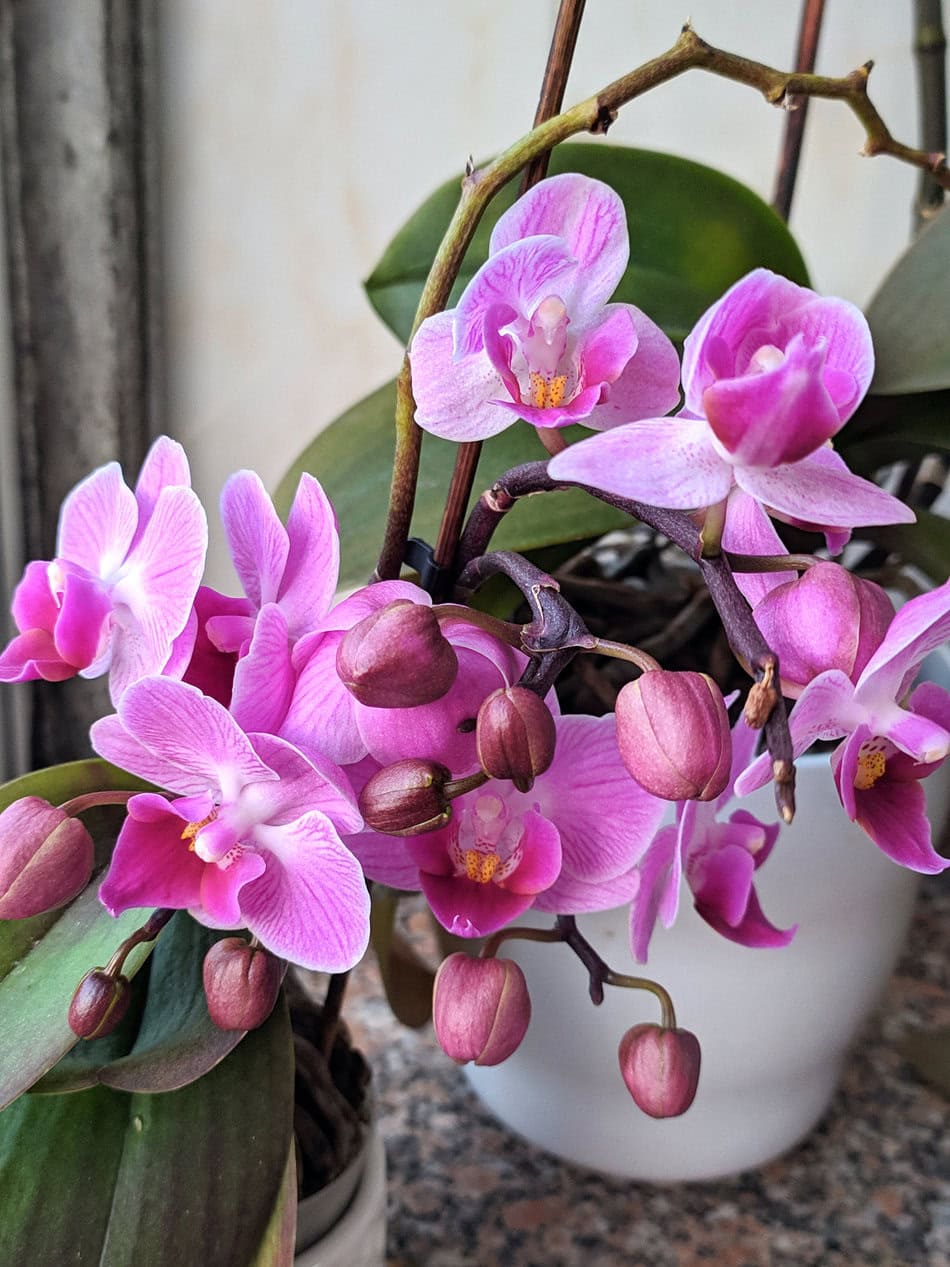
Orchids don’t bloom well by accident. Over the years, I’ve learned that consistent feeding matters far more than occasional watering or guesswork.
A quick splash of tap water isn’t enough to support healthy growth or reliable flowering. Orchids need nutrients delivered in the right way, at the right time, and in the right amounts.
What follows is the fertilizing routine I personally use for my orchids throughout the year. It’s simple and based on what has consistently worked for me, not on shortcuts or one-time fixes.
Why I Feed Orchids Lightly and Consistently
Many houseplant care guides treat fertilizer as something you add occasionally to “boost” blooms. But from my experience, orchids do better with small, regular feedings rather than strong fertilizer used once in a while.
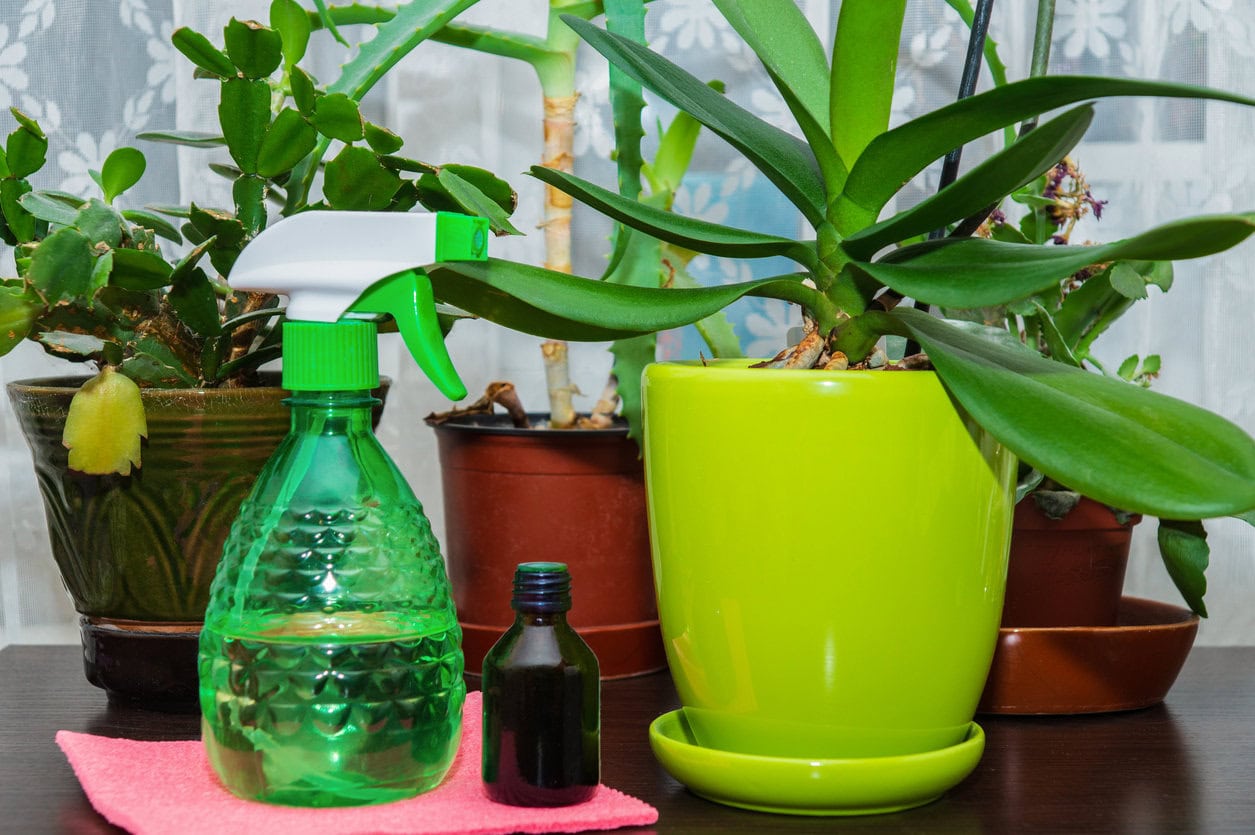
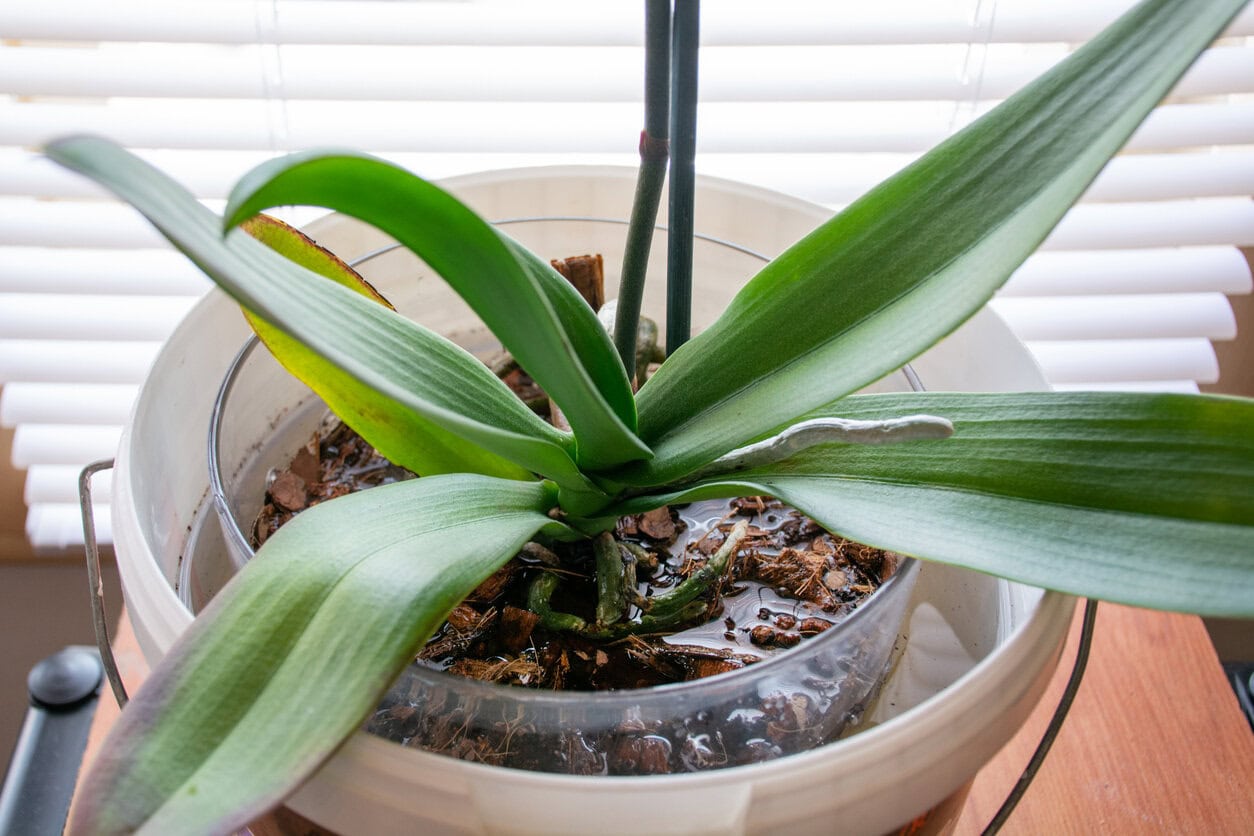
Because orchid roots are sensitive when dry, I always water first. I run lukewarm water through the pot until the roots turn green, let it drain fully, and only then apply a diluted fertilizer. This prevents root burn and allows the plant to absorb nutrients safely.
Orchid roots are very responsive to moisture and nutrients, which is also why they sometimes start growing outside the pot. If you’ve ever noticed that happening, I explain exactly why it occurs and what to do about it in another article I wrote on why orchid roots escape their pots and how to fix it.
My Orchid Fertilizing Routine (Month by Month)

This is the fertilizing routine I follow with my own orchids. It’s simple, repeatable, and it’s what has consistently worked for me year after year. This routine works best for common indoor orchids, especially Phalaenopsis!
January-February:
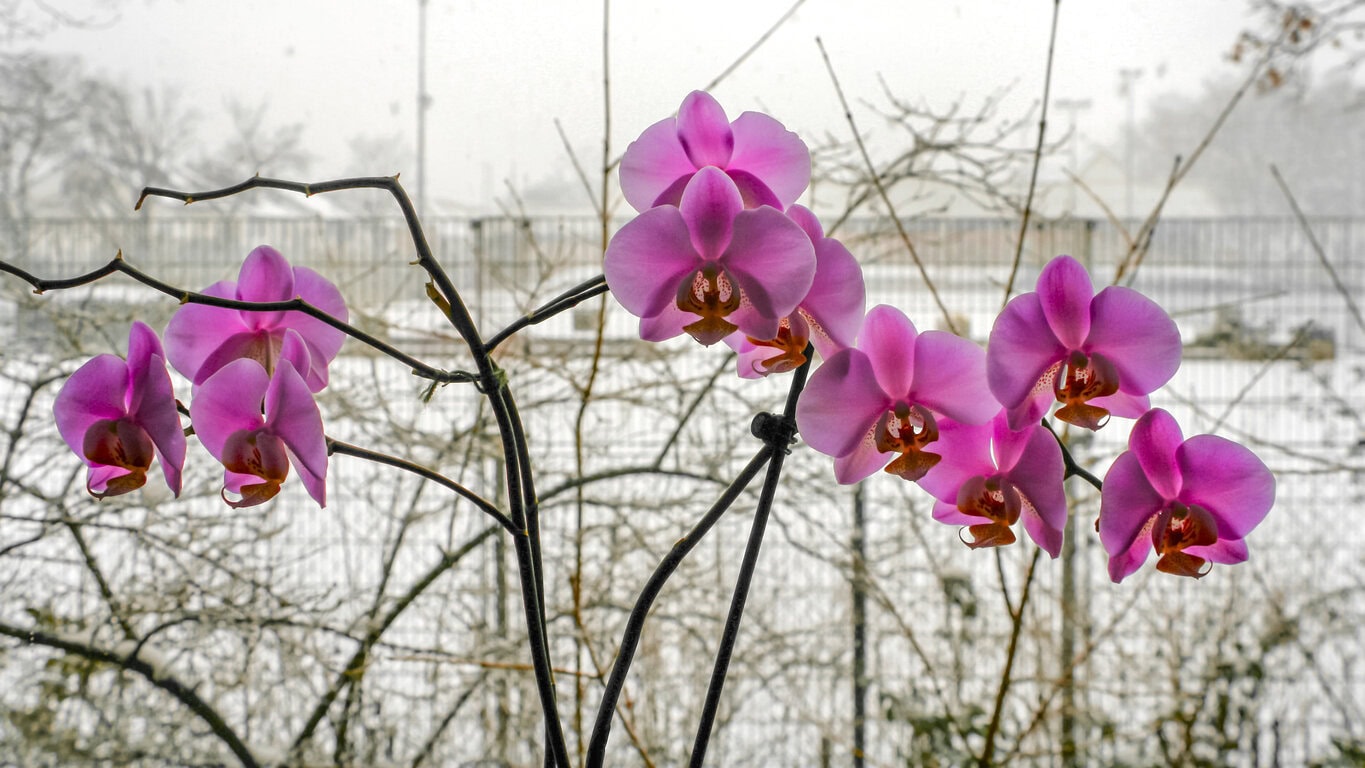
Light levels are low in winter, but many Phalaenopsis orchids are still in bloom during this time. Even though the plant is flowering, its growth slows down, so feeding needs to stay light.
I use a balanced fertilizer, such as 20-20-20, diluted to quarter strength. If the label calls for one tablespoon per gallon of water, I use about three-quarters of a teaspoon instead. If I’m using a 10-10-10 fertilizer, I simply cut the recommended dose in half.
During these months, I fertilize every two to three weeks. This is enough to support existing blooms without pushing new growth that the weak winter light can’t sustain.
March-August:

Spring and summer are when orchids actively grow new leaves, roots, and flower spikes. During this period, I fertilize more regularly, but I keep the dose light.
How I Fertilize During Active Growth:
I follow a simple “weakly, weekly” approach.
When I first started, I made the common beginner mistake of thinking more fertilizer would lead to more blooms. Instead, I ended up with soft leaves and weak spikes! Switching to lighter, consistent feeding made a noticeable difference in bloom quality and spike strength.
Monthly Flush:
Once a month, I flush the pot with plain water to remove fertilizer salts that build up in the bark or moss. It’s not glamorous, but it makes a real difference.
Calcium and Magnesium Support:
Because many fertilizers lack calcium and magnesium, I also add a calcium-magnesium supplement once a month during these active months. This supports strong roots, healthier leaves, and flower spikes that don’t flop over halfway through blooming.
September-October:
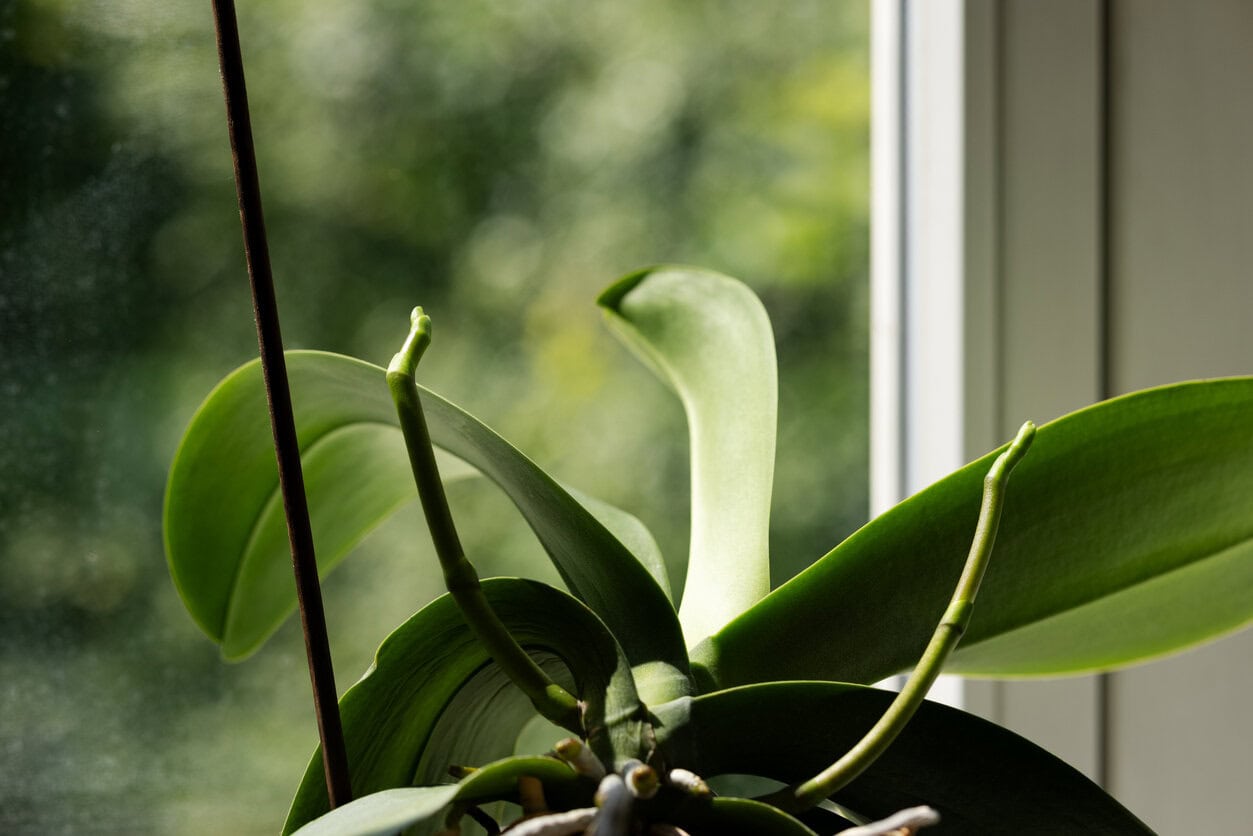
As days shorten and temperatures cool, orchid growth naturally slows. During this time, the plant shifts from active growth to preparing for its next bloom cycle.
Reduce Fertilizing:
Even if a flower spike appears, I don’t increase feeding. Adding extra nitrogen at this stage encourages leaf growth rather than helping the plant finish developing its flowers.
Encourage Natural Temperature Changes:
I also focus on stability and natural temperature changes. I keep my orchid in a bright location during the day, but allow nighttime temperatures to drop slightly.
This combination of cooler nights and reduced feeding is one of the signals that helps trigger blooming. A bright window that cools off at night usually works well. The goal is consistency, not forcing growth.
November-December:
Winter brings shorter days and slower growth, so most orchids naturally enter a resting phase. During this time, pushing growth usually leads to weak leaves and poor root health.
Minimal Feeding:
When I first started, I made the mistake of continuing my regular fertilizing schedule through winter. Instead of helping, fertilizer salts built up in the pot, which damaged root tips and stalled growth!
Once I reduced feeding and allowed the plant to rest, overall plant health improved noticeably. This rest period helps the orchid recover and prepare for the next growth cycle.
If you’re wondering whether winter is a safe time to repot, I’ve written a separate guide that walks through when and how to repot an orchid in December without stressing the plant.
Pro Tips for Maximum Success
Understanding why this routine works makes it much easier to follow and adjust when needed. These small details can make a noticeable difference in orchid health and blooming.
Choose the Right Type of Nitrogen
Avoid fertilizers that contain urea nitrogen. Orchids can’t properly process it because they don’t grow in regular soil with the bacteria needed to break it down.
When choosing a fertilizer, look for ammoniacal or nitrate nitrogen instead. These forms are much safer and more effective for orchids.
Pay Attention to Water Quality
If your tap water is hard or heavily treated, your orchid might struggle regardless of your routine.
I like to use a bucket to collect rainwater when possible. If it isn’t raining, I simply buy a gallon of distilled water and use that on fertilizing days. The difference in leaf color and overall plant health will surprise you!
If you’re ever unsure whether your orchid is struggling or just resting, I also put together a guide covering the most common warning signs to watch for before serious damage sets in.
Learn to Read the Leaves:

Orchid leaves give clear signals once you know what to look for.
Memorize the color codes before you enter the substrate stage.
Yellowing leaves can be especially confusing for beginners. If you want a full breakdown of the most common causes and how to fix them, I’ve written a detailed guide specifically about orchid leaves turning yellow.
Match Feeding to the Potting Medium:
Potting medium makes a bigger difference than most people realize! I really noticed this when I repotted two orchids using different mixes. One in a fresh, well-draining bark mix I prepared, and another in older potting material I already had at home.
I kept the same fertilizing routine for both, and the difference in root health and growth speed was almost immediate.
Quick reminder: Still, no matter the medium, I make sure roots never sit in old, salty water for long periods, as this can quickly damage them.
Consistency Matters
Orchids respond best to steady care. Paying attention to watering, keeping fertilizer light, and sticking to a routine makes a bigger difference than trying to force results.
Once I stopped changing things too often and trusted the process, my orchids became healthier and bloomed more reliably. Clean water, the right potting medium, and consistent feeding go a long way. Orchids aren’t difficult plants, but they do reward patience and observation.


What fertilizer do u use?
Hi Holly 🙂 I like to use Jack’s Classic All Purpose 20-20-20 or Peters Professional 20-20-20, but I dilute it a lot for orchids, usually about quarter strength. I also water first before feeding so the roots are not dry when the fertilizer goes on.
Good routine
Hi Sondra 🙂 Thank you, I’m glad you found it helpful.