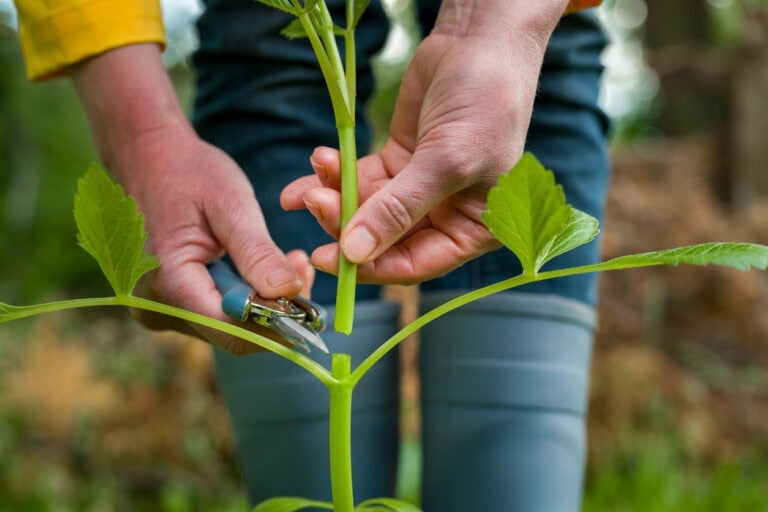
You’ll find fall garden chores get complicated when perennial vines demand restraint instead of the aggressive cleanup you might be tempted to do. Get ready to walk into a clematis care minefield this October, where one wrong cut can remove the old wood carrying a big share of next year’s flowers.
Task 1: Identify the Pruning Group First
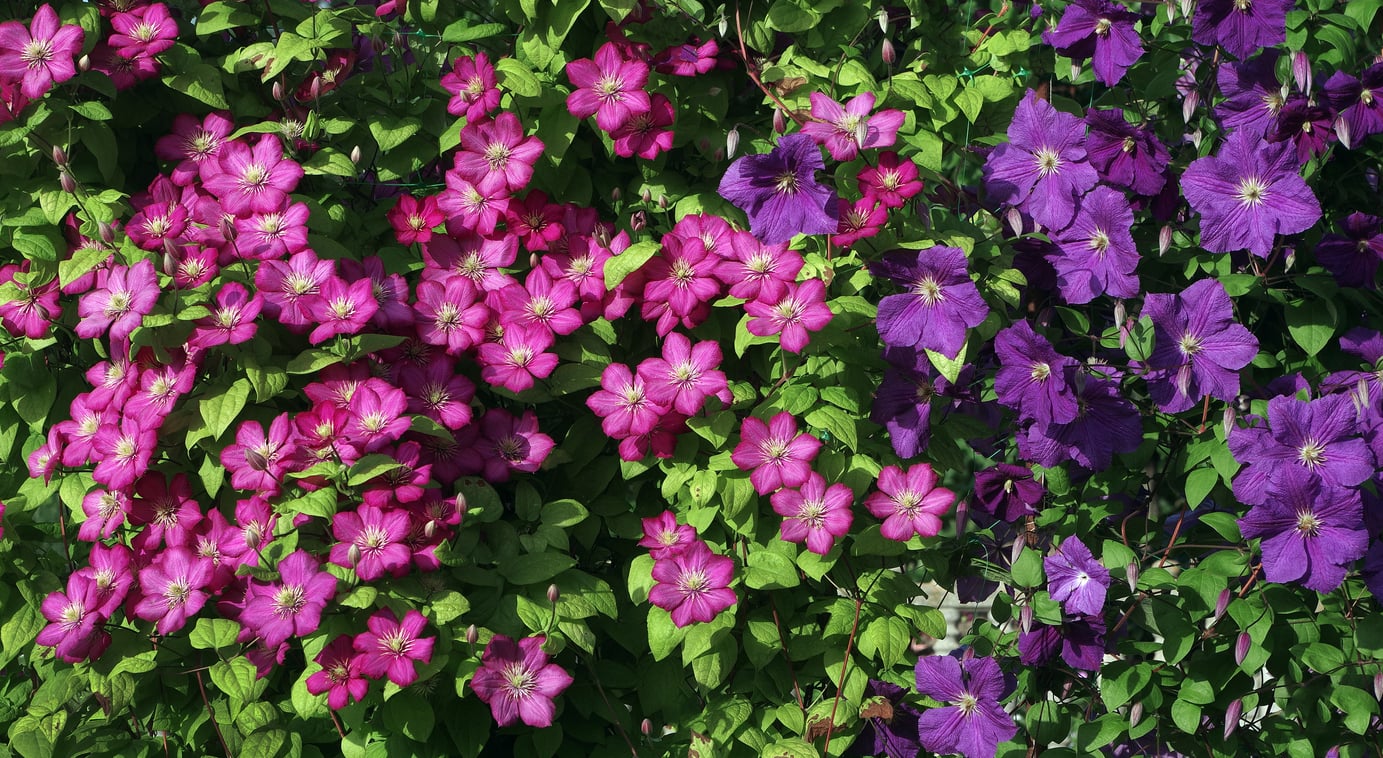
You must figure out your pruning group before you start cutting unless you prefer staring at a much emptier trellis all spring.
Check your cultivar tag before reaching for the pruners. One badly timed cut can wipe out a big share of next season’s flowers.
If you want a broader look at how pruning fits into the rest of the growing season, we explain how to keep clematis blooming all season with the right pruning and care.
Task 2: Do Not Hard-Prune Clematis in October
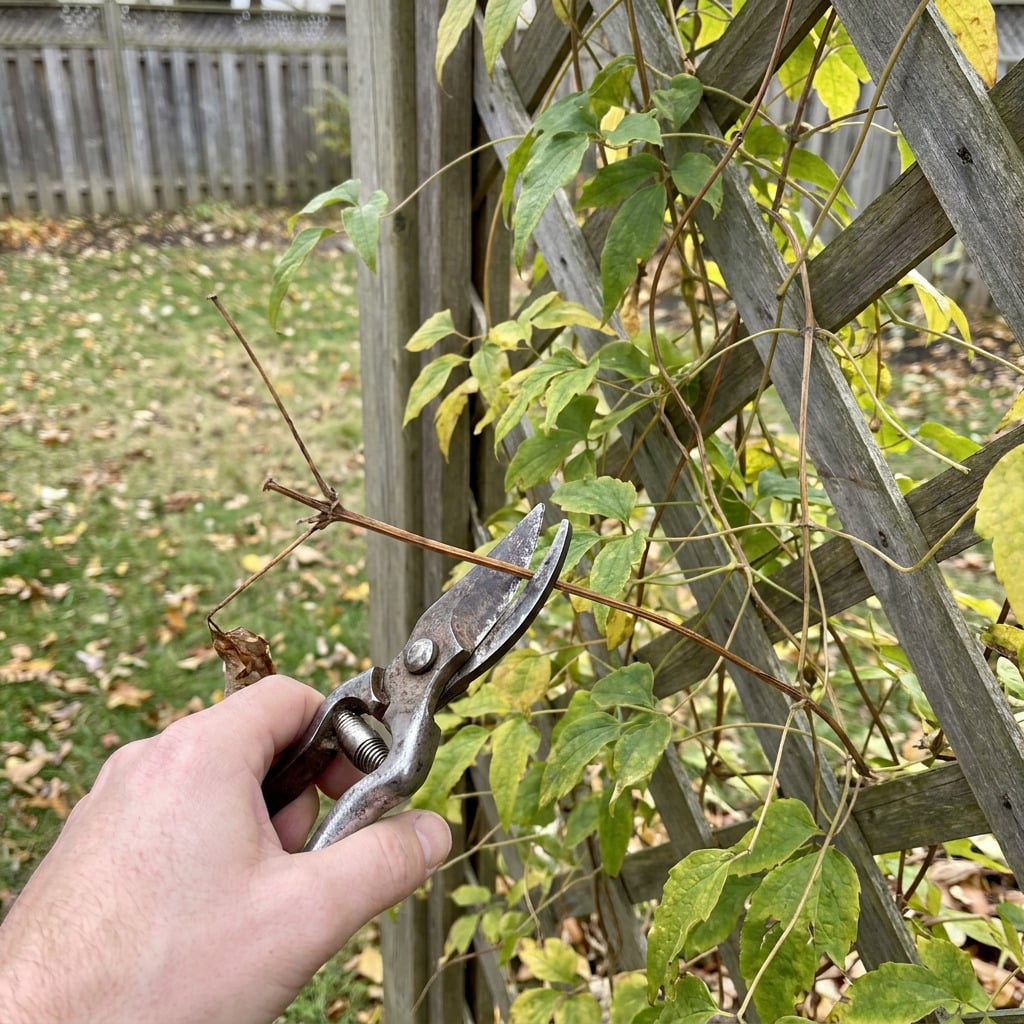
Don’t butcher its future. Once you know your pruning group, October is mostly about keeping your hands off the pruners.
Quick tip: If a stem still looks healthy and you’re unsure whether to cut it, leave it. You can always prune later, but you can’t put flowering wood back once it’s gone.
Task 3: Skip Routine Fall Fertilizer
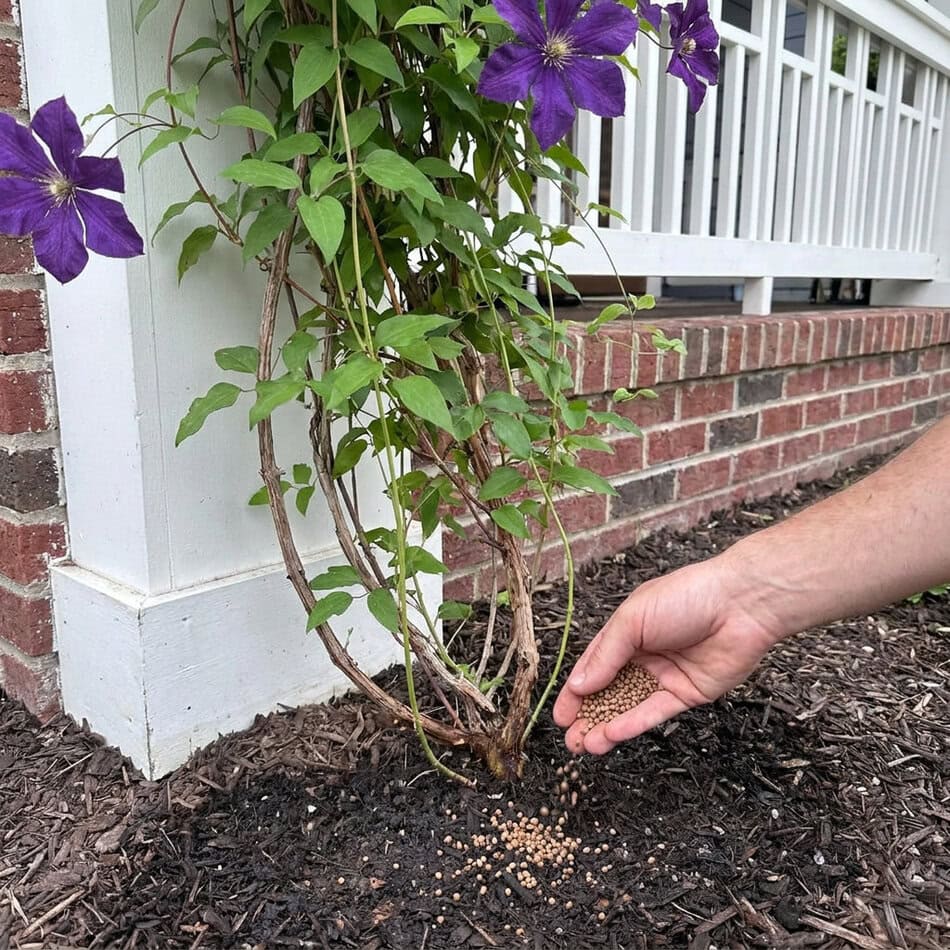
Save the plant food for spring. If you throw nitrogen on a clematis in October, you’re practically begging it to push out delicate green shoots right when it should be hardening off for winter.
The first real frost can damage that tender late growth before it has a chance to mature. It usually won’t ruin the plant, but it wastes energy at exactly the wrong time.
We wrote a month-by-month guide to fertilizing clematis if you want to know exactly when to start feeding again and when to put the fertilizer away.
Task 4: Water the Roots During Dry Fall Spells
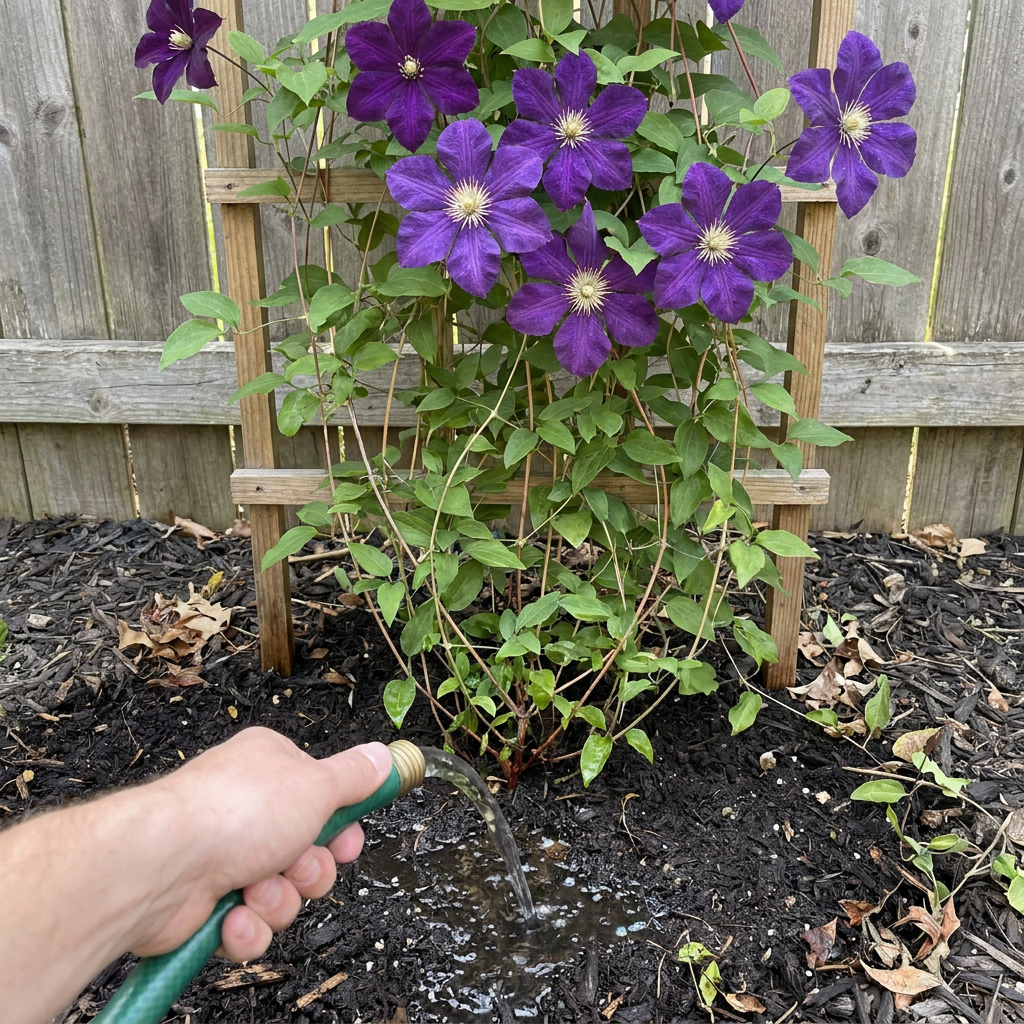
Dry fall weather can stress clematis roots behind the scenes while the above-ground vines still look totally fine. What if October skies refuse to open up?
Water slowly and deeply near the base during extended dry stretches, soaking the root zone instead of just wetting the surface. I like to check the soil a few inches down first; if it still feels damp, I wait.
Quick tip: Let the top layer start to dry before you water again. Don’t keep the bed soggy, because waterlogged soil can lead to root and crown problems fast.
Task 5: Check the Mulch Layer
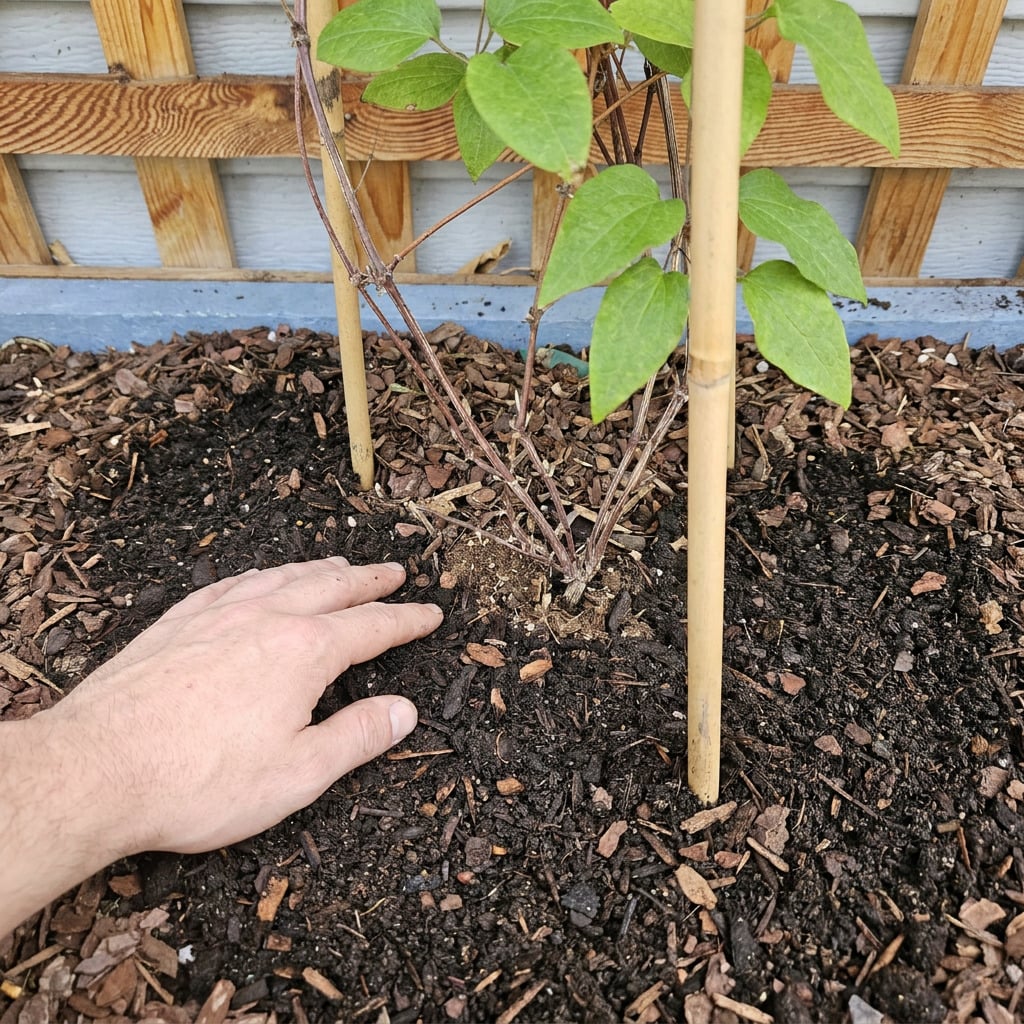
Your clematis roots are trying to survive bare soil when October sunshine warms it by day and cold nights send temperatures dropping. It’s a rough swing. Fix that by spreading about two inches of bark chips or compost across the root zone.
But holding moisture and buffering those temperature swings is half the battle. The other half? Not suffocating the base!
Pull that mulch back a few inches from the stems instead of piling it against the crown. Otherwise, constantly damp material around the base can encourage rot and give voles an easier place to hide.
If you want to plan ahead for warmer weather, we also wrote a guide to summer clematis care covering watering, mulching, pruning, and keeping stressed vines healthy.
Task 6: Secure Vulnerable Vines and Protect Old Wood
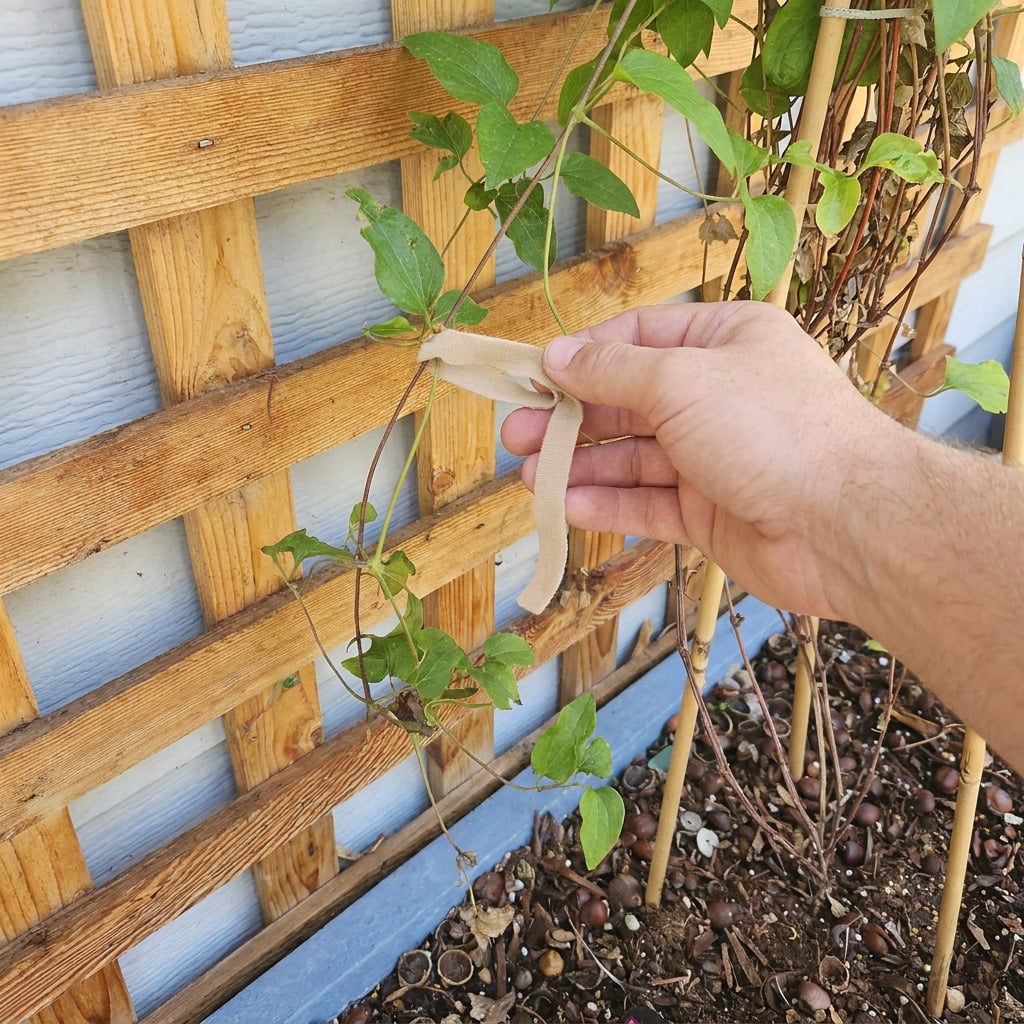
You cannot let long, whippy Group One and Two stems thrash around in winter winds, because broken old wood can mean fewer flowers next season. Secure loose vines gently to the trellis with soft ties, leaving enough room for the stems to move without rubbing or snapping.
Think your vines are safe from hungry mice and voles? Place a loose cylinder of hardware cloth around the crown and lower stems and anchor the edge slightly into the soil.
Cold or exposed garden? Less-hardy cultivars benefit from extra winter protection. Use loose burlap around vulnerable vines when harsh cold or drying winds are a real concern.
Task 7: Remove Diseased Material
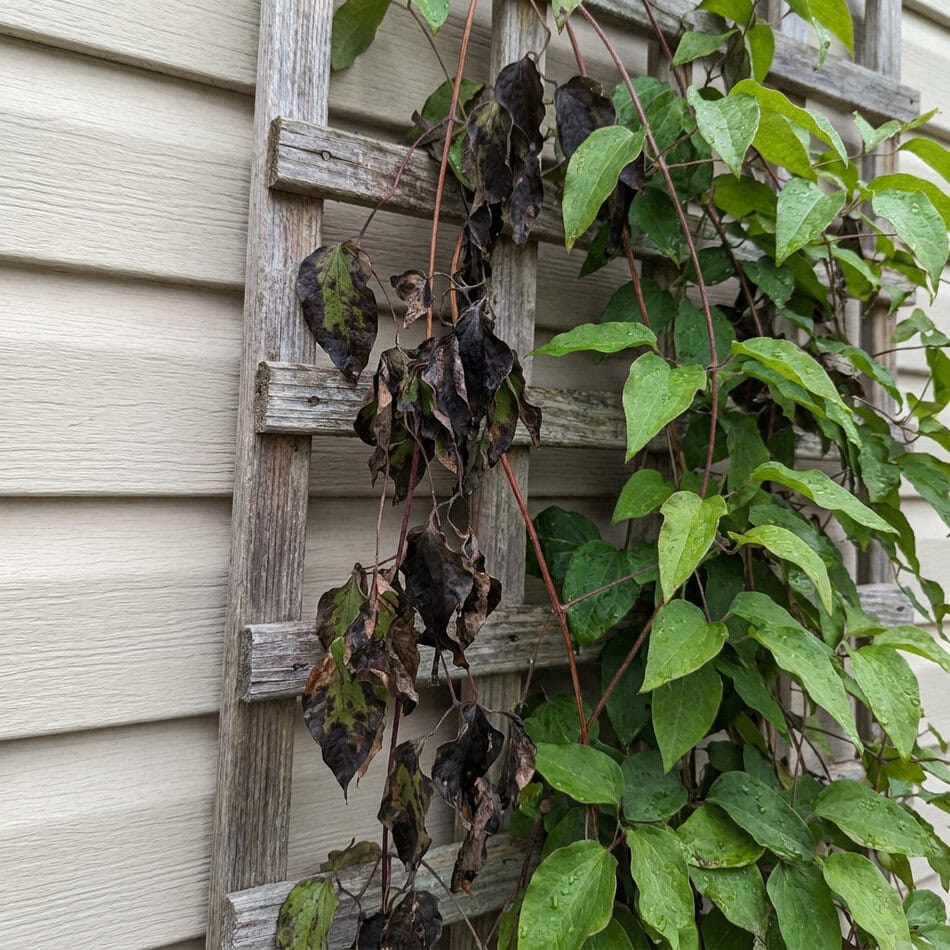
Blackening stems or a sudden collapse? Clematis wilt may have crashed the party. Snip affected vines back below the damage into healthy tissue. Now bag that material and throw it out.
Large-flowered hybrids such as ‘Nelly Moser’ are especially susceptible to clematis wilt, while small-flowered types are generally much less susceptible.
Quick tip: Clean your pruners after removing diseased growth. Also, clear away fallen infected leaves or stems from around the base, or you could give the disease a chance to spread before you can say plant-demic.
Task 8: Don’t Dig Up a Wilted Clematis Too Fast
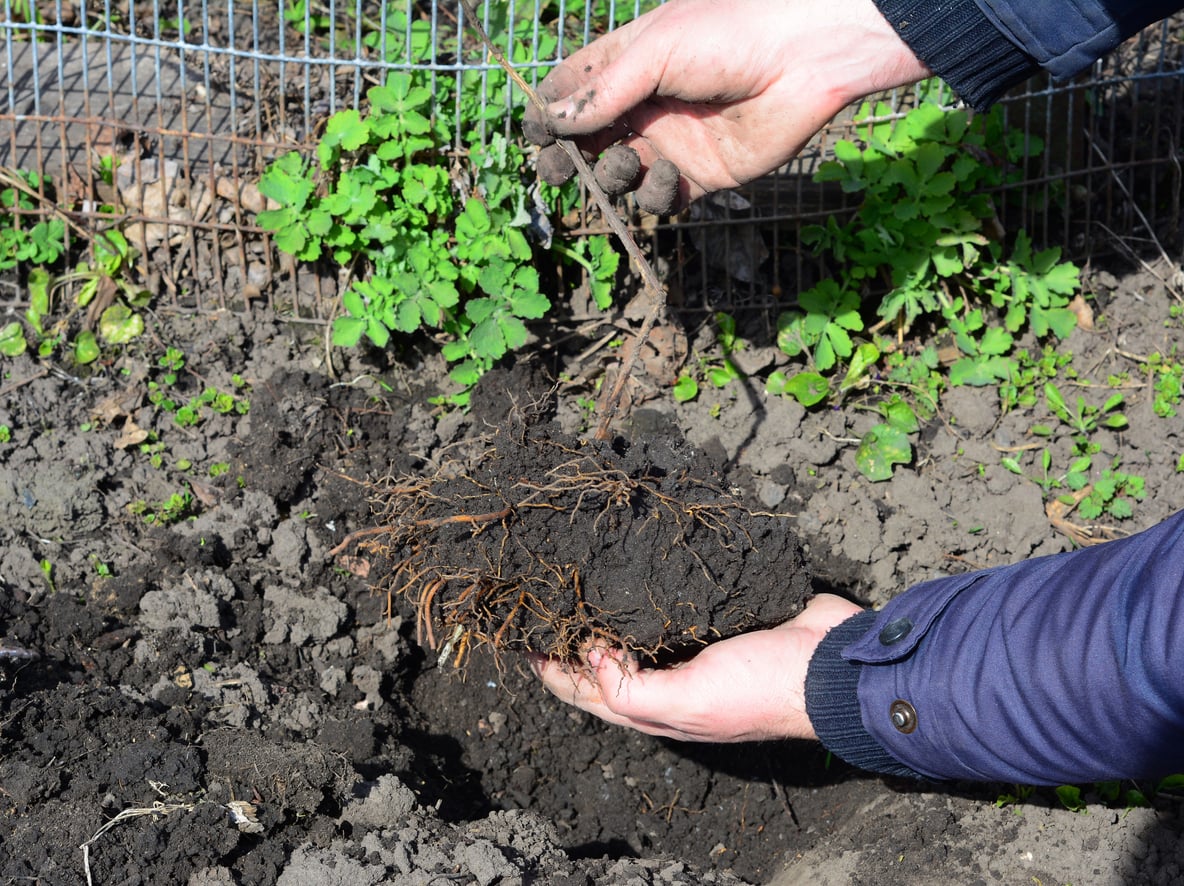
A collapsed clematis can look completely dead, but don’t yank the whole plant out of the ground just yet. Clematis wilt often takes down the top growth while the crown and roots remain alive below the soil.
After removing the affected stems, leave the root system in place and give it time. A well-established clematis can push fresh shoots from below ground and come roaring back next season.
And when those first shoots appear, we wrote a complete guide to spring clematis care so you know exactly what to tackle next.
A Taste for Fine Vines
Don’t ignore pruning groups or start feeding nitrogen. Do respect the roots, secure vulnerable stems, and sanitize your pruners.
October clematis care is less about doing more and more about knowing when to leave the vine alone. Get that balance right now, and you’ll give next year’s blooms a much better shot.