
Clematis vines are essentially primitive machines driven by basic hydraulics and blind panic. You can get far more flowers by leaving yours completely alone until it actually needs feeding, then giving it what it wants at the right time. Now, if only you had a guide…
Know Your Clematis Pruning Group Before Feeding
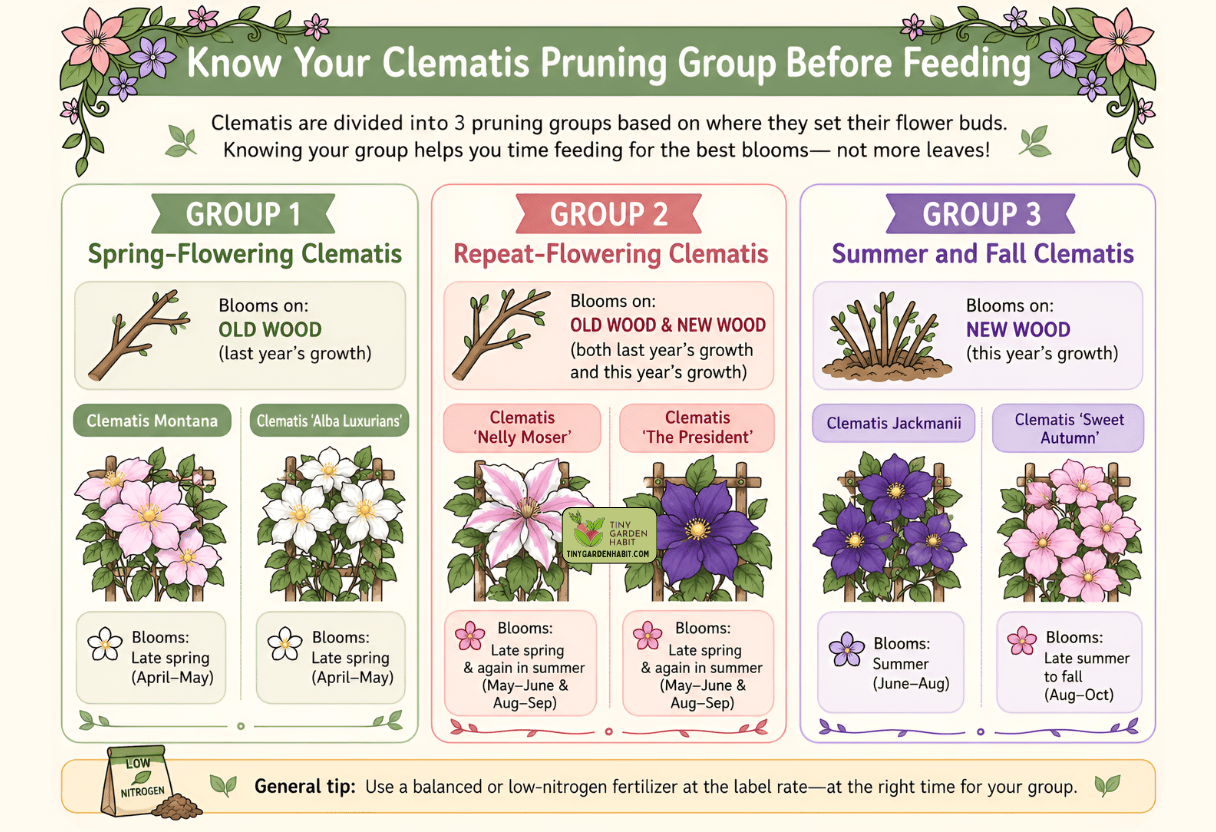
Flinging nitrogen at a clematis without checking its bloom habit is a fast way to burn through cash and encourage a lot of leafy growth at the expense of flowers.
Its pruning group tells you whether it blooms on old wood, new wood, or both, which helps determine when feeding makes sense.
Group 1: Spring-Flowering Clematis
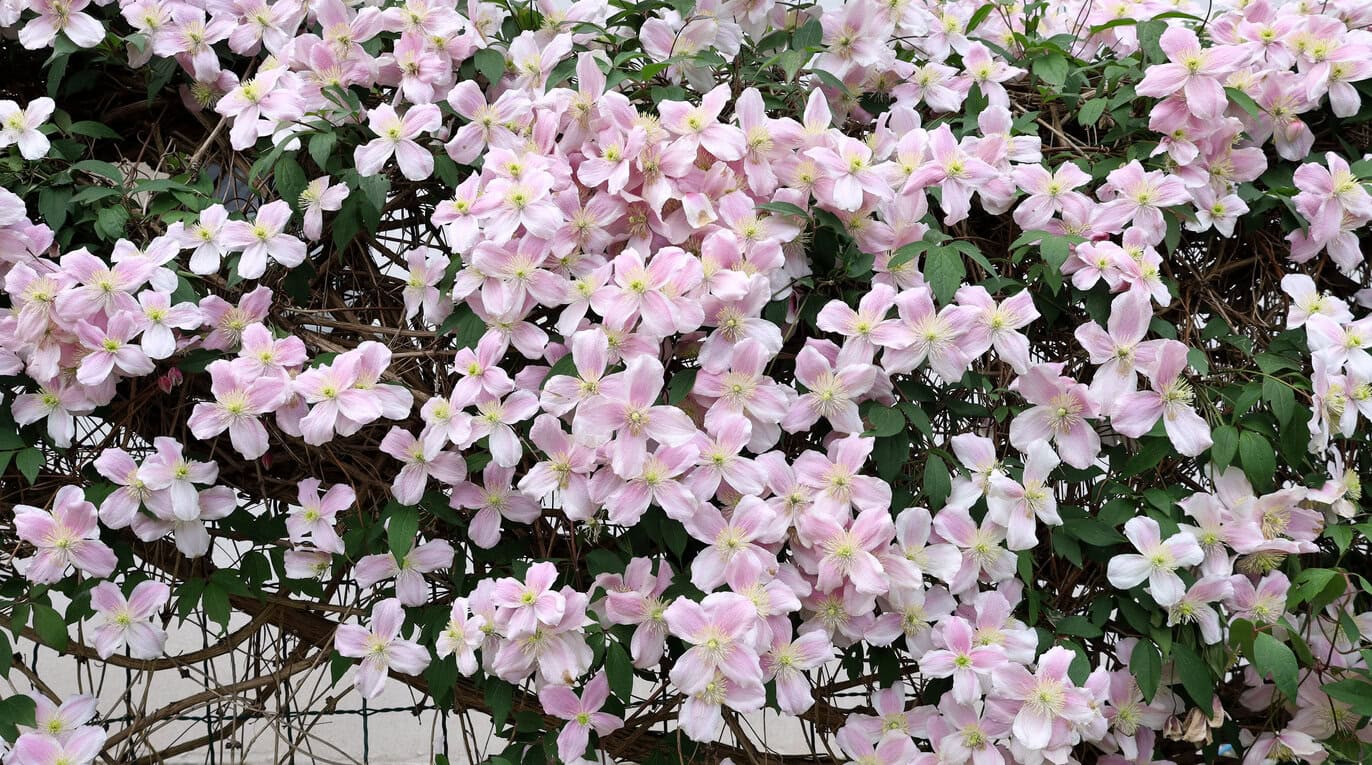
These vines spend the previous summer setting flower buds on old wood. They wake up in spring ready to explode. Don’t shove heavy fertilizer into the soil while the vine climbs with tight buds. It only encourages a pile of leafy growth when you want the plant focused on flowers.
When to feed Group 1: Wait until the final spring petals drop, then feed only if the vine needs it. I use a balanced or low-nitrogen fertilizer at the label rate.
Group 2: Repeat-Flowering Clematis
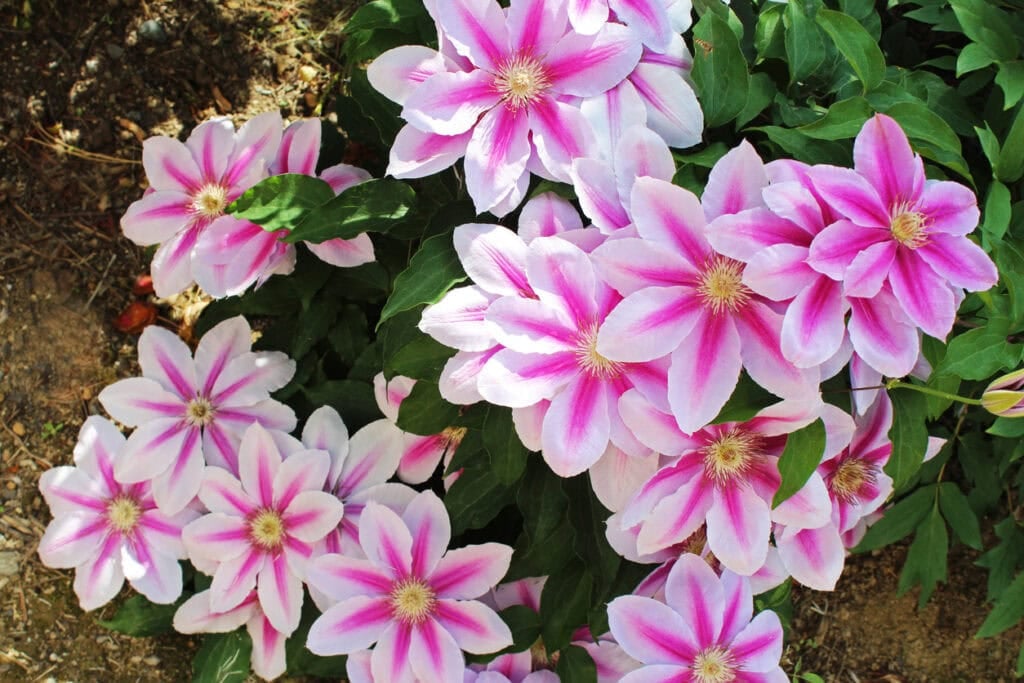
The high-maintenance middle child of the garden. They split the difference, pushing an early flush on old wood, then attempting a second act on fresh summer growth.
The transition window is your best leverage point because it is the cleanest time to feed without interrupting the first show.
When to feed Group 2: Feed after the first flush fades, using a balanced or low-nitrogen fertilizer at the label rate.
Group 3: Summer and Fall Clematis

These operate on a total clean slate, building their flowering growth from scratch each year.
A brutal late-winter hacking clears away last year’s stems. The moment fresh green shoots break from the crown or lower buds, the engine demands fuel.
When to feed Group 3: Feed after pruning, once new growth appears, using a balanced or low-nitrogen fertilizer at the label rate.
Clematis Fertilizer Schedule by Month
You can mostly ignore a calendar (unless it shows firefighters with kittens). Soil temperature, weather, and visible growth dictate reality. Treat these months as loose suggestions, not absolute garden commandments.
January and February: Usually No Fertilizer
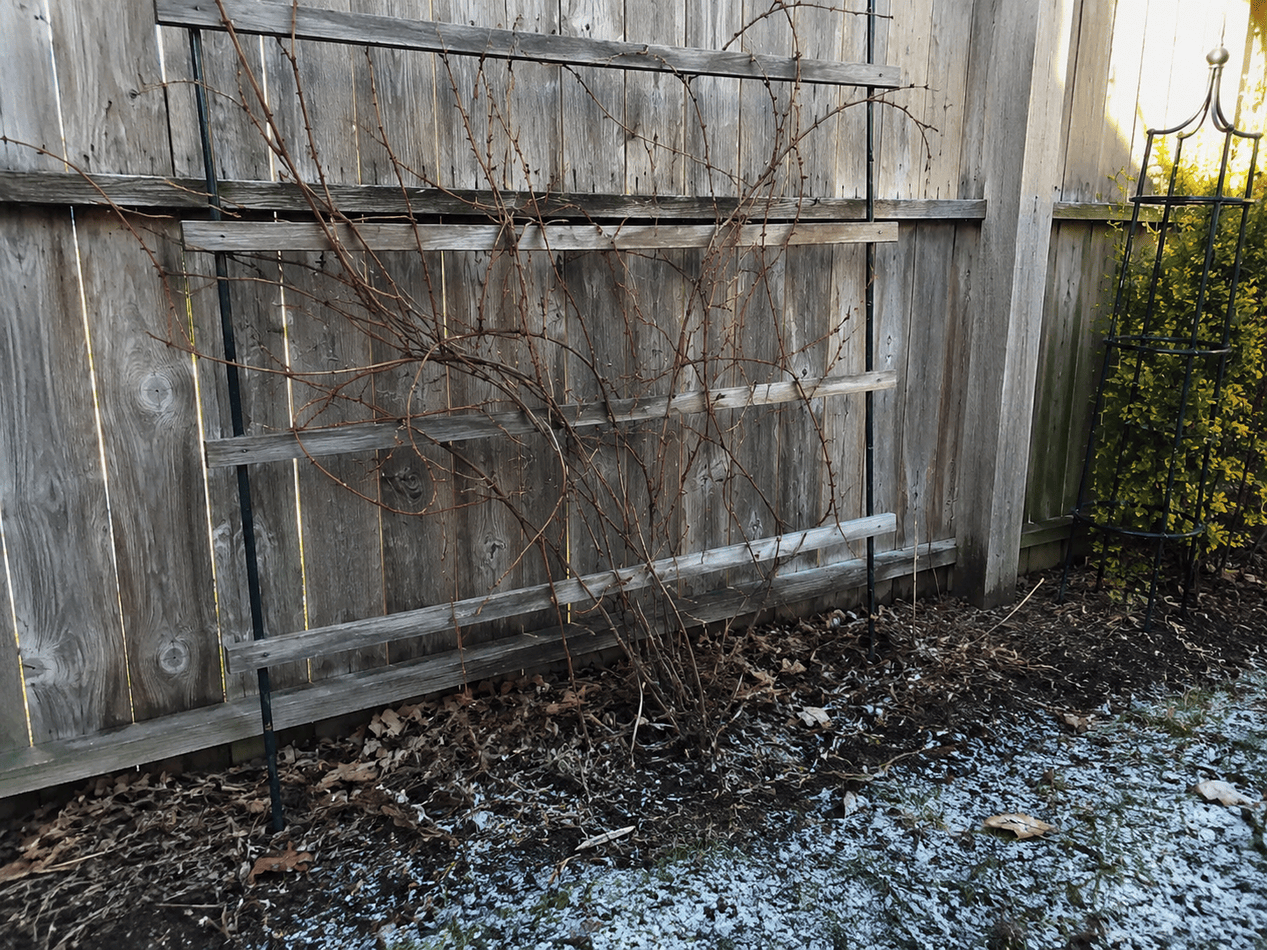
Deciduous clematis are dormant and dead to the world right now. Tossing pellets onto frozen or waterlogged soil is more likely to wash your money away than do the vine any good.
March and April: Feed Group 3 After Pruning
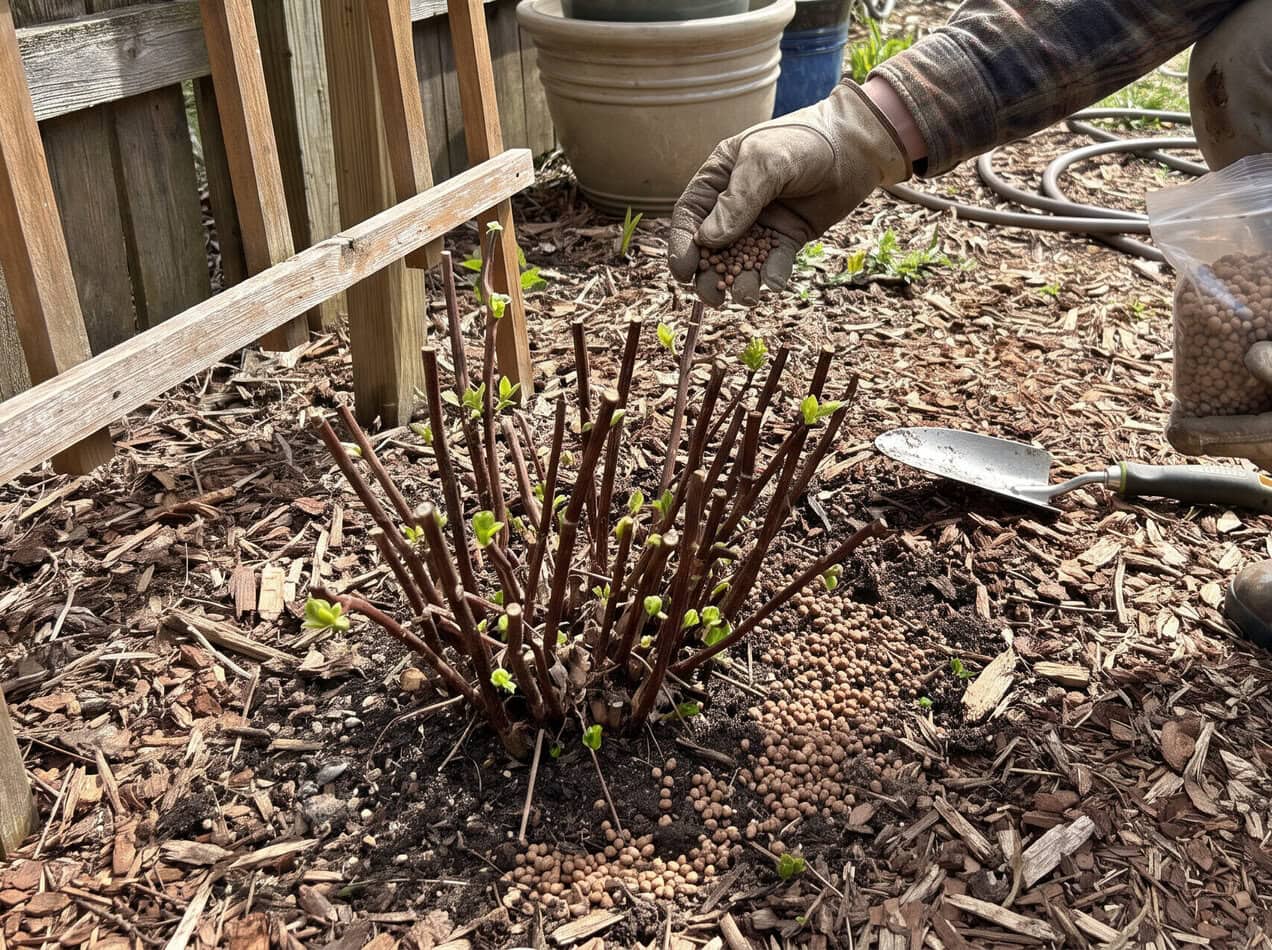
This is the starting gun for Group 3. Once the hard prune resets the canopy, watch the crown like a hawk. Wait until the soil thaws and fresh green growth appears, apply a balanced or low-nitrogen fertilizer.
You can’t bribe a frozen root system into early action any more than you can bribe me out of bed at single-digit o’clock.
Quick tip: If the ground is stiff and the vine is still unconscious, the fertilizer stays in the shed.
We wrote a complete guide to spring clematis care if you need help with the pruning, watering, mulching, and training that happen alongside this first feeding.
May and June: Feed Groups 1 and 2 After Flowering
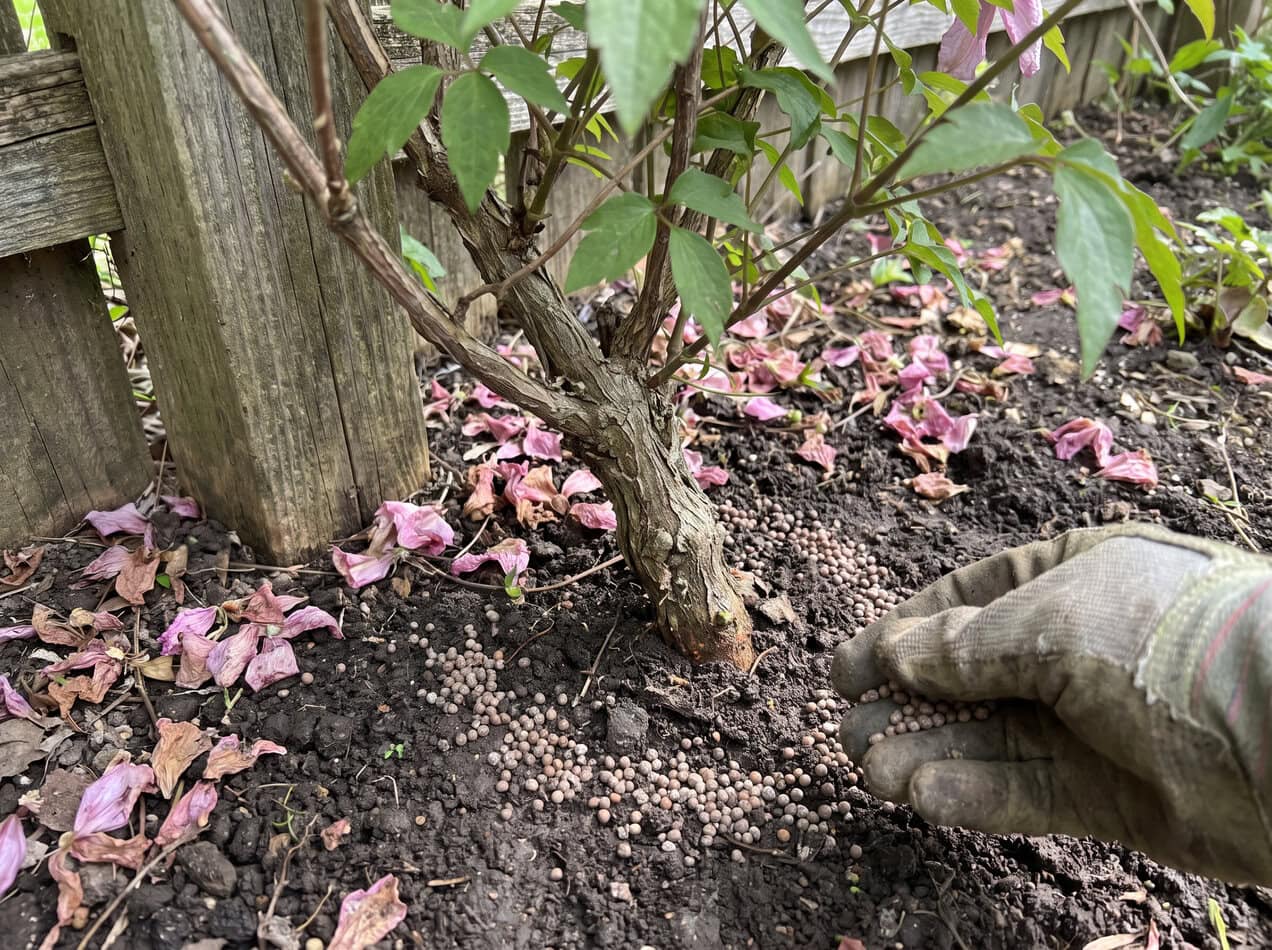
The spring show is over; the ground is littered with spent petals. Now you patch the deficit. Once the first flush fades, top-dress Groups 1 and 2 with a balanced or low-nitrogen fertilizer.
Is Your Clematis in a Container?
Vines trapped in pots live under different physics. Frequent watering washes nutrients out through the drainage holes much faster than it does in the ground.
Container clematis need lighter, more regular feeding throughout active growth. I use a liquid tomato or rose fertilizer at the lable rate, usually every few weeks.
July and August: Feed Only When Necessary
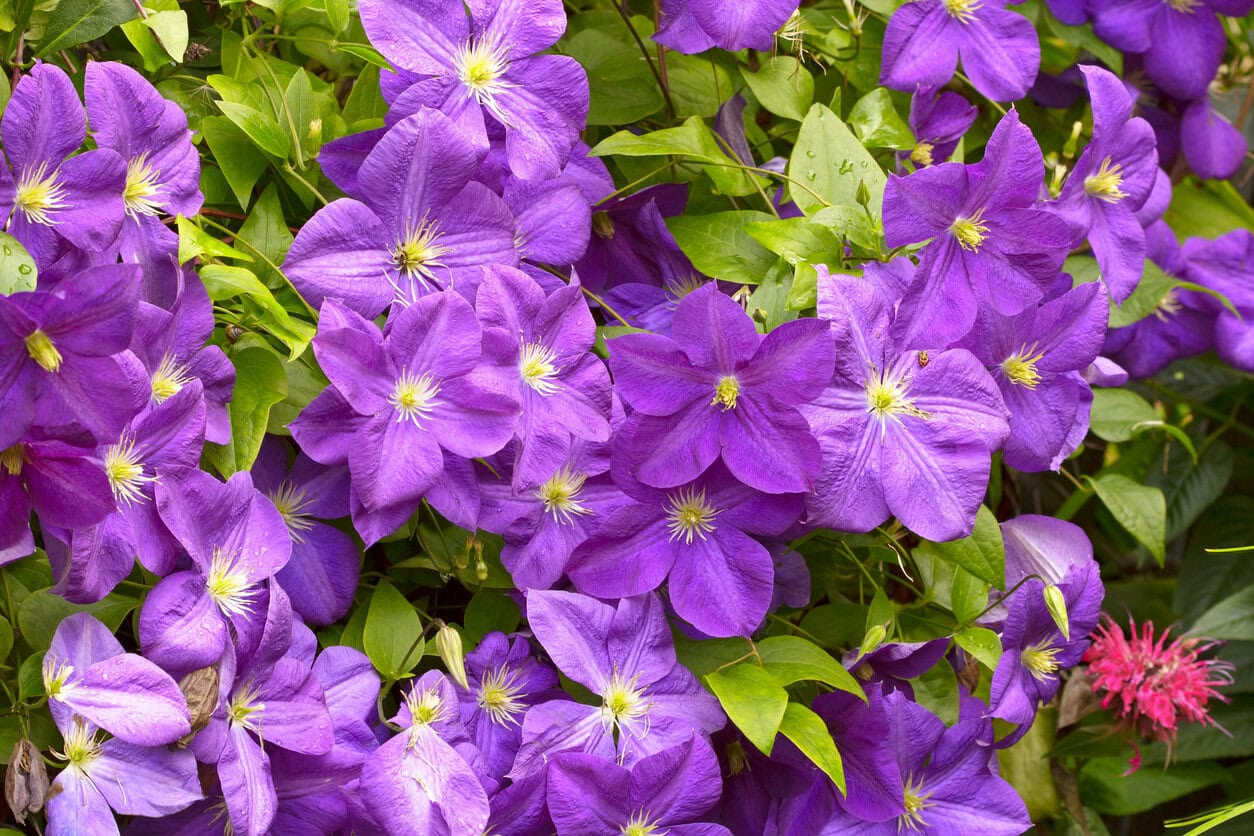
August is where this schedule gets regional. Late nitrogen can trigger a flush of soft growth that may not harden off before the first frost, so your USDA zone matters here.
Skip fertilizer entirely if the plant is buckling under a heat wave or drought. Feeding a heat-stressed clematis can do more harm than good. It’s like eating a heavy lasagna during a heat wave. Nobody wins.
We wrote a guide to summer clematis care that explains how to handle watering, mulching, pruning, and heat stress when fertilizer is no longer the answer.
September Through December: Stop Routine Feeding
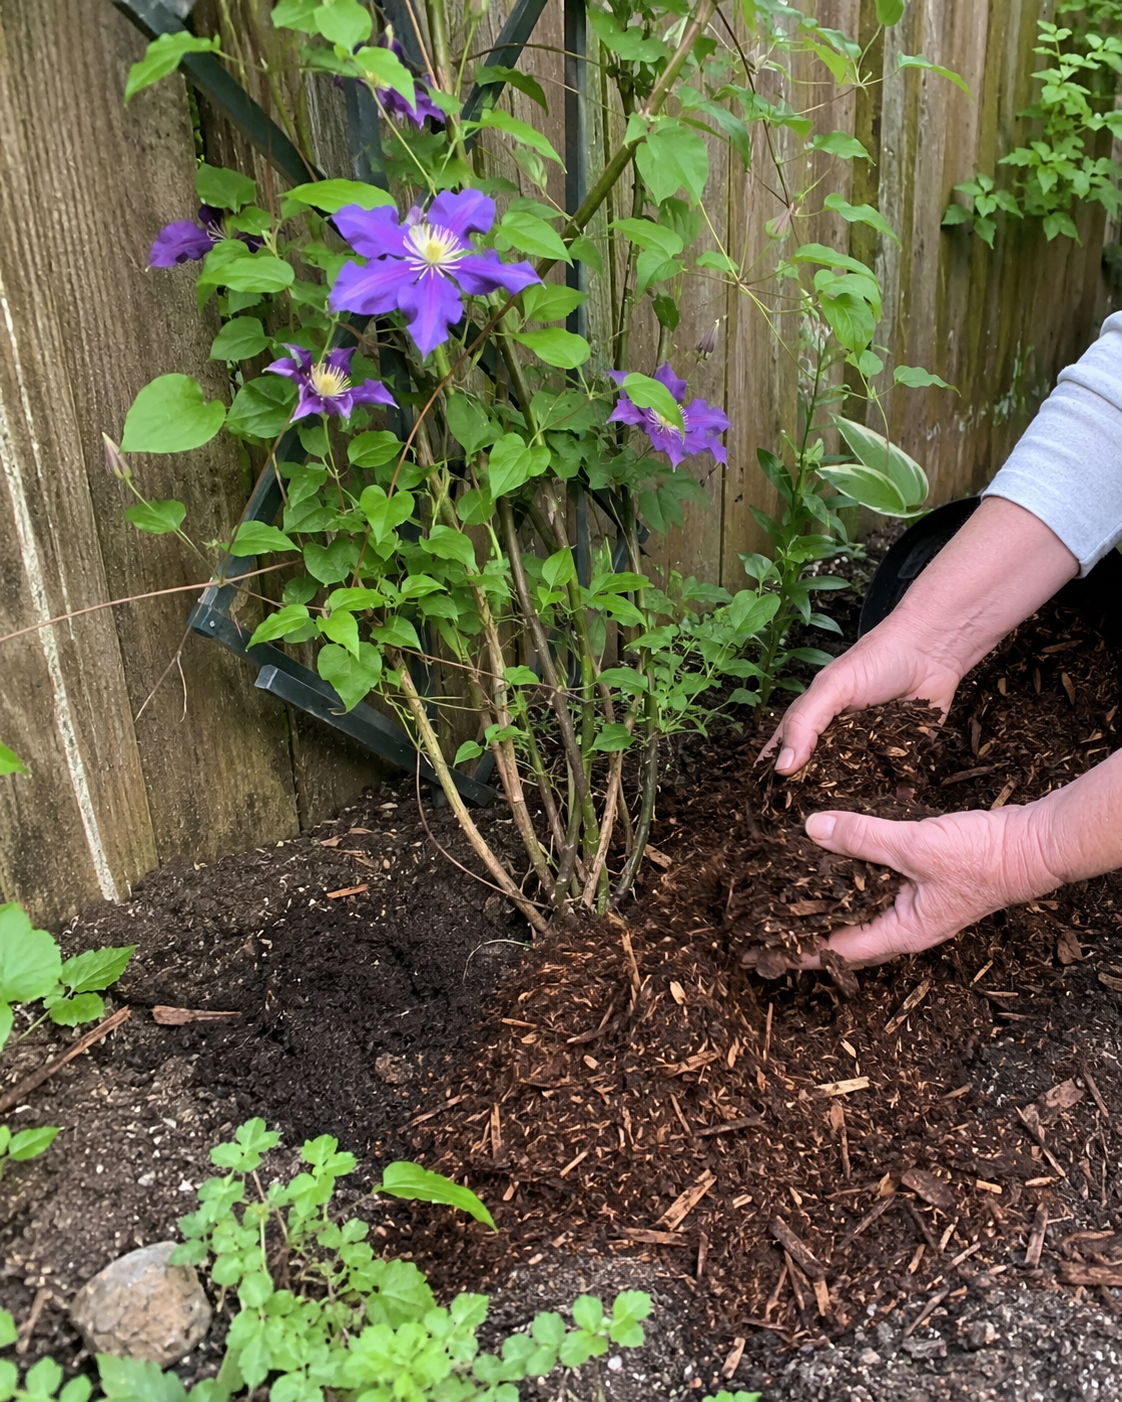
The brakes go on now. The goal is to let the vine slow down and harden off naturally, not push a fresh crop of vulnerable new tips that will freeze off anyway.
Shift your focus to water instead. If fall is dry, give the root zone a deep soak before the ground freezes. Then spread 2-3 inches of coarse organic mulch over the soil to limit temperature swings and frost heaving, keeping it a few inches away from the stems and crown.
How the Routine Changes by USDA Zone
USDA zones measure average annual extreme minimum winter temperatures, not plant behavior. They’re a useful baseline, but your local weather, soil conditions, and the vine’s actual growth should tell you when to pull the trigger.
USDA Zones 3-5
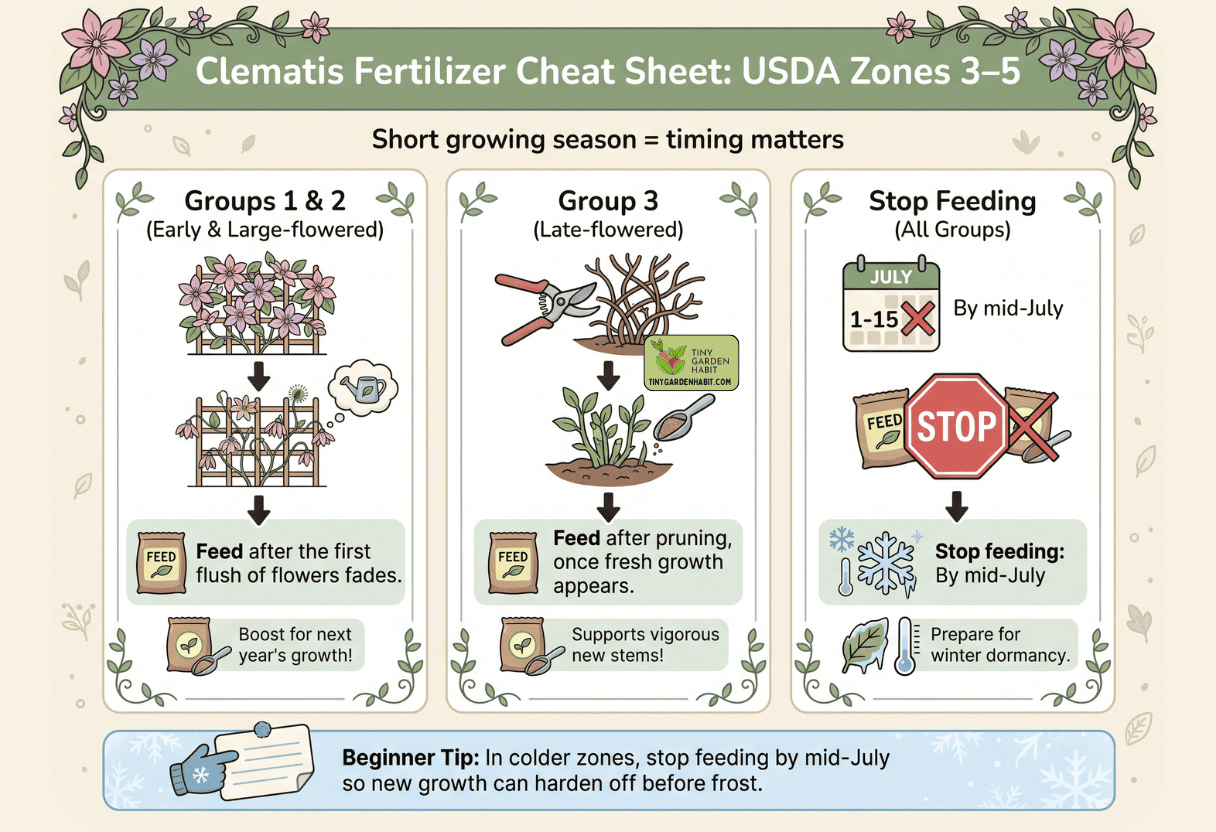
The operational window is brutally short. Spring starts late; winter arrives early. Your entire feeding routine gets compressed into a tight mid-spring-to-midsummer sprint.
USDA Zones 6-7
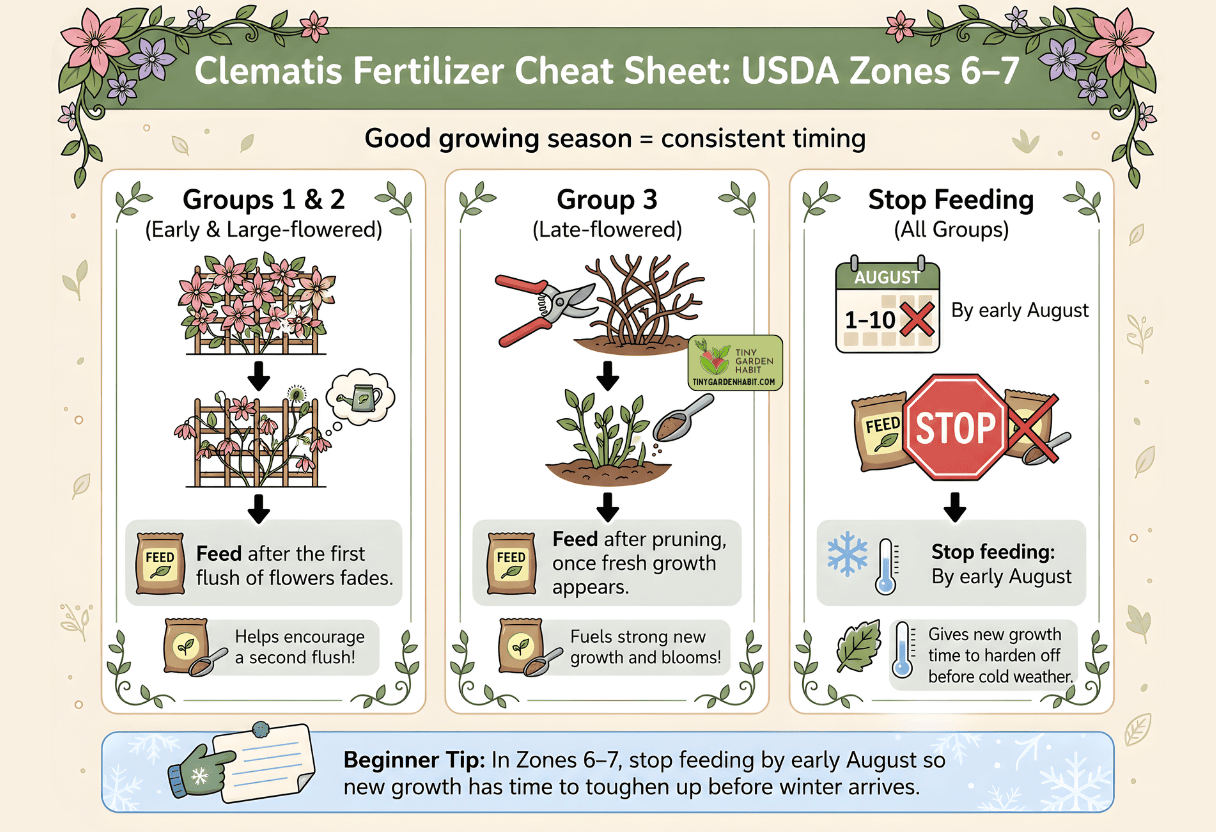
The standard template. Spring arrives with enough runway to feed without racing the first frost, but timing still matters.
USDA Zones 8-9
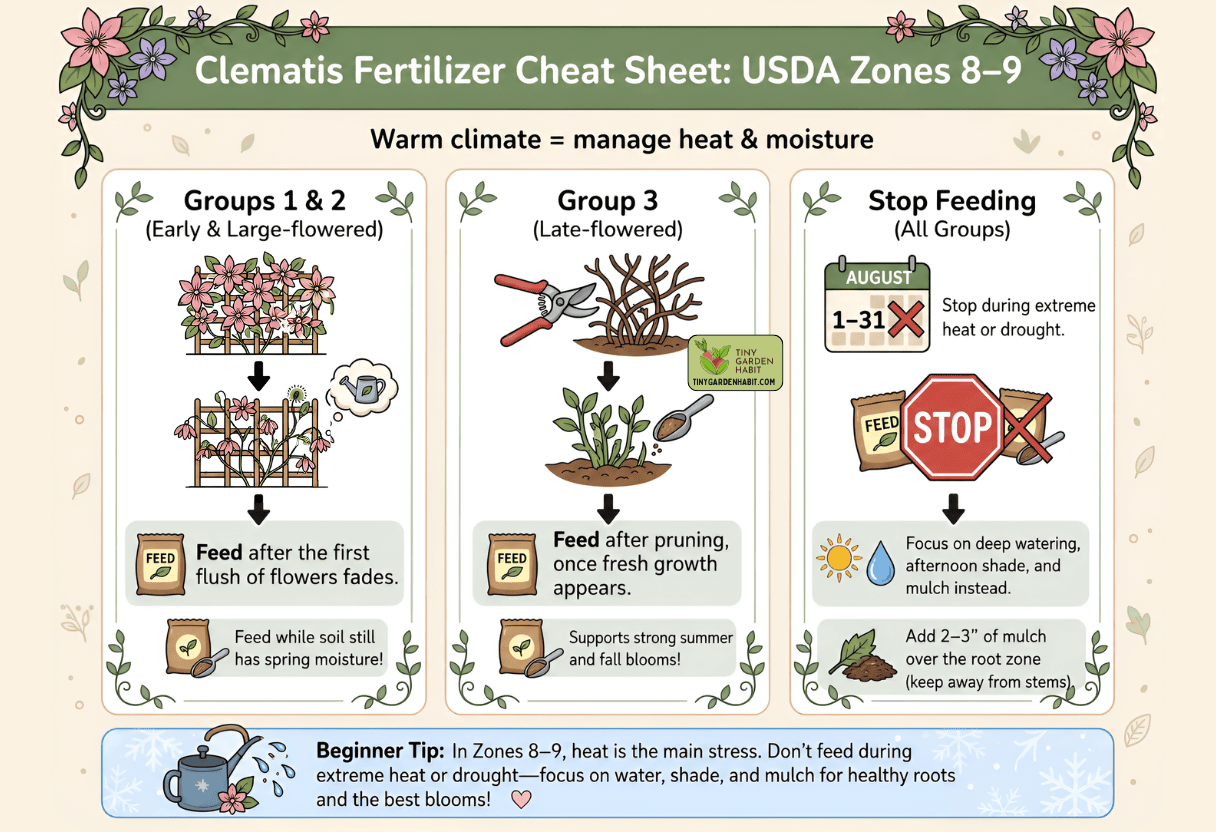
Early heat waves alter the math entirely. Spring arrives fast, but July and August can bake the soil and push clematis into survival mode.
Variety, bloom habit, local frost pockets, and the vine’s actual behavior carry far more weight than the USDA zone printed on the plant label.
You Can’t Out-Fertilize a Bad Schedule
A brilliant clematis show isn’t born from a chemical cocktail. It comes from timing. Match your fertilizer application to the stage when each pruning group is producing new growth, respect your local climate, and stop feeding before the winter freeze. Get the timing right, and the plant will handle the rest.
Fertilizer is only one piece of the job, so we also explain how to keep clematis blooming all season with the right pruning, watering, support, and general care.



Good Morning what is the name of the Fertilize for Clematis?
Hi 🙂 You don’t need a special fertilizer labeled for clematis. I use a balanced or low-nitrogen fertilizer, something like a 5-10-10, at the label rate. The important part is timing it with active growth rather than feeding routinely all year.
I have a TIAGA, it is nothing but hard stems. I am thinking about cutting it all the way back to the ground.? What do you think?
Hi Debbie 🙂 If you mean Clematis ‘Taiga,’ those hard stems are normal as it goes dormant. It’s a Group 3 clematis, so I wouldn’t cut it to the ground now. Wait until late winter or early spring, then cut last year’s stems back to a pair of strong buds about 6 to 8 inches above the soil. It will flower on the fresh growth it makes that year.
Would like to see zones on a US map so I know which I am in.