Some years, the effort you put into the yard barely feels worth it, but this fall, the gardening math is mathing. A bright windowsill plus a tiny rooting tray equals budget-friendly new plants come spring.
Take a few cuttings from your favorite geraniums and save a bundle on next spring’s plant haul.
Timing and Mother Plant Selection
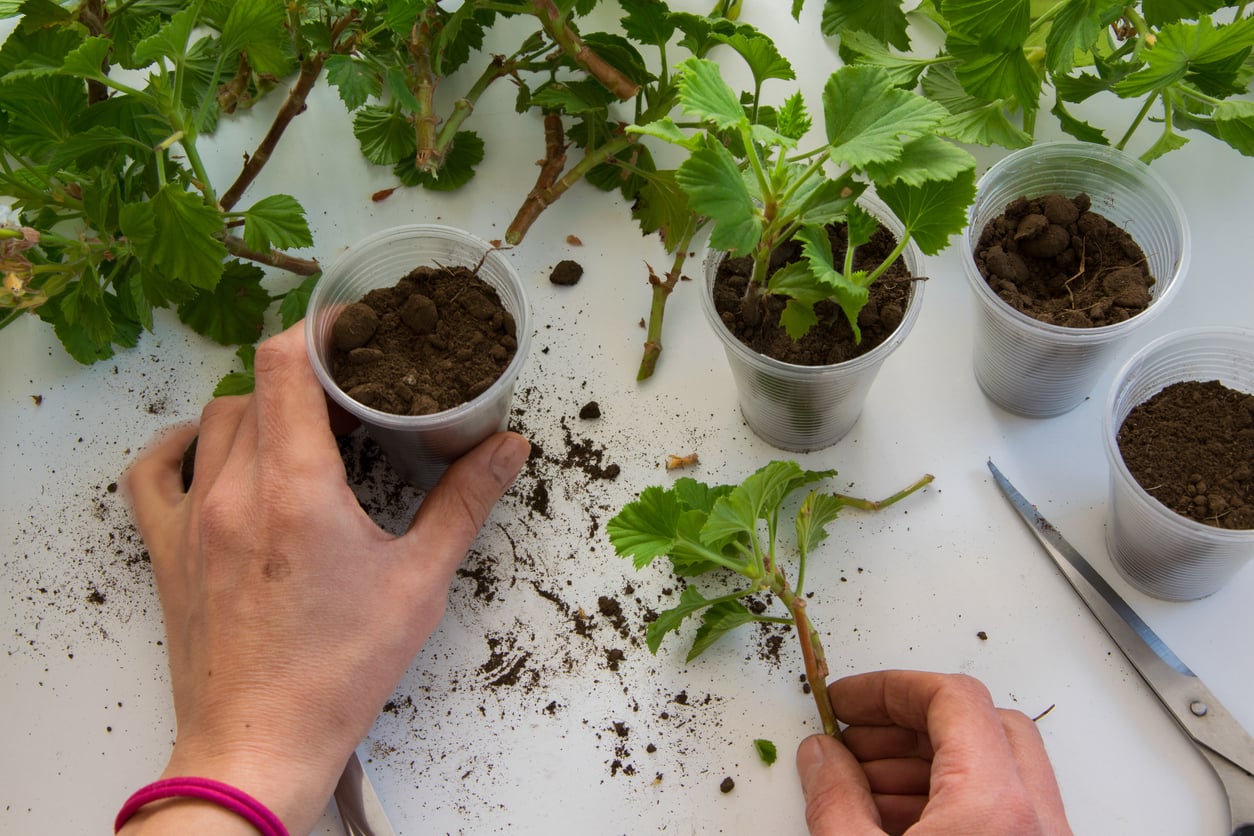
Gather stem snips while your geraniums still have healthy, frost-free growth. Ideal timing depends on
local weather rather than strict calendar months.
Stick with tender geraniums (Pelargonium), including bedding, ivy, and scented types, not those tough perennial cranesbills (Geranium) that survive winter outdoors. Snip strictly from bulletproof parent stock.
Flip the leaves, check the tips, and look right at the soil line. Yellow spots, weird discoloration, pests, or black rot at the base? Skip that plant. You don’t want trouble in your rooting tray.
That Perfect Cutting
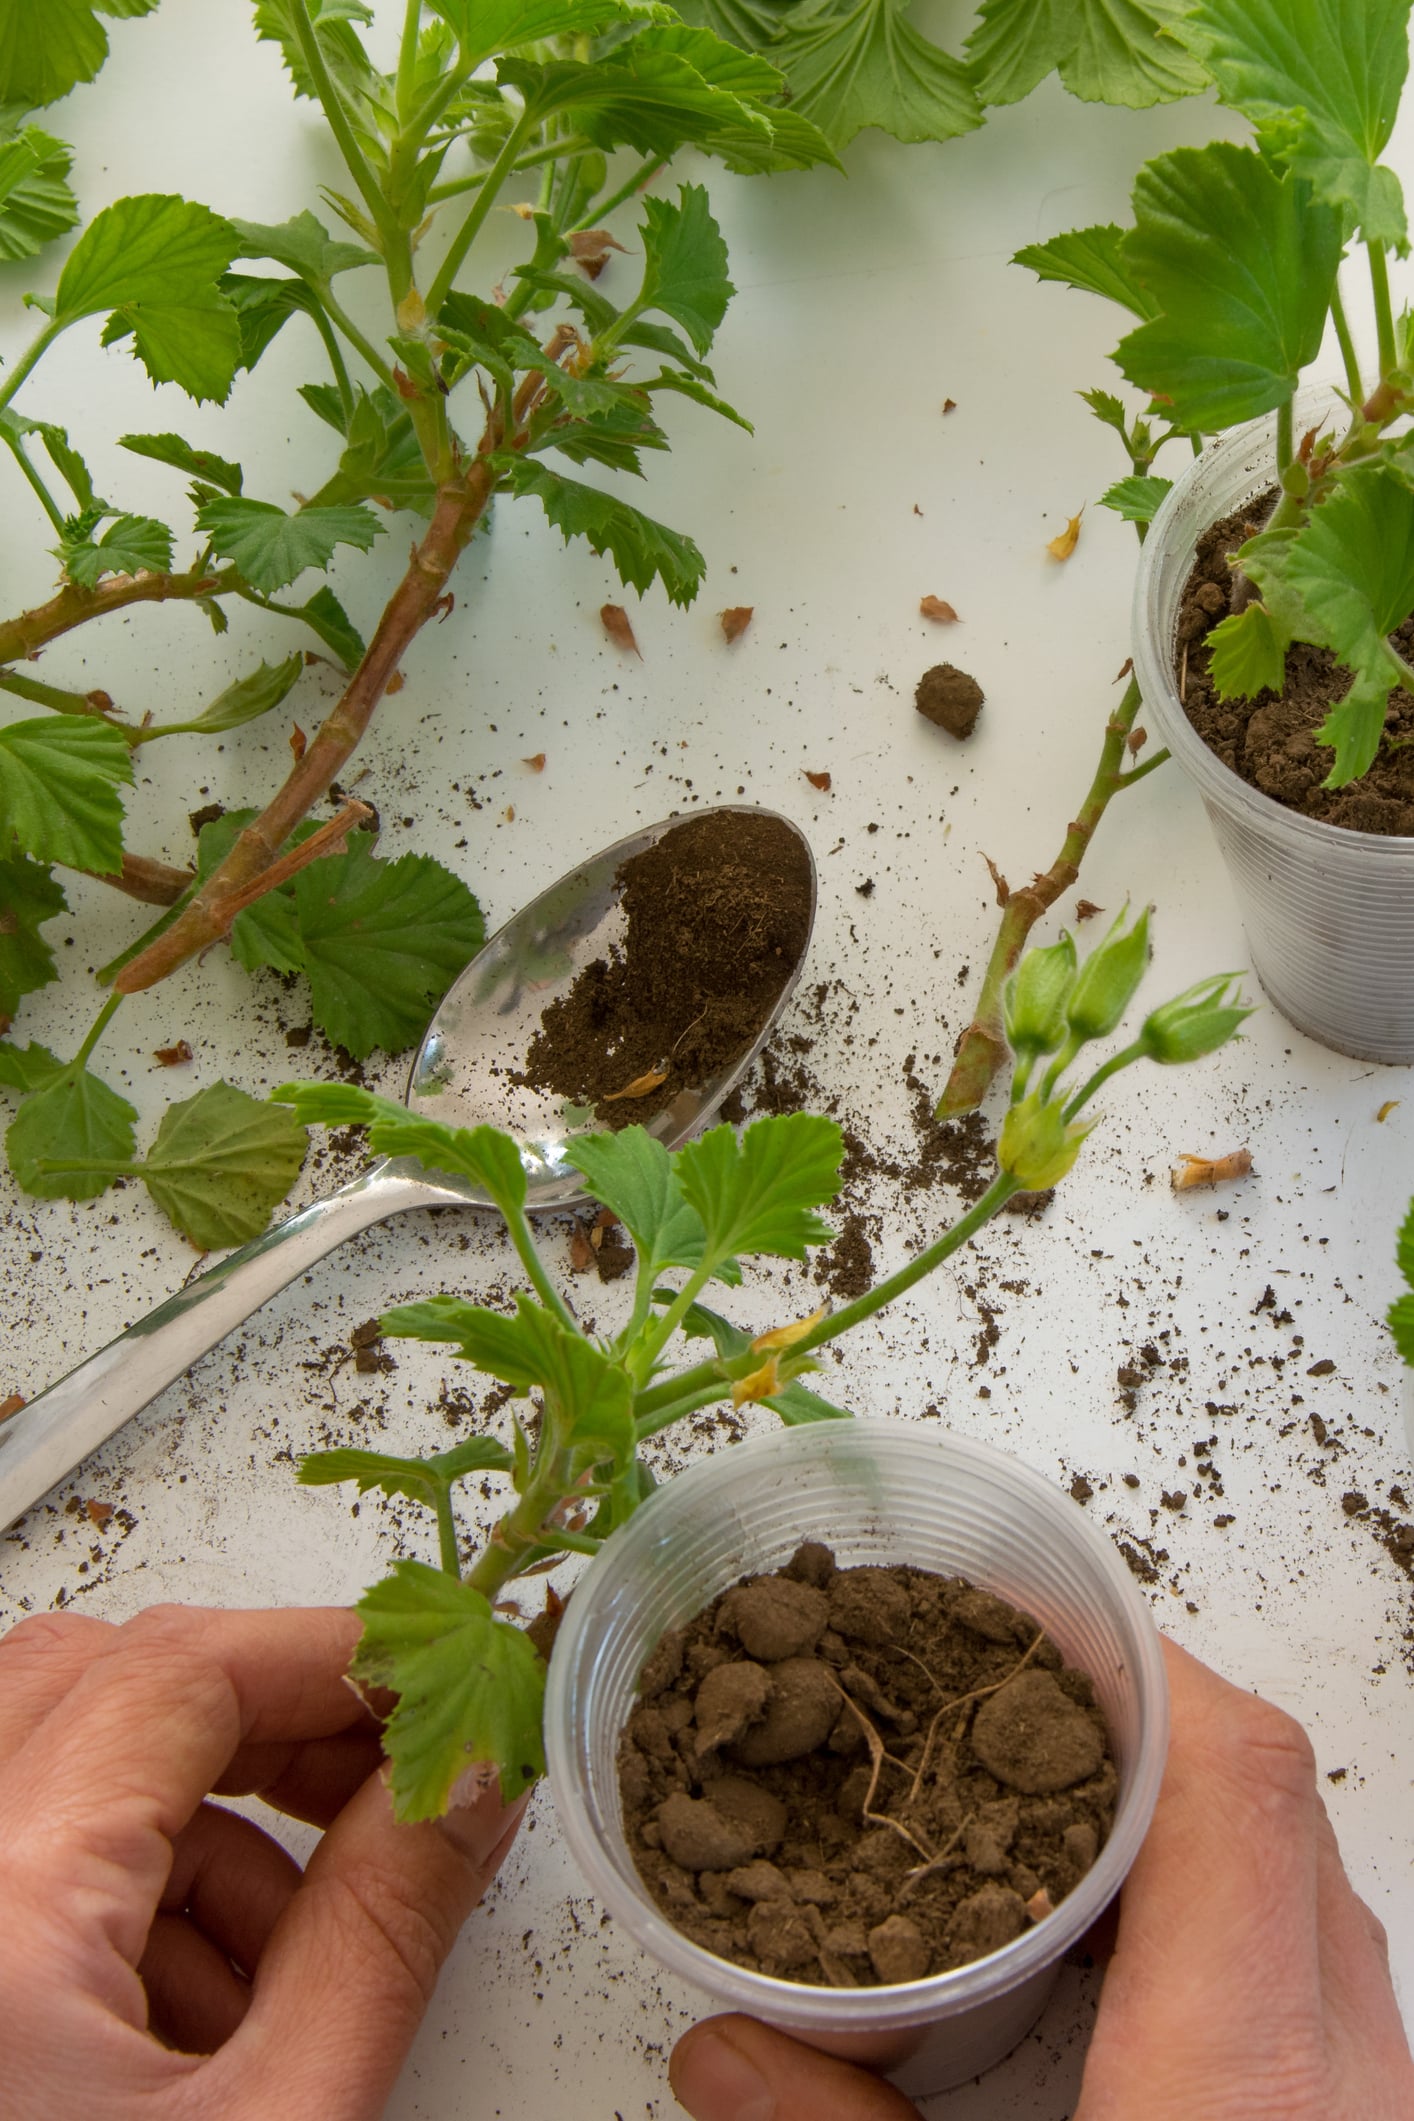
Snip a stem, stick it in soil, and hope for the best? Geraniums are forgiving, but there’s a little more to successful propagation than that.
Where you cut and what you leave behind can make all the difference. So grab your shears and make your former high school biology teacher proud.
1: Choose the Right Shoot
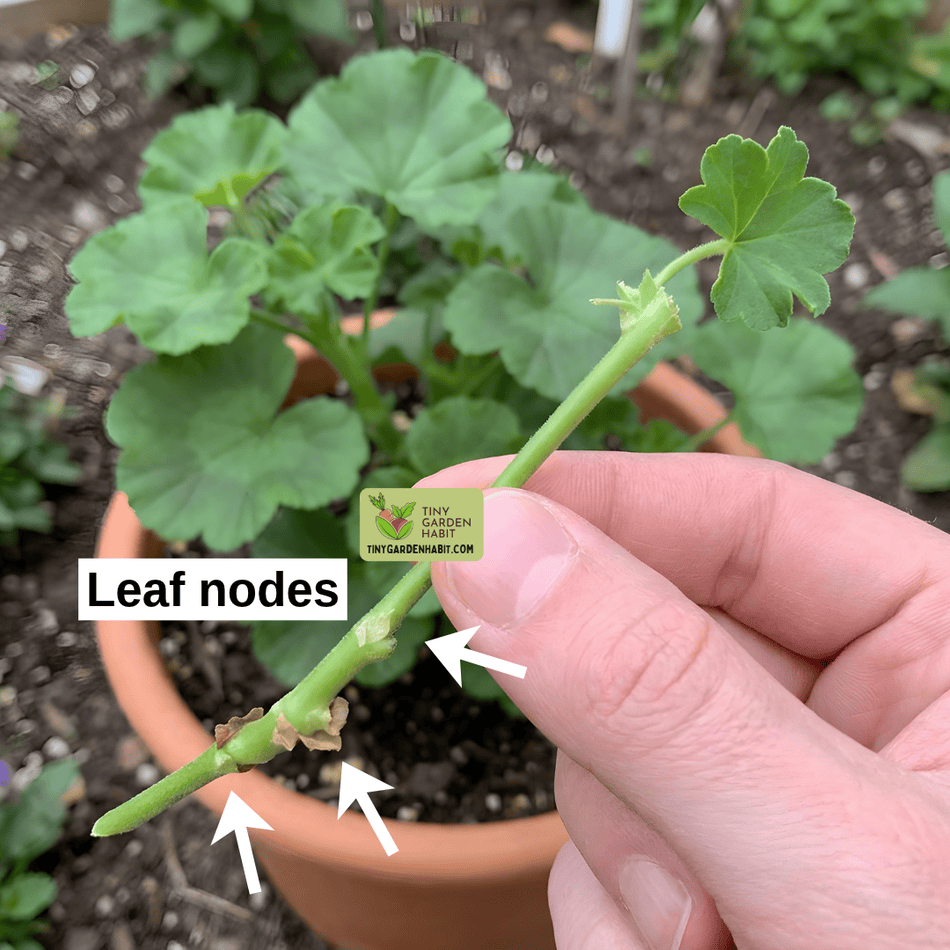
For reliable results, your cutting needs a piece of stem with at least a couple of nodes (the little joints where leaves attach). Snipping off a leaf alone won’t work. It might develop roots, but it won’t grow into a whole new plant.
Grab firm, healthy stem tips. Pick non-flowering shoots when available.
If only flowering stems exist, snip off the blooms and any unopened flower buds. The logic? Without flowers to support, the cutting can put more energy into growing roots.
If you’re also tidying up faded flowers on the parent plant, we wrote a guide on how to deadhead geraniums the right way.
2: Measure and Cut
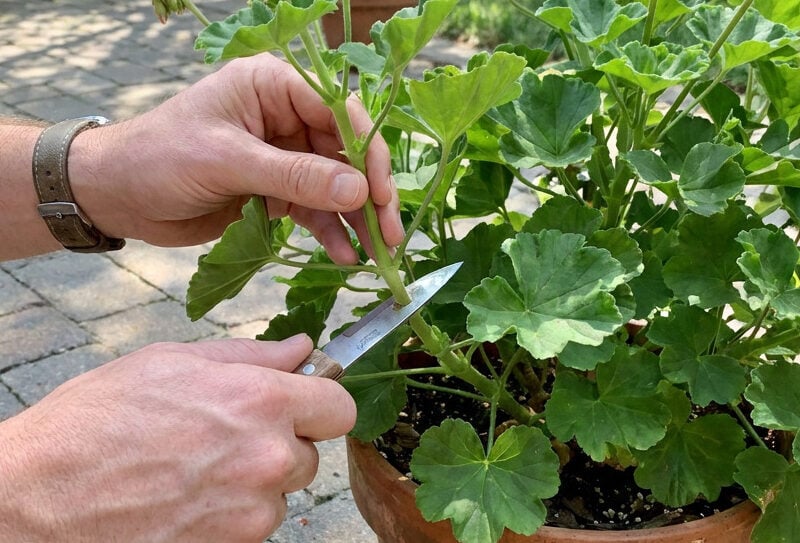
Measure three to four inches down from the tip of a healthy shoot. Find a node, one of those slightly swollen joints where leaves attach to the stem.
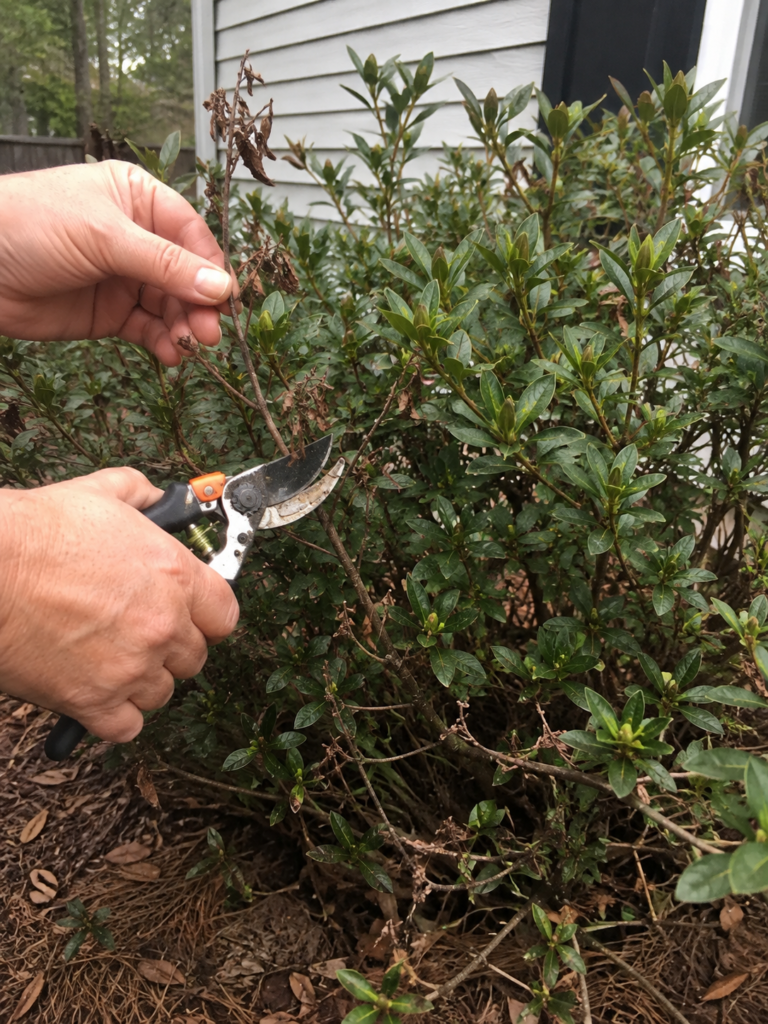
Grab a sharp pocket knife or bypass shears, cleaned with rubbing alcohol. Make a clean cut just below the node. Try not to crush or damage the stem in the process.
3: Trim Excess Foliage
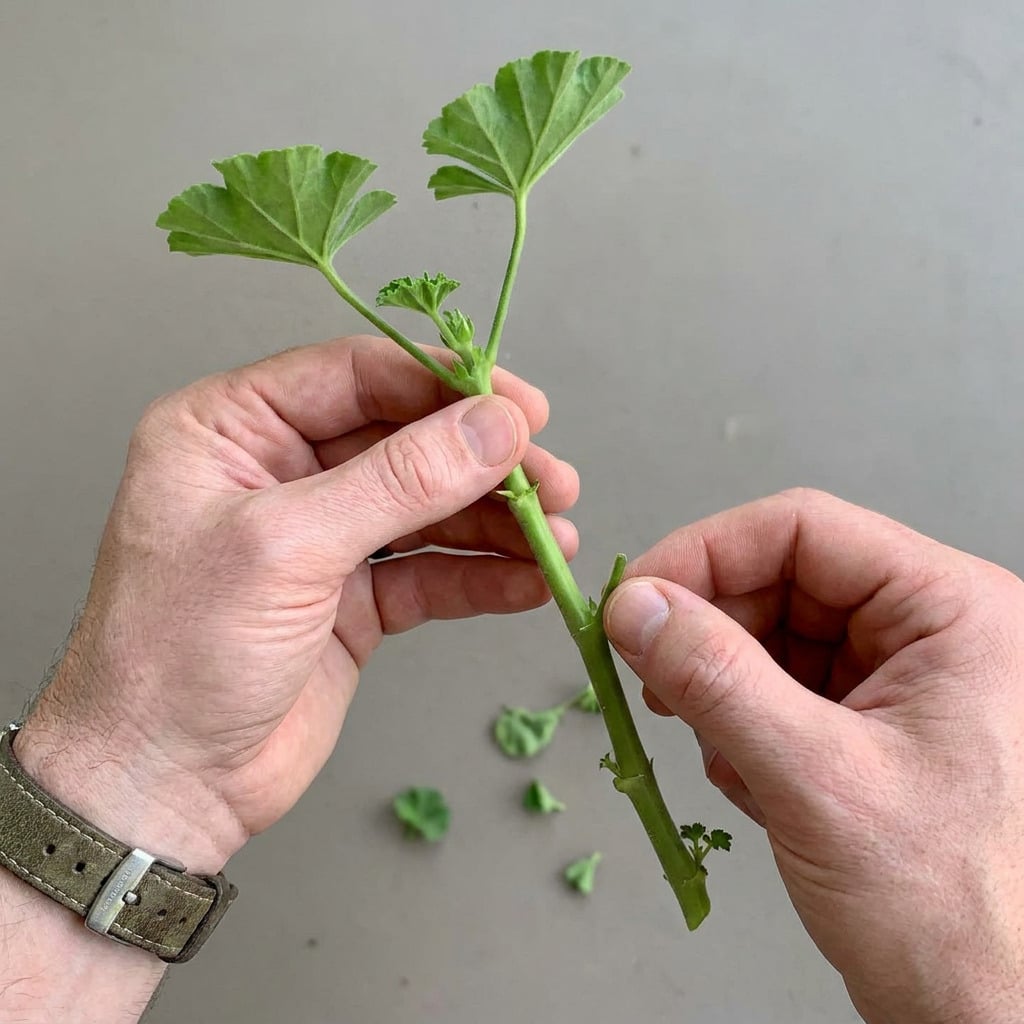
Pinch off the lower leaves, leaving just a couple up top. Gently remove any tiny green flaps (stipules) at the leaf bases and any flower buds you missed.
Fewer leaves mean less moisture loss while roots scramble to form. Keeping the lower stem bare also prevents buried leaves from rotting in the rooting mix.
Building the Rooting Setup
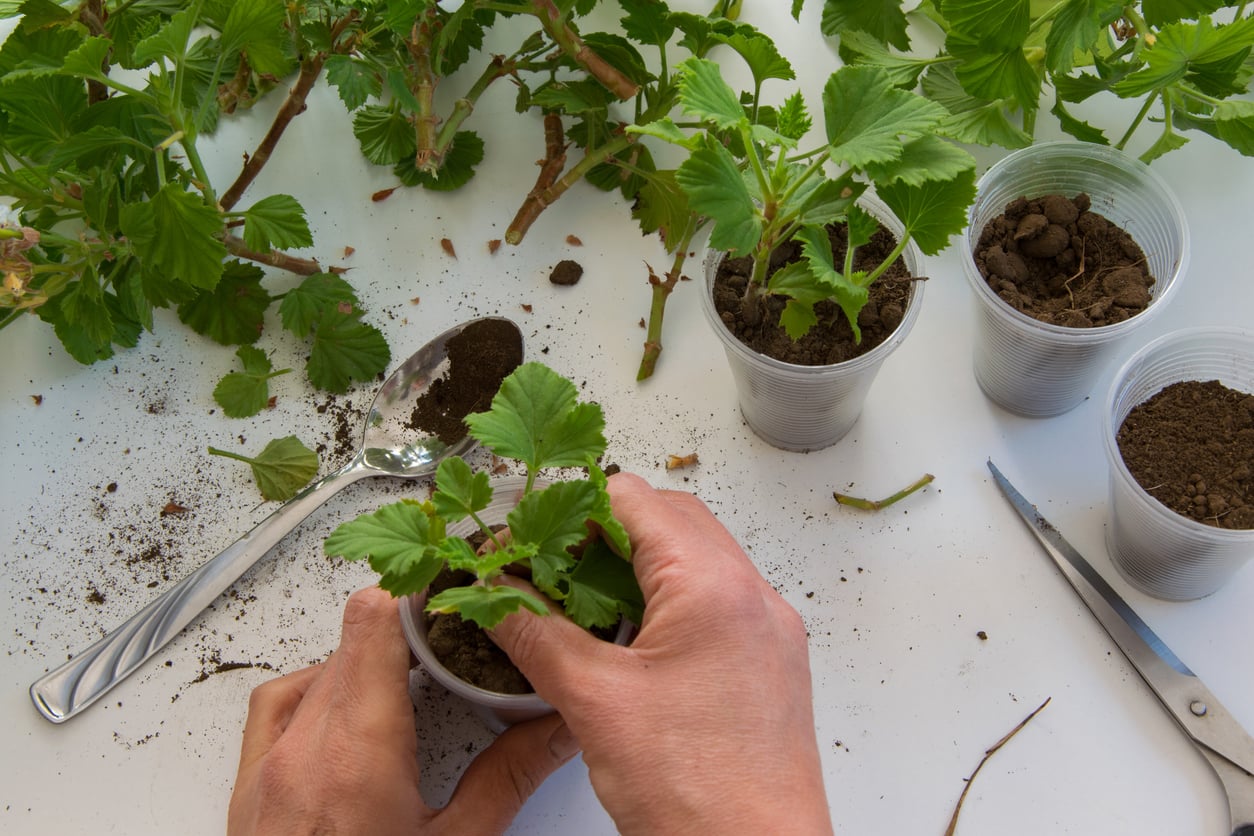
Don’t throw away those clear plastic berry clamshells or salad tubs. They make surprisingly great propagation trays, provided you give them proper drainage and a little airflow.
Here’s how to set yours up:
Keep in mind that the plastic tubs are just temporary homes. With a little luck, those cuttings will have enough roots to move into individual pots within four to eight weeks.
What They Need While They Root
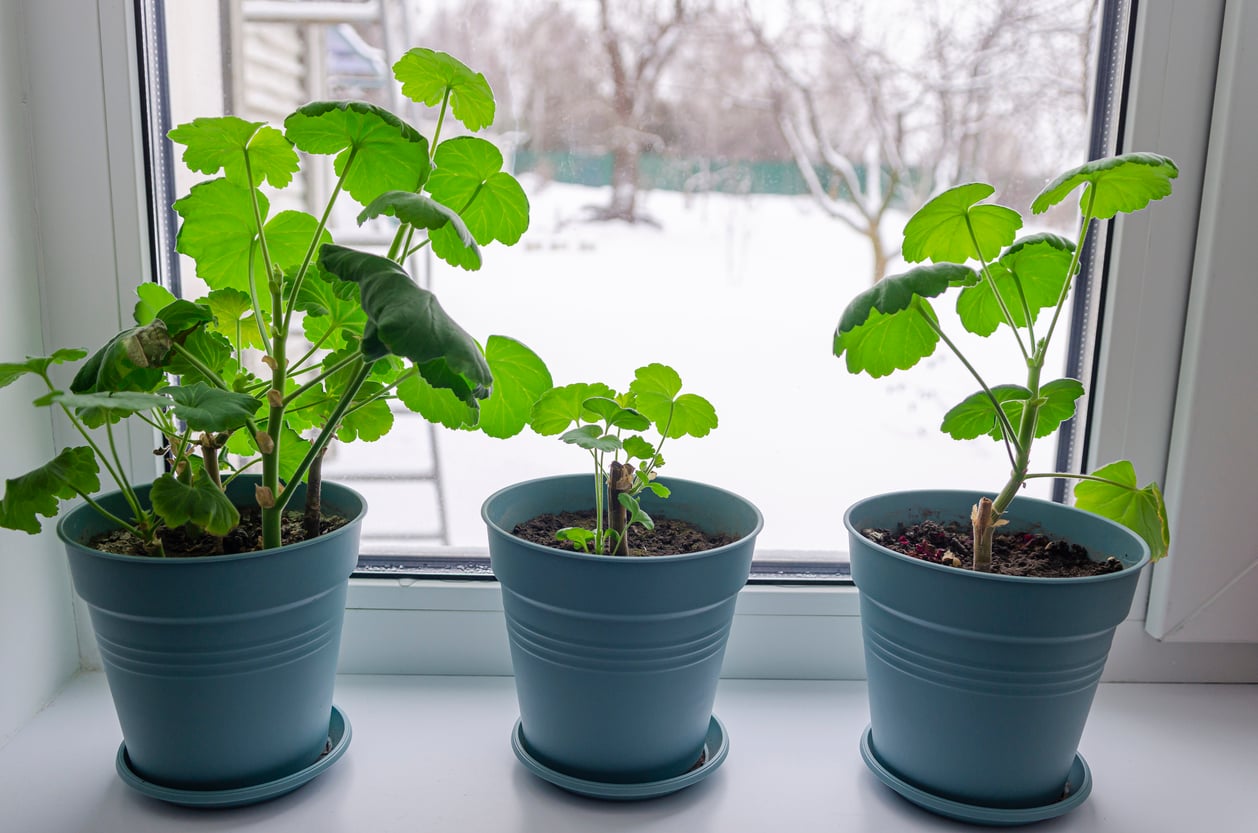
The hard part is over! Now it’s mostly a waiting game. Here’s how to keep those cuttings happy:
After transplanting, a sunny windowsill or a grow light running 12-14 hours a day will keep them growing. Let the top inch of soil dry between drinks, and save fertilizer for when they’re established and actively growing.
Once they’re growing strong, we also have a guide on how to fertilize geraniums for healthy growth and plenty of summer blooms.
From Windowsill to Garden Bed

Once your local frost danger has passed and the weather warms up, your indoor-wintered geraniums will be itching to get outside. Don’t just dump them directly into full sun on day one, though.
Indoor leaves are soft and burn easily. Spend about ten days hardening them off:
Where to now? Garden beds. Patio pots. Hanging baskets. Pick whatever spot needs color and gets plenty of sunlight.
Once the plants are established, a quick pinch of the main stem’s growing tip might feel wrong, but it encourages bushy side branches and more flowers down the road.
Want to keep those flowers coming? We also wrote a complete care guide on keeping geraniums blooming all summer, from watering and sunlight to regular maintenance.
Leaf It to the Nodes
Rooting a lone geranium leaf might sound like an easy shortcut. It may even develop a few roots, but without a piece of stem carrying a node, it won’t grow into a whole new plant. Stick with proper stem cuttings if you want fresh geraniums next spring. Anything else is just a dead end.