Somehow, there’s always a gardening job you keep putting off. And before you know it, November is here. Planting lilies, anyone? You may still have time, depending on where you live. Is the ground still workable? Does the soil drain well? Those are the questions worth asking before you start digging.
Can You Plant Lily Bulbs in November?
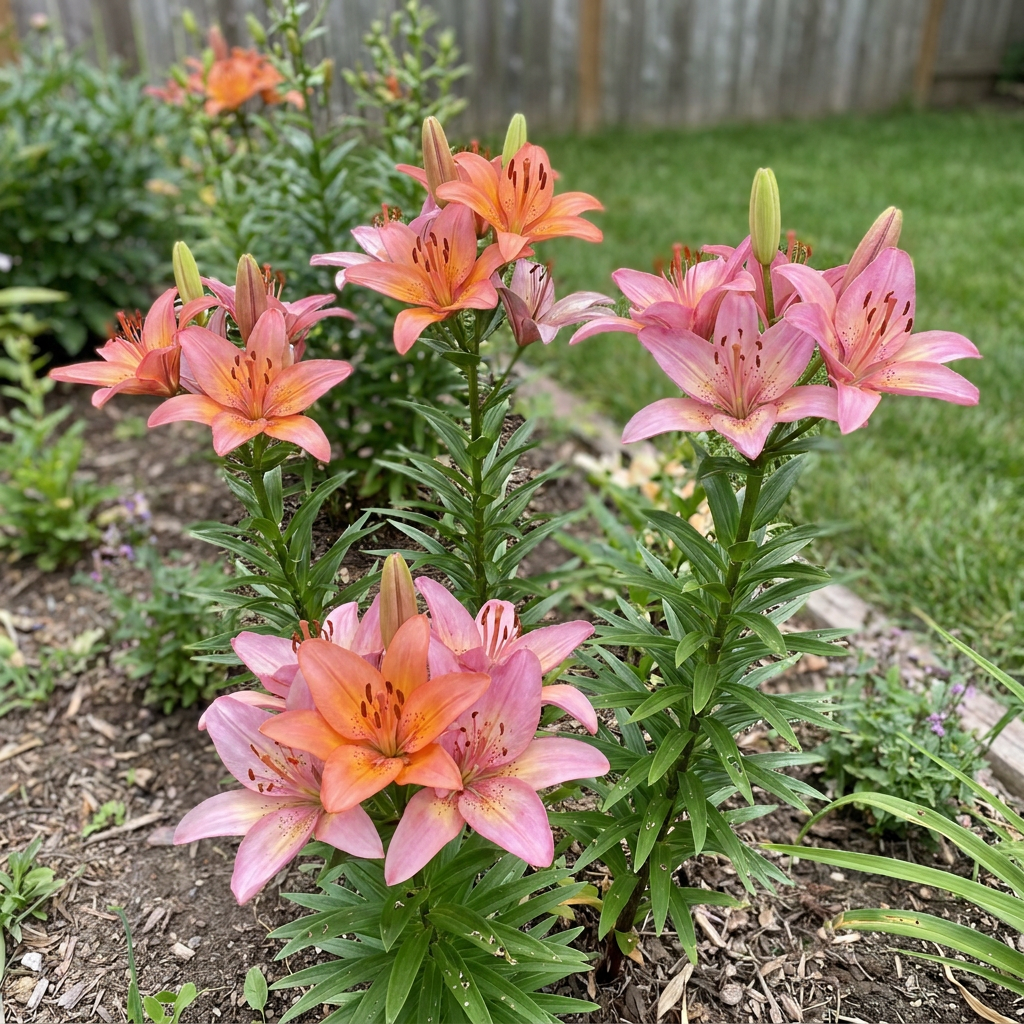
Yes, you can still plant lily bulbs in November in many parts of the country! Early fall gives bulbs more time to establish roots, but there’s no need to rule out November. Just check a few things before you start digging:
If those conditions look good, go ahead and plant! Your bulbs will be in place and ready for next summer’s beautiful flowers.
Choosing lilies is the fun part! Just make sure we’re talking about true lilies (Lilium), especially Asiatic and Oriental varieties! Daylilies and calla lilies may have “lily” in their names, but they’re different plants with different growing needs.
And if you’re planning to plant more than lilies this November, we also put together a guide to 9 bulbs you can plant now for beautiful spring flowers.
Avoiding a CAT-astrophe

If your cats share your home with you, please be extremely careful with true lilies. Every part of the plant is toxic to them: the pollen, leaves, flowers, and even vase water. Even a tiny amount can cause life-threatening kidney failure.
The safest choice is to avoid bringing lilies into homes with cats or planting them anywhere cats might have access. If you suspect your cat has been exposed, don’t wait for symptoms. Contact a veterinarian immediately!
And remember those daylilies we mentioned? They’re just as dangerous to cats, despite not being true lilies!
Choose Healthy Bulbs and the Right Spot
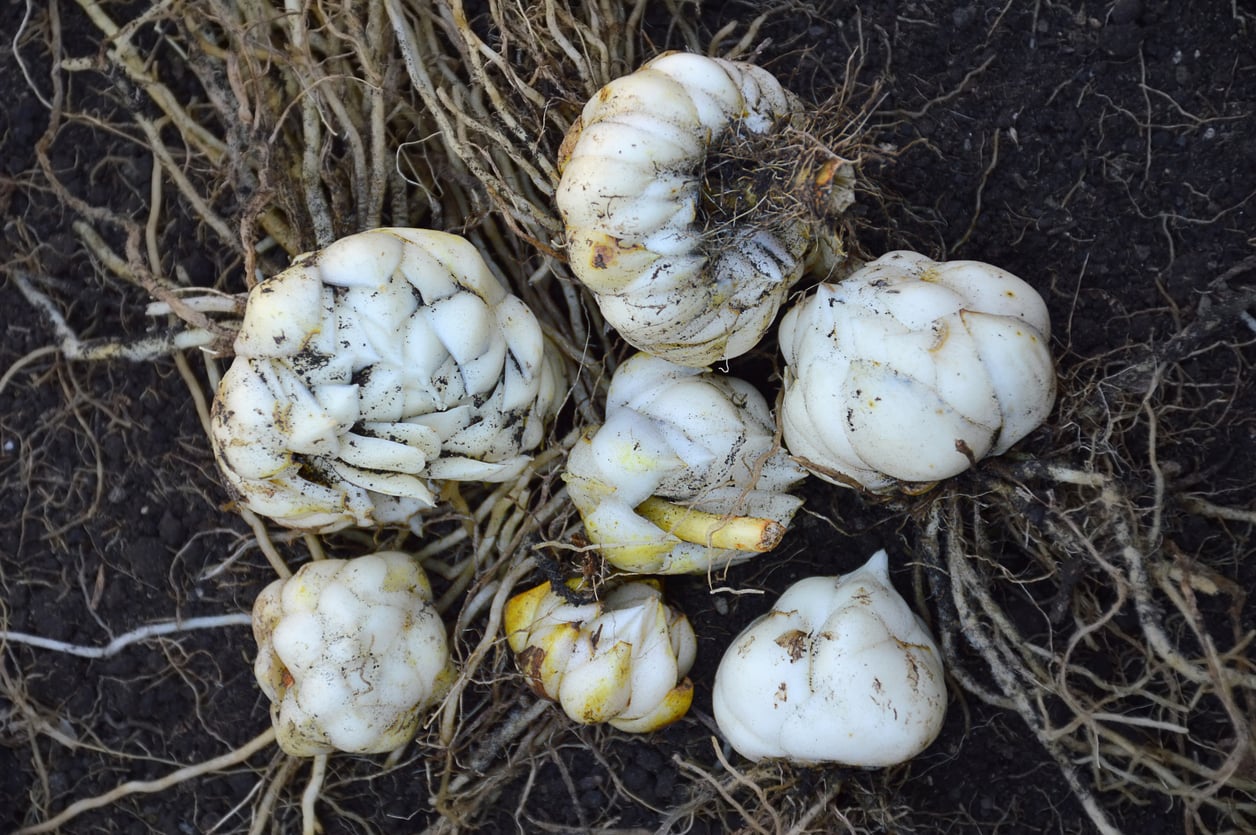
A good deal is always tempting, but don’t let a low price make the decision for you. Before planting, there are a few things worth checking:
Here’s a little test that could save your bulbs from a soggy winter: Dig a 12-inch-deep hole, fill it with water, and let it drain. Refill it, then measure how far the water level drops in an hour. If the water level drops less than an inch, consider a raised bed to keep your lily bulbs from sitting in soggy soil.
If a raised bed sounds like the better option, we also wrote a guide on how to choose the best spot and orientation for raised garden beds.
How to Plant Lily Bulbs
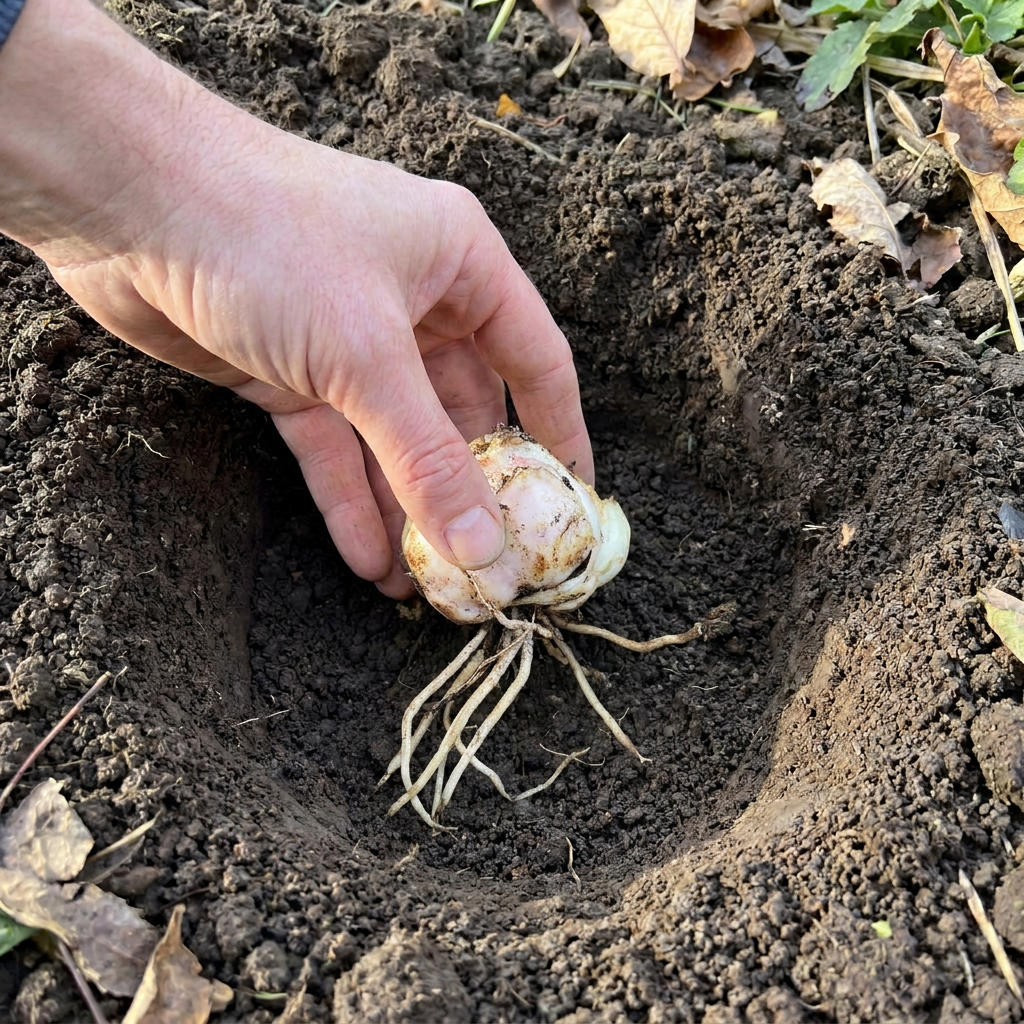
You’ve picked out your bulbs and found them a good spot. Now it’s time to get them planted properly. So, how much soil should go on top?
Of course, lilies wouldn’t make things quite that simple! Some grow roots from the bottom of the bulb only, while others develop roots along the stem as well. These stem-rooting varieties usually need to sit deeper in the soil.
Time to get your hands dirty! But don’t worry, planting lilies is pretty straightforward.
Quick tip: Planting depth can vary depending on the lily variety, so always check the instructions for the variety you’ve bought. It saves a lot of guesswork.
Protecting Your Lily Bulbs Over Winter
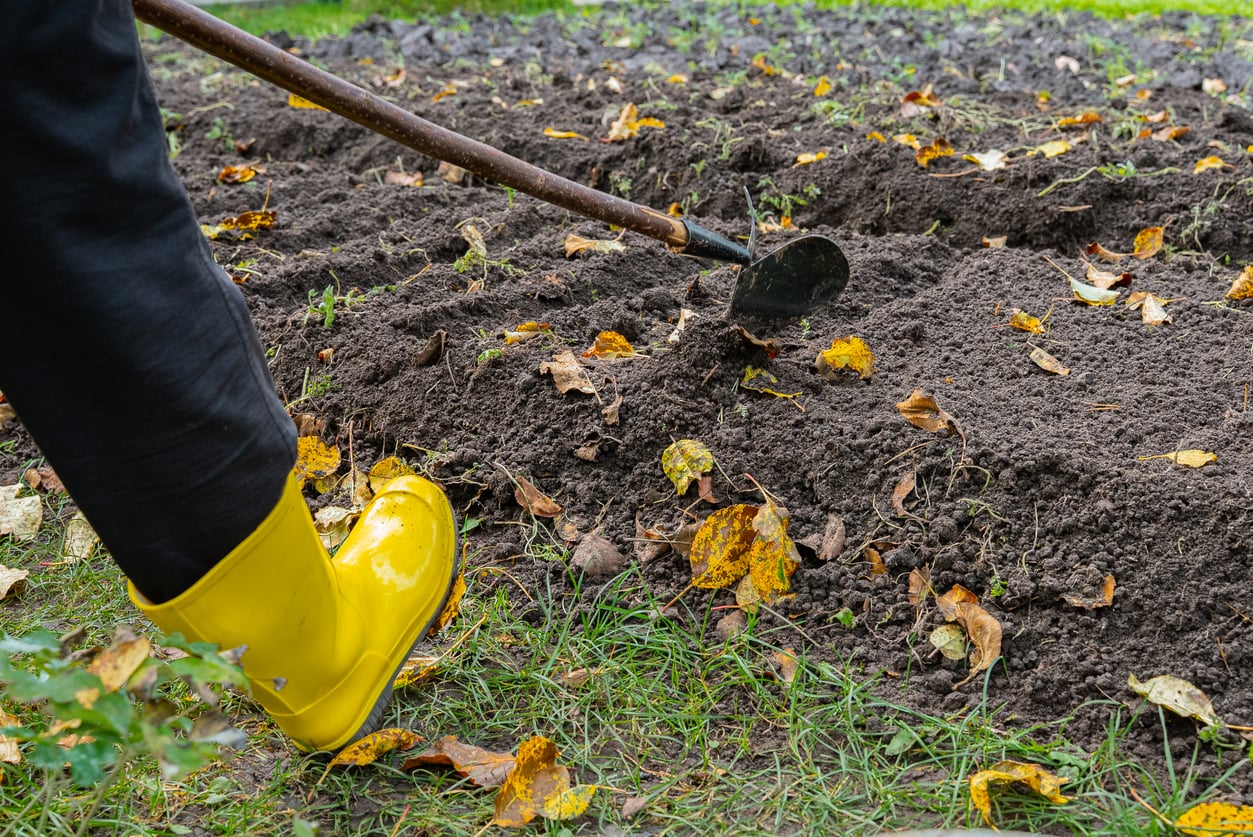
Got a garden in the Upper Midwest, northern New England, or one of the colder parts of the Northeast? Your newly planted lilies could use a bit of help getting through winter. Repeated freezing and thawing can push bulbs upward and damage their developing roots.
Wait for the ground to start freezing before spreading a 4-6-inch layer of loose mulch over the bulbs. Shredded leaves, straw, or pine needles will do nicely.
When spring rolls around, carefully pull back the mulch as the soil thaws and new shoots emerge. Those young lily shoots are surprisingly easy to break!
Quick tip: Mark the planting spot before winter sets in. It’s surprisingly easy to forget where you put everything. It’s got nothing to do with age…
And if you’re getting the rest of your garden ready for winter, we also wrote a guide on which plants benefit from winter mulch and which ones are better left alone.
What to Do After Your Lilies Flower
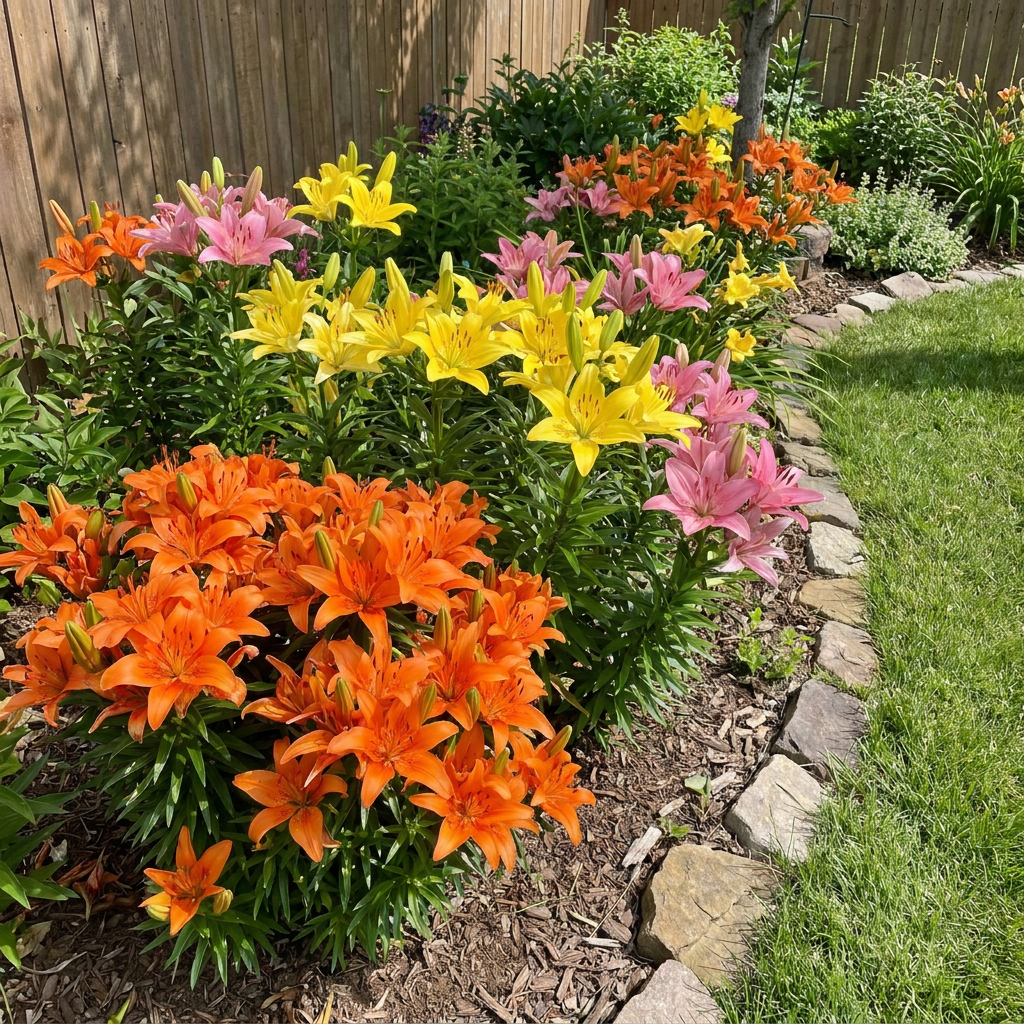
Feel free to deadhead once the flowers fade, but leave the green stems and leaves alone. They’re still collecting sunlight and storing energy in the bulbs for next summer’s flowers.
Wait until the foliage turns yellow and dies back before cutting down the stems. It’s not the prettiest stage of a lily’s life, perhaps, but it’s an important one!
Cutting back too early is an easy mistake to make. We also covered 10 common mistakes that can keep perennials from coming back stronger each year, including when to leave the foliage alone.
And that’s your lilies all set for another growing season. Now you just have to wait for summer.