
I grew up hearing that lavender was indestructible. Yeah, tell that to the black, rotten stump sitting in wet clay come spring. Spent blooms won’t produce more flowers. Waterlogged roots can’t breathe.
So, once flowering winds down in August, I use this short window to tackle a few important tasks before colder weather arrives.
1. Remove Faded Flower Stems
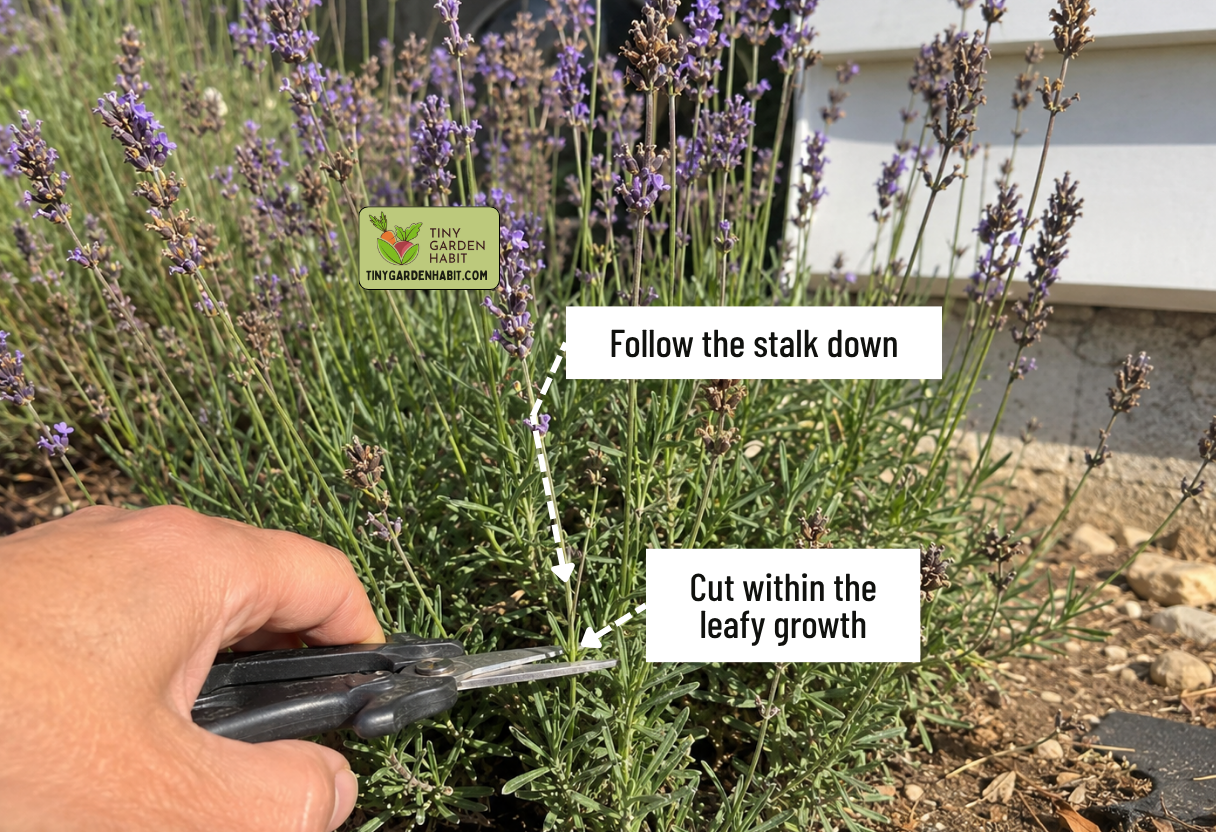
Right now, those brown spikes are heading toward seed production. Left to its own aromatic devices, your bush will spend some of its late-summer energy developing seeds insteadof, with a little luck, giving you a smaller second flush of flowers.
Grab your sharpest hand shears. Reach past the crunchy purple heads and follow each flower stalk down to where it disappears into the main dome of leafy foliage. Snip every single stalk off cleanly without cutting into the bare, woody stems underneath.
I like to cut them low, while staying within the leafy growth, and toss the dried heads into the compost pile as long as they look healthy. Otherwise, I throw them in the trash.
Quick tip: Don’t leave two-inch dead sticks poking out like a pincushion. Those stiff little stubs turn brittle and catch falling leaves and other damp debris around the center of the plant.
2. Give It a Light Trim

Once I clear the flower stalks, my middle-child plants look floppy, uneven, and sprawled across the gravel. I grab my shears yet again.
I run my fingers along the stems to find the soft, flexible green growth at the outer tips. Then I snip up about an inch or two from the leafy surface, curving the cuts to shape each plant into a neat, rounded mound.
The English lavender growing in my Zone 9b garden is one of the cold-hardiest types, and many cultivars can survive winters down to USDA Zone 5.
But winter wet can be just as damaging as freezing temperatures, especially when a sprawling plant splits open and damp leaves or icy slush settle around the crown. Keeping mine in a neat, compact mound helps prevent that center from opening up too much.
Quick tip: Just be patient and keep your hands steady. Leave plenty of green leaves on every single stem you cut and stop well before reaching the bare, woody growth underneath. Also don’t cut too deeply now or those leafless stems may never fill back in.
3. Take Cuttings
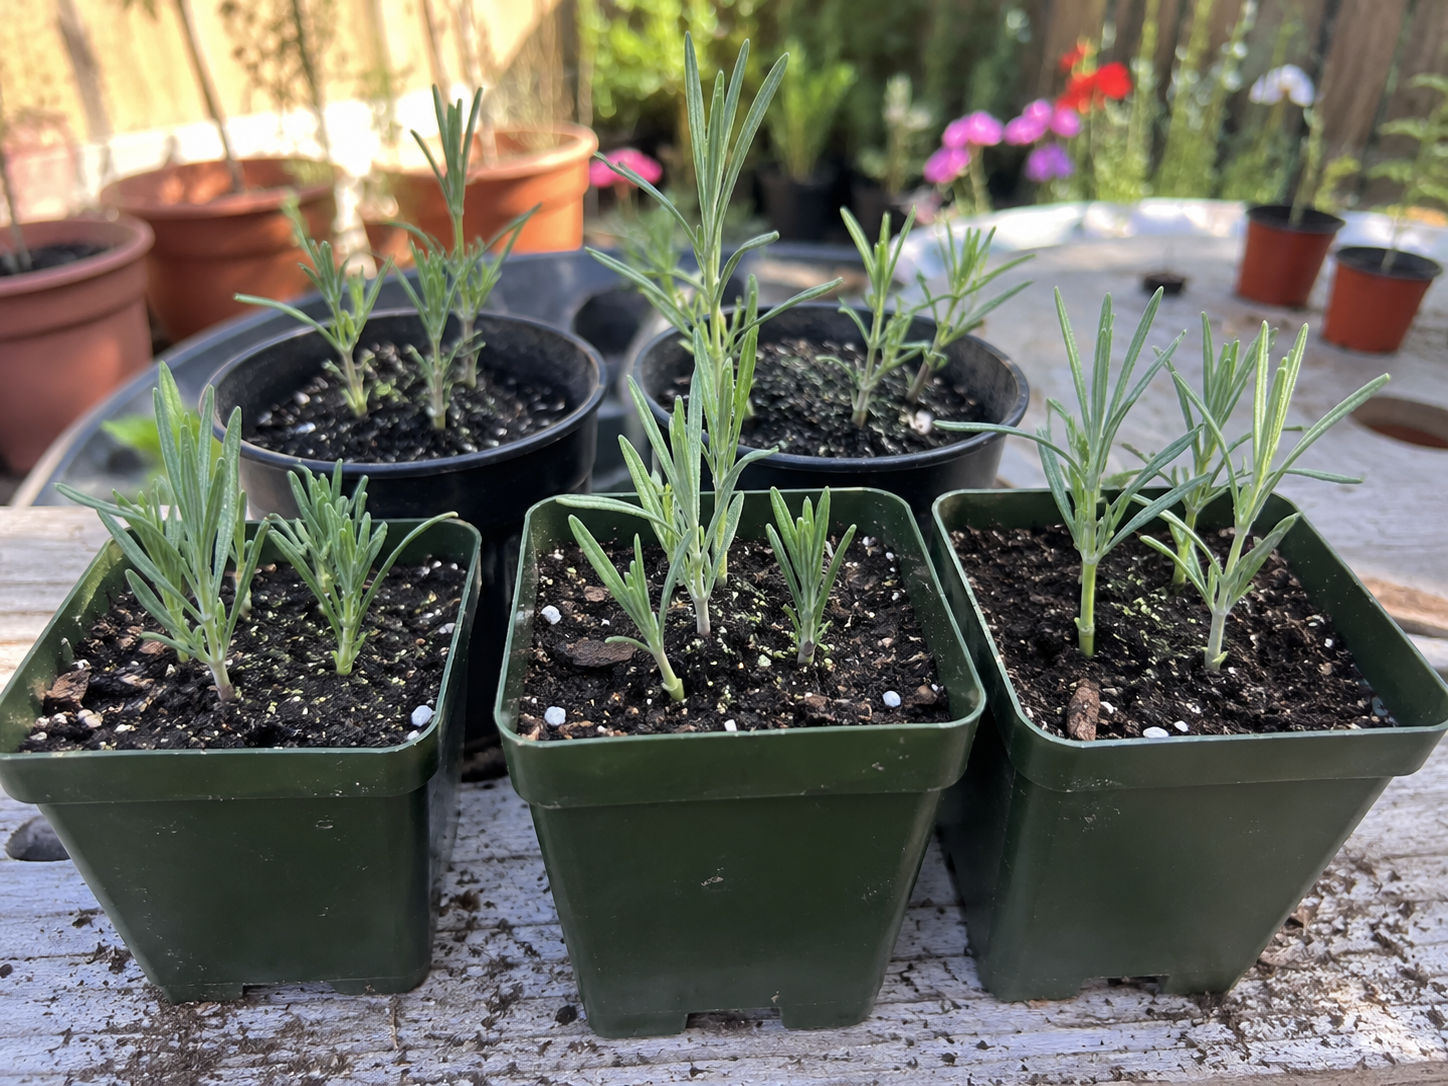
I’m filling my propagation trays from my toddler plants right now so I can expand my bed for free come spring. And save a few bucks. I’m cheap and I love it.
I leave weak, undersized, or newly planted lavender alone because it needs all the green growth it has to keep building roots before winter. But any healthy, established plant is fair game (even my ten-year-old seniors) as long as I take soft, flexible shoots from this season instead of thick, gnarled wood near the base.
Here’s what I do:
I keep the trays in bright shade, away from scorching afternoon sun, and keep the mix lightly moist rather than soggy. With a little luck (and some protection through winter) I’ll have free lavender ready to plant next spring.
We explain the entire process in our step-by-step guide on propagating lavender from cuttings, including how to prepare and root each little shoot.
4. Adjust Watering
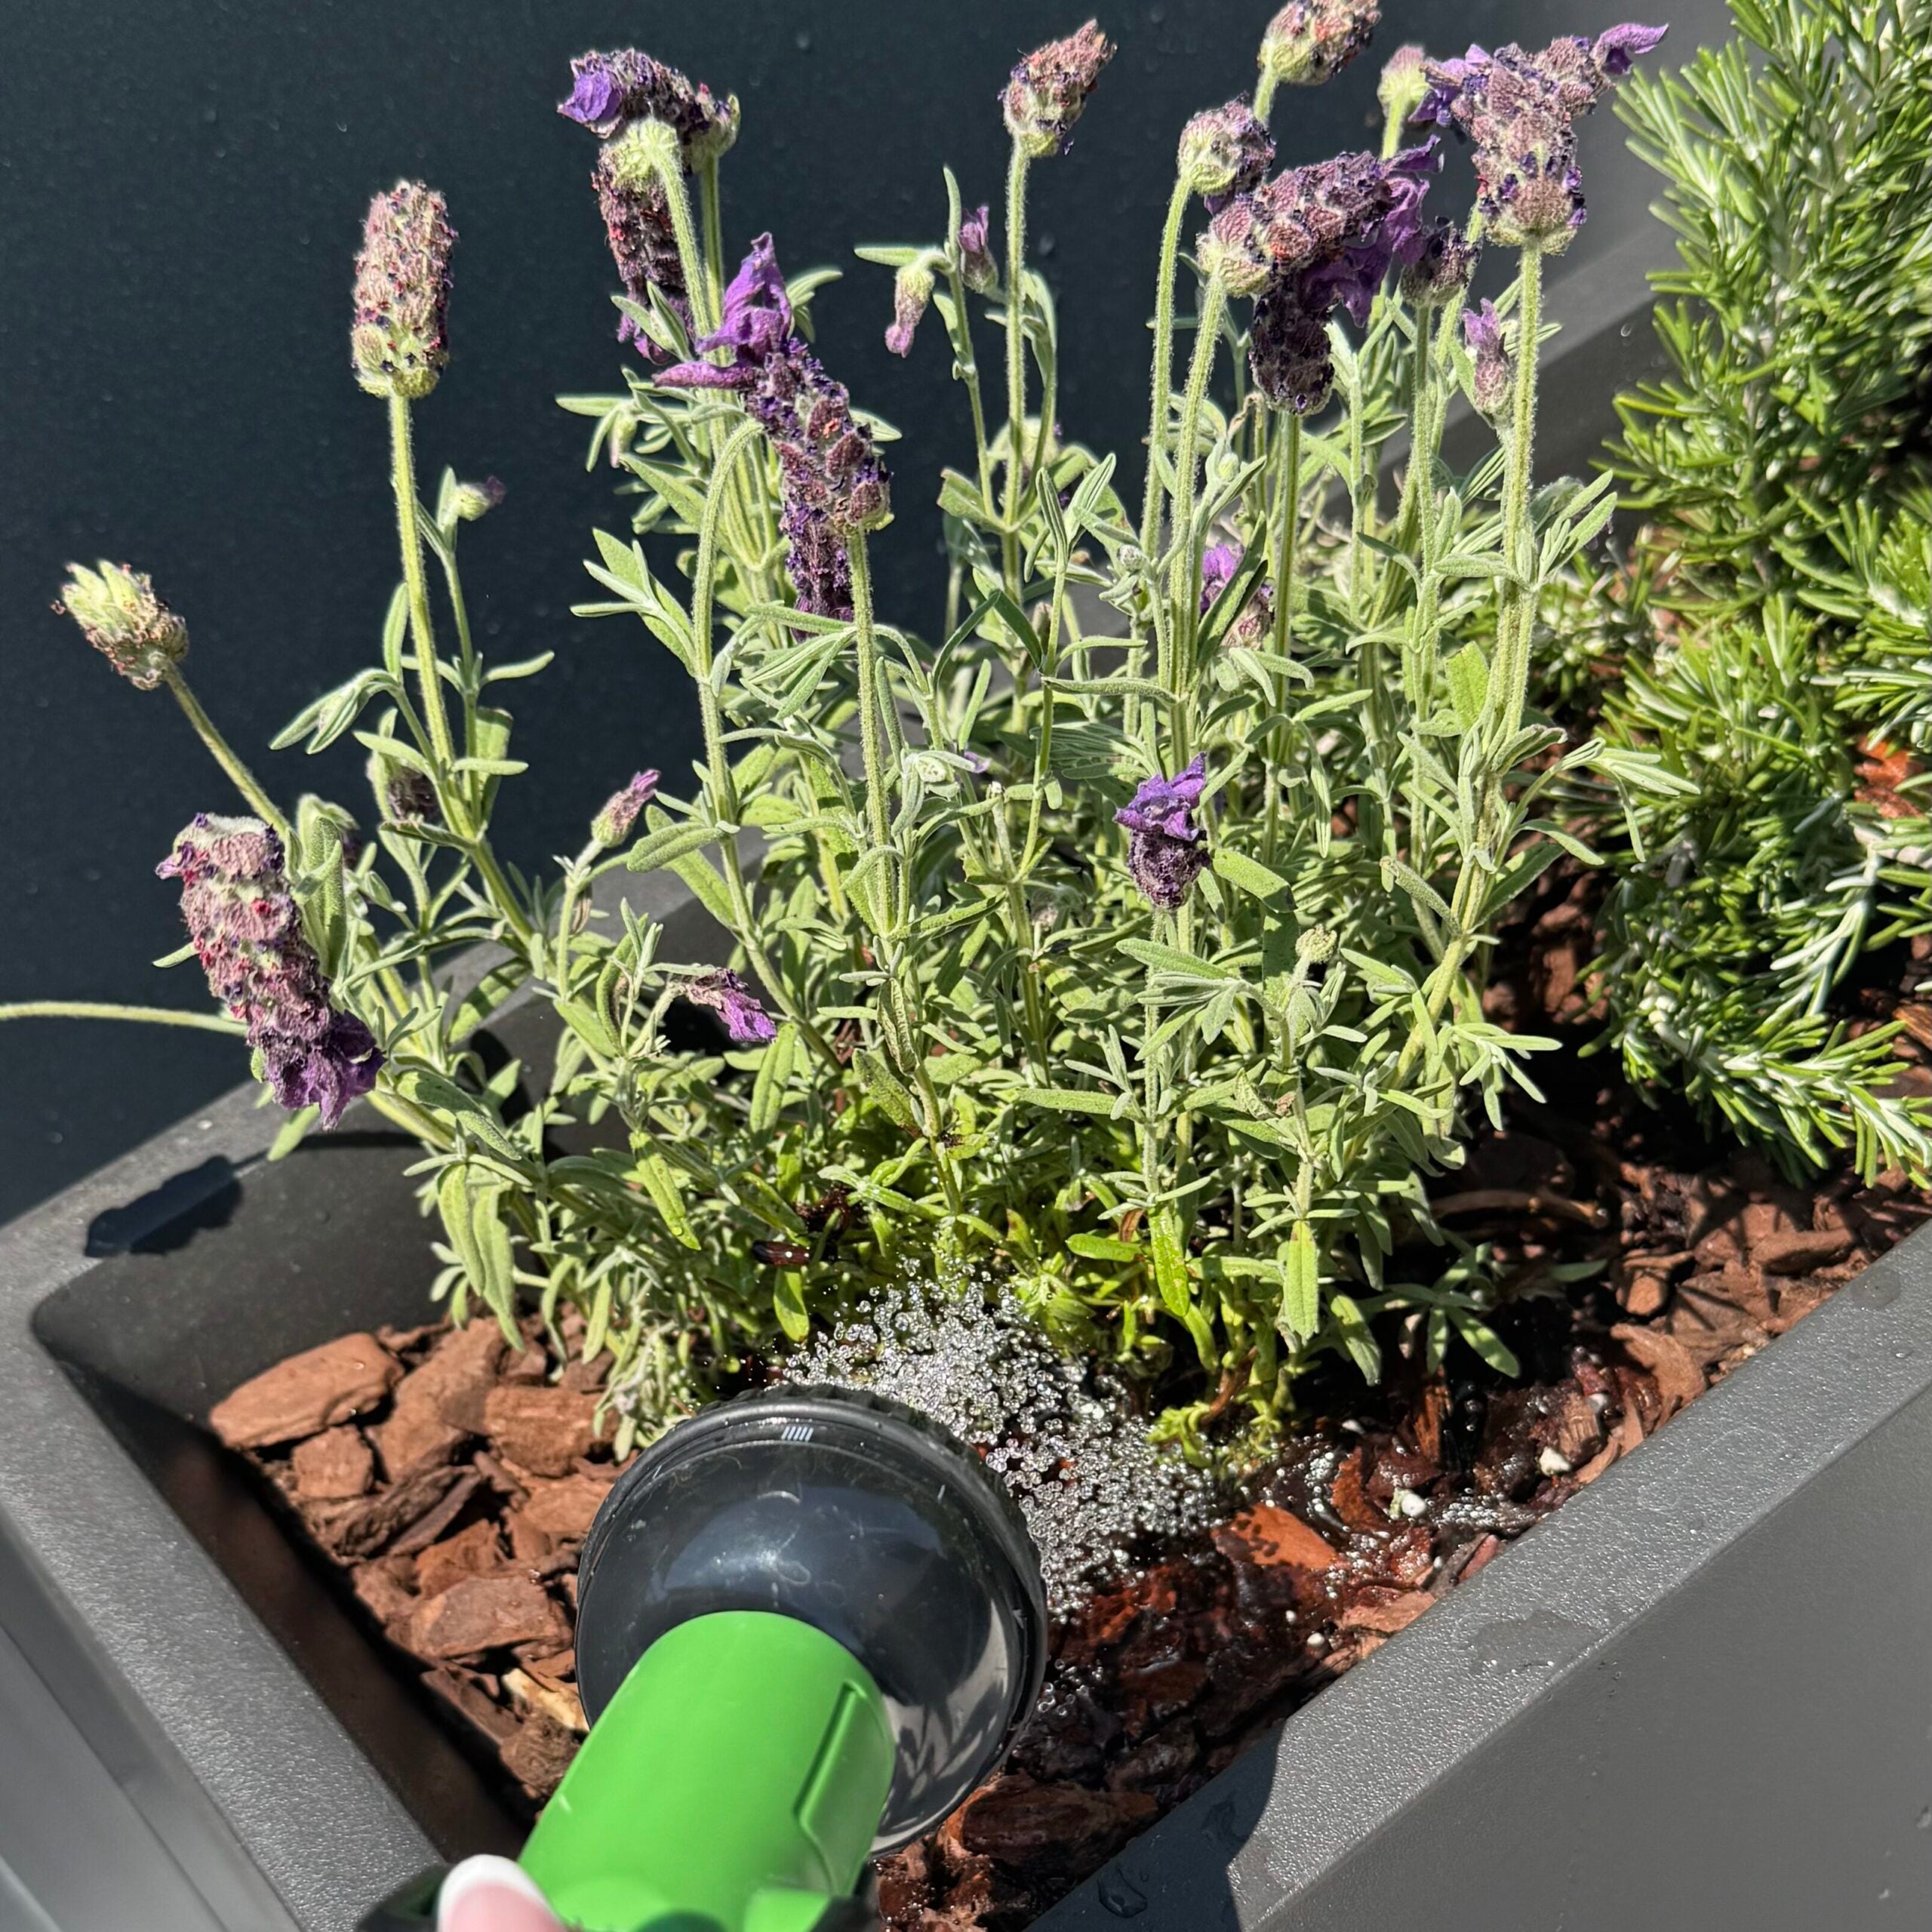
By August, I stop watering my lavender beds on autopilot because after blooming, its water needs usually ease back and, just like my SIL, it enters more of an idling phase before winter.
I push a finger two or three inches into the soil near the edge of the plant.
Newly planted and container-grown lavender need checking more often. The goal isn’t to leave the roots bone-dry, it’s to avoid keeping them constantly wet.
If yours lives in a container, we also wrote a guide on growing lavender in pots without leaving its roots either parched or waterlogged.
5. Check Drainage and Airflow
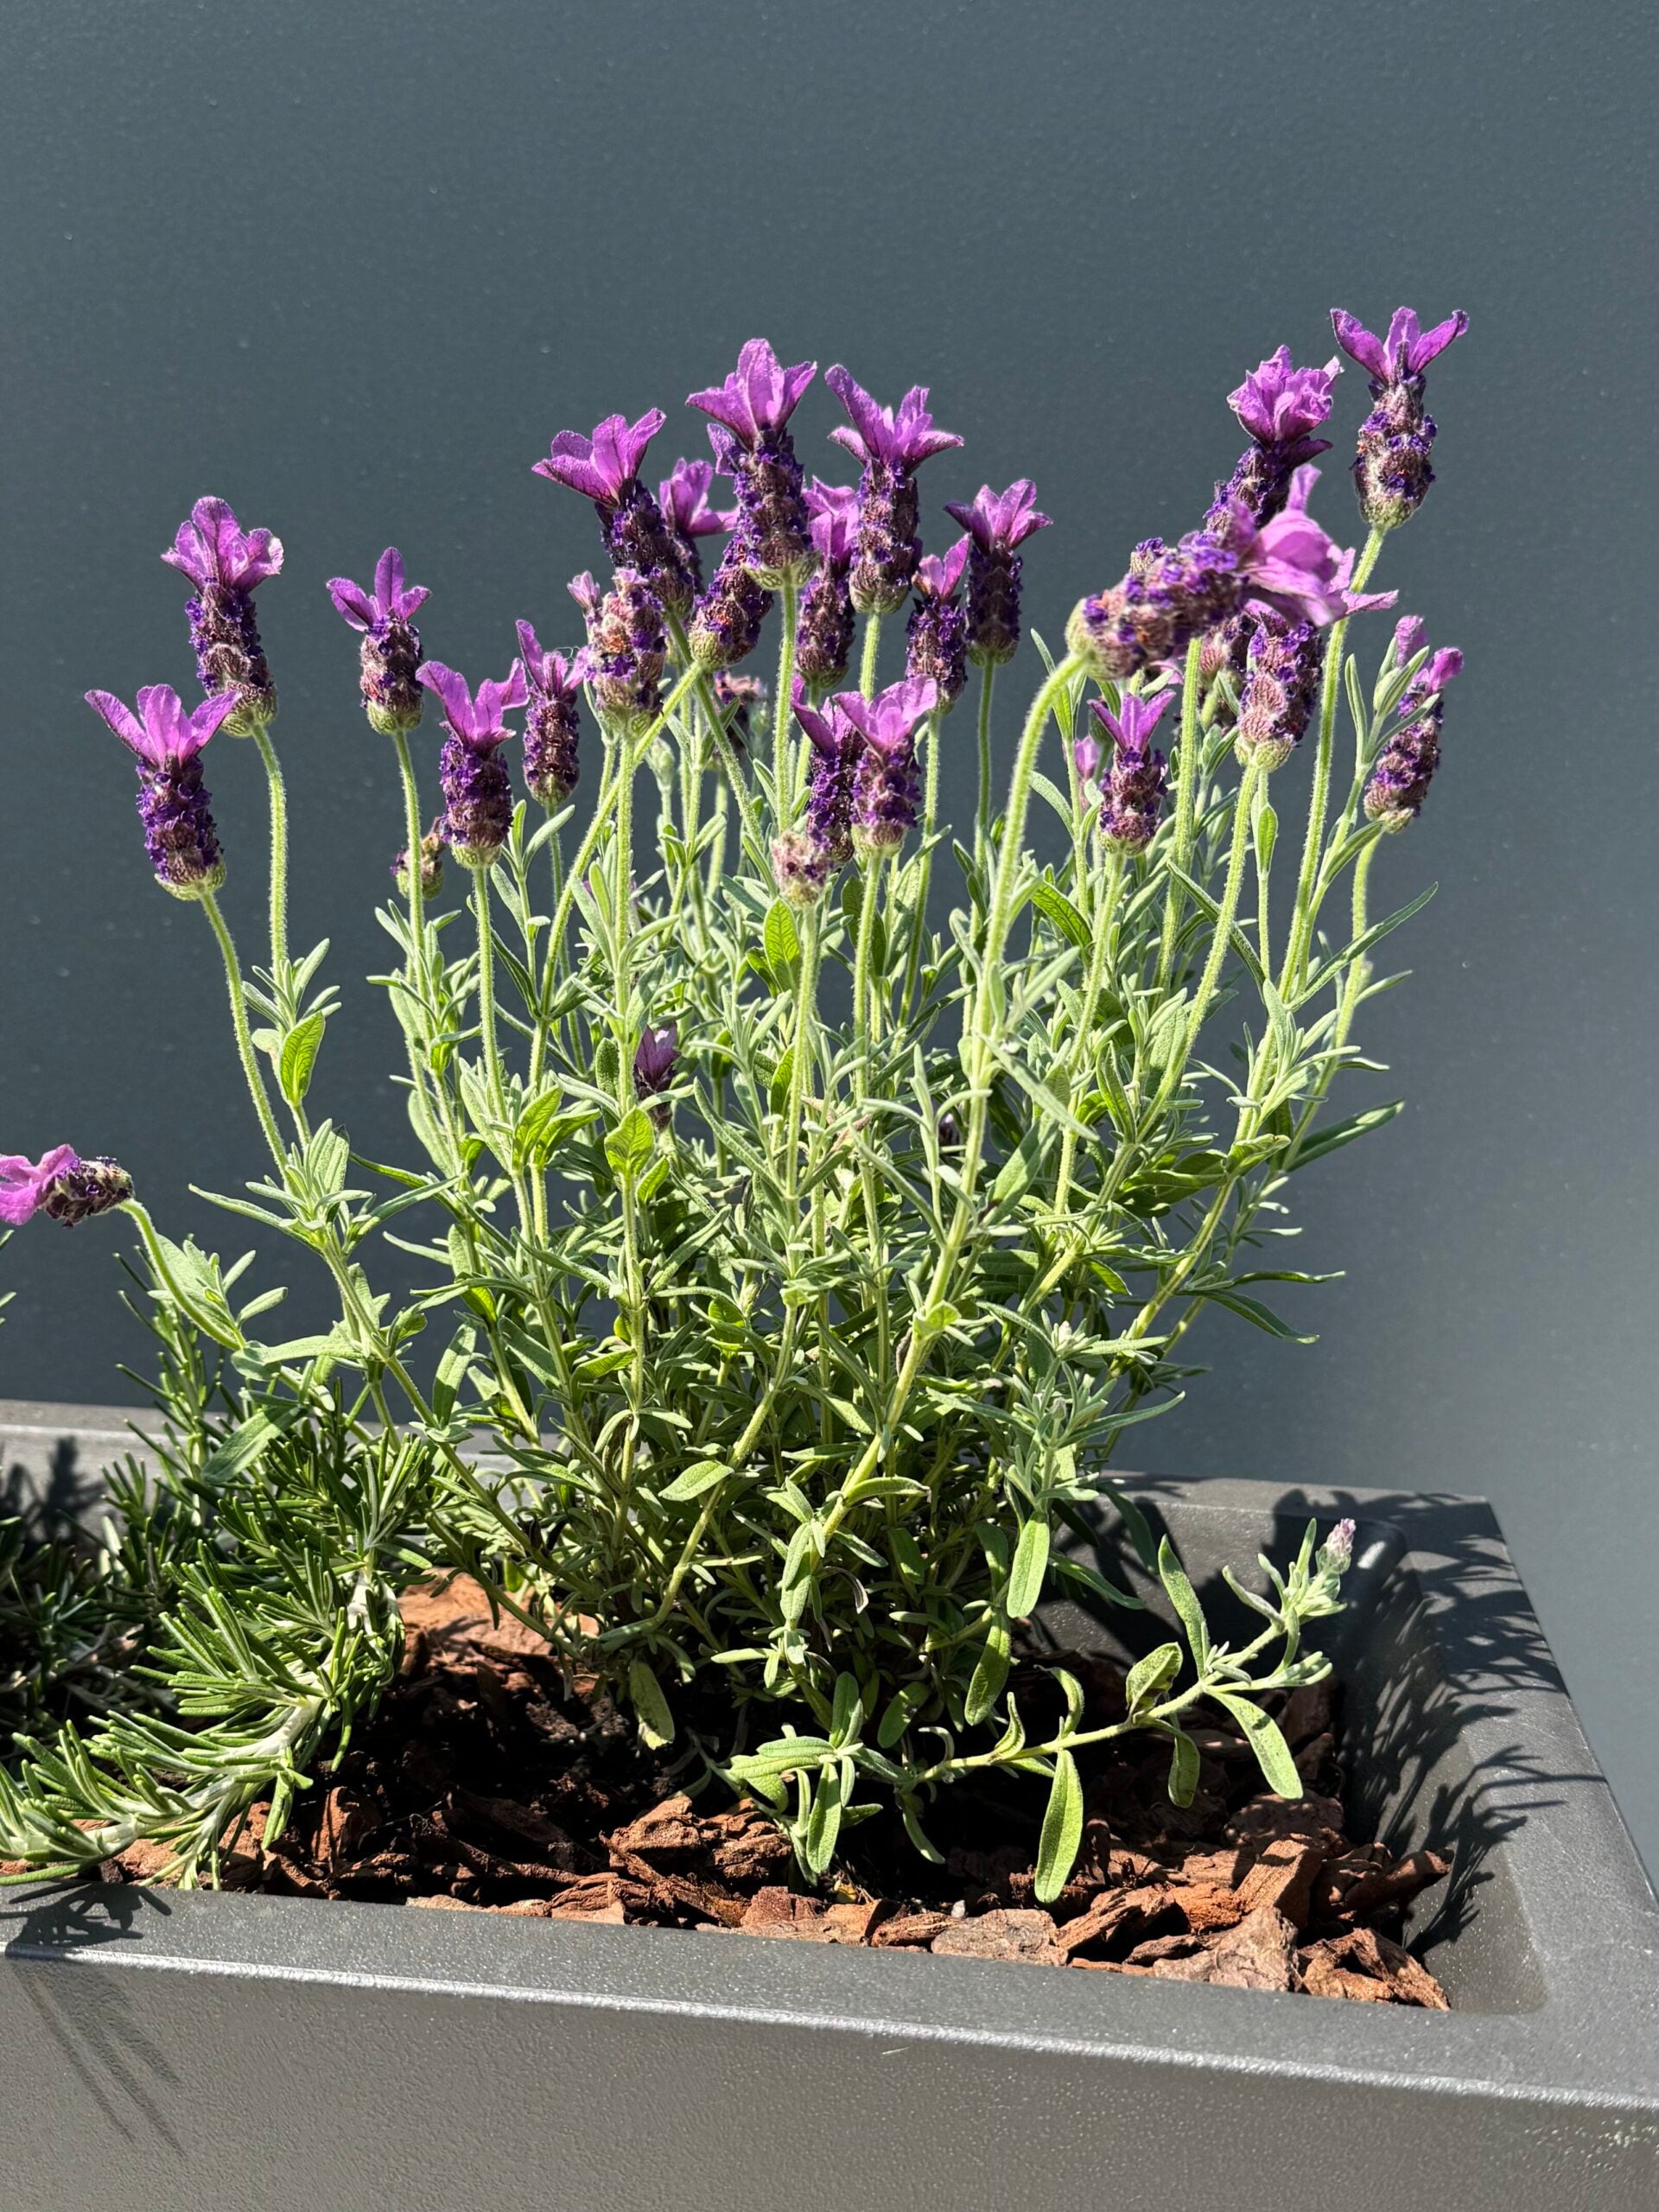
Summer storms can dump bucketloads of water in minutes, appreciated by everyone except lavender roots trying to breathe. After a cloudburst, I check beneath the canopy and clear away anything trapping moisture around the crown.
Drag away weeds, fallen leaves, and any organic mulch buried beneath the plant. Air needs to move around those lower stems so they can dry quickly.
Quick tip: If water keeps pooling around the lavender redirect the runoff or move the plant to a raised, better-draining spot before winter.
We also wrote a guide on the essential lavender tasks to handle in January, including how to protect the crown from winter moisture and debris.
Mistakes That Can Weaken Your Lavender
I will not say whose mistakes these are, mostly because my ego is still recovering.
Mistake 1: Cutting Into Old Wood

No more hacking into bare, brown branches. Lavender rarely regrows reliably from old, leafless wood. Don’t remove all the leafy green growth or that stem may stay bare forever and ever.
What to do instead: Always leave a healthy buffer of green leaves beneath your shear blades, no matter how badly you want to shrink a sprawling bush.
If you’re still unsure about the timing, we wrote a full guide on whether lavender should be pruned in spring or fall and how the answer changes depending on your climate.
Mistake 2: Overwatering After Blooming
Drenching lavender out of habit after blooming can rot the crown from the inside out. Late-summer roots need oxygen and fast-draining soil, not daily soaking.
Keeping those roots constantly wet, and healthy tissue can quickly turn soft, brown, and slimy.
What to do instead: Let the soil dry between waterings, and only reach for the hose when it feels dry a few inches down.
A Snip in Time Saves Nine
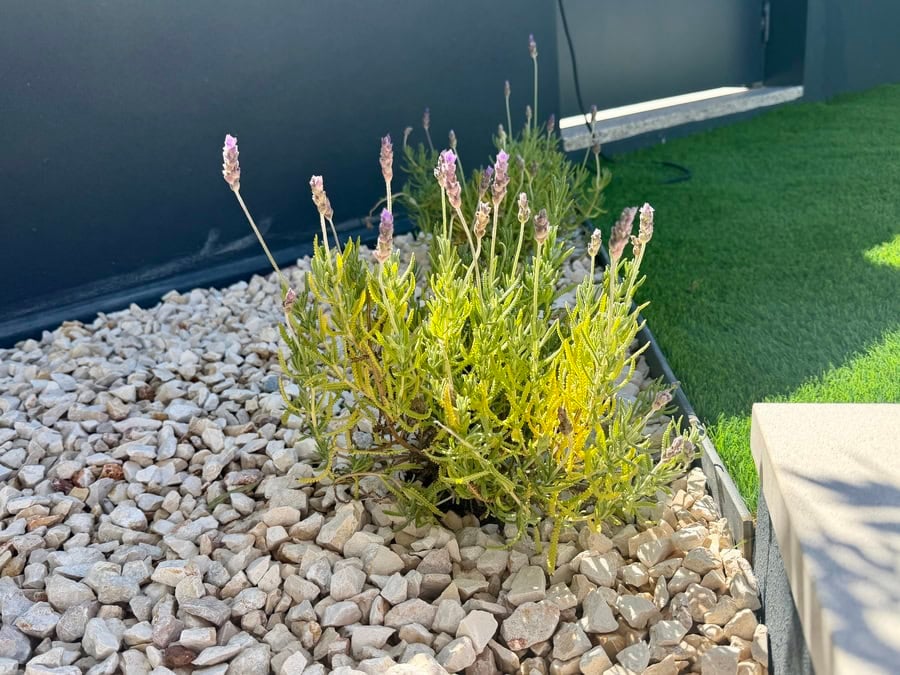
August gives you one goal: help your lavender head into winter healthy and compact. Trim the faded tops, let the soil dry between waterings, and tuck your propagation trays somewhere bright and protected. That’s how you give yourself the best shot at a fragrant garden when spring rolls back around.
And once it does, we have a complete guide on the spring lavender tasks that help prepare your plants before blooming begins.




Hi Dragana, I also live in zone 9b, but on the Texas Gulf Coast. In early April, my dying husband requested sage and lavender as a replacement for our fading rose garden. I quickly got it planted so he could see it, then we got several days of heavy rain. Of course, I didn’t get out there and do the right things! So I’ve lost significant $$ in lavender plants and their replacements. Our climate alternates short periods of heavy rain with long drought, and I’m wondering if it wouldn’t be better if I potted the young plants and sank the pots in the ground so I could remove them when (or before) they get soaked. Also, I’d appreciate your recommendations for the best varieties. Thanks so much!
Hi Donna, please give yourself grace; you did a beautiful thing for him, and Texas weather (and soil) can test even the most seasoned among us.
There are two issues with sinking potted plants into TX native clay. One is a bathtub effect. The rain moves through potting soil much faster than the surrounding ground, pools in the container, and drowns the roots. The other is a vacuum effect, like when you step deep into mud and try to lift half the county. So pulling the pots out of suctioned clay requires physical wrenching. You’d need to monitor the sky 24/7 and pull out the pots right before it rains.
However, there’s something called double-potting, when you sink the outer pot with a drainage hole in the soil permanently, with several inches of coarse gravel at the bottom for additional drainage. Then simply drop your potted lavender inside it. Sure, the rain could still surprise you, but you’d be able to lift the pot, and it would have drained.
You asked about varieties. Look for hardy hybrids ‘Phenomenal’ or ‘Sensational’. Spanish types like ‘Otto Quast’ or ‘Anouk’ are heat- and humidity-tolerant provided their roots aren’t swamped.
I wish you the very best with these new plantings. The intention behind your garden remains a gorgeous tribute.
Hi, I don’t mean to sound dumb, but what is “rooting hormone “? Can I make it? If so, do you have a recipe? IDK what I’m doing wrong,but every time I try to root cuttings they die.
Hi Catherine 🙂 Rooting hormone is a powder or gel that helps cuttings develop roots, but lavender can root without it, so I wouldn’t worry about making a homemade version. If your cuttings keep dying, I’d focus on using healthy 3 to 4-inch non-flowering shoots, a very free-draining mix with perlite or grit, bright shade, and keeping the mix only lightly moist, never soggy. That’s the method I describe in the article.