Hydrangeas do not follow one-size-fits-all winter rules or arbitrary October wrapping deadlines.
What matters most is knowing whether your particular shrub blooms on old wood, new growth, or both. A few careful decisions noe that can make a big difference on how well your hydrangea comes through winter and flowers next season.
Task 1: Identify the Hydrangea Type
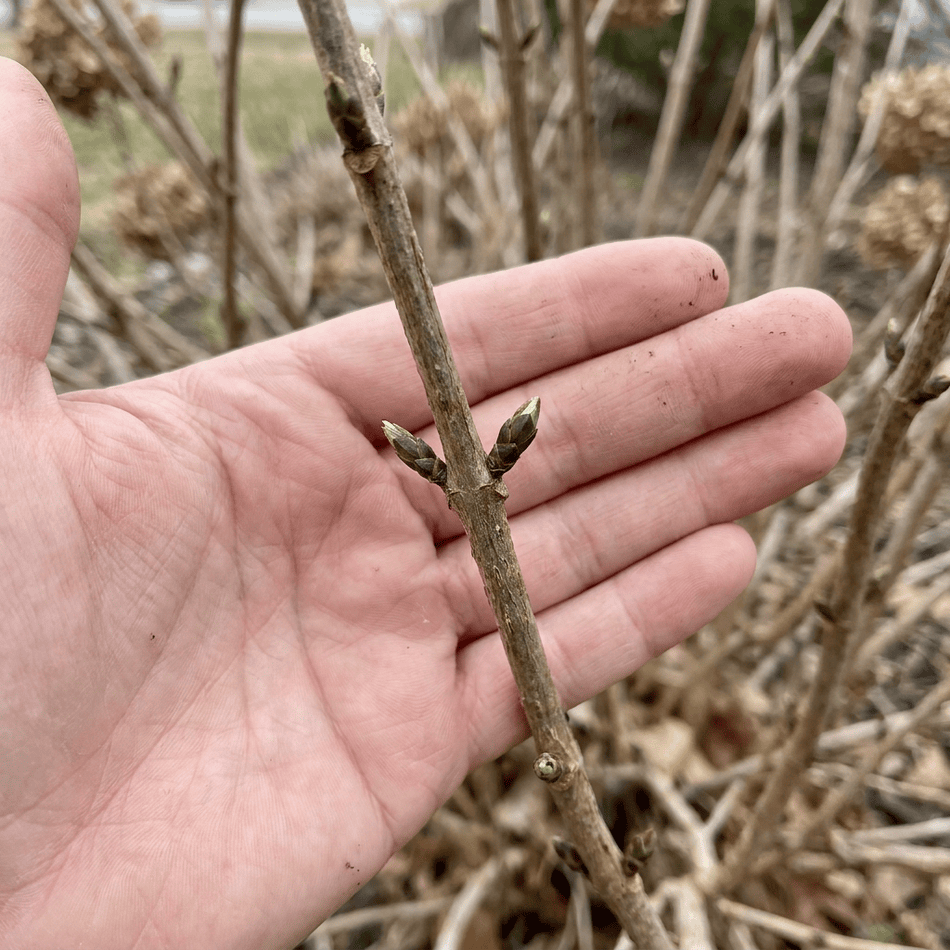
Bypass pruners can cause more trouble in fall than an early frost ever will. Don’t assume a bare hydrangea stem in October is dead wood, because on some types, those plain-looking branches are already carrying next year’s flower buds.
Quick tip: Check the nursery tag or cultivar name, examine the old flower heads, or look at the leaf shape and growth habit. Figure out what you planted before touching a single branch.
If pruning still feels confusing, we also wrote a complete guide on when and how to prune each type of hydrangea without sacrificing the next flower show.
Task 2: Preserve Old-Wood Stems
Leave your shears on the peg. October pruning on bigleaf, mountain, or oakleaf bushes can wipe out much of next year’s early flower show.
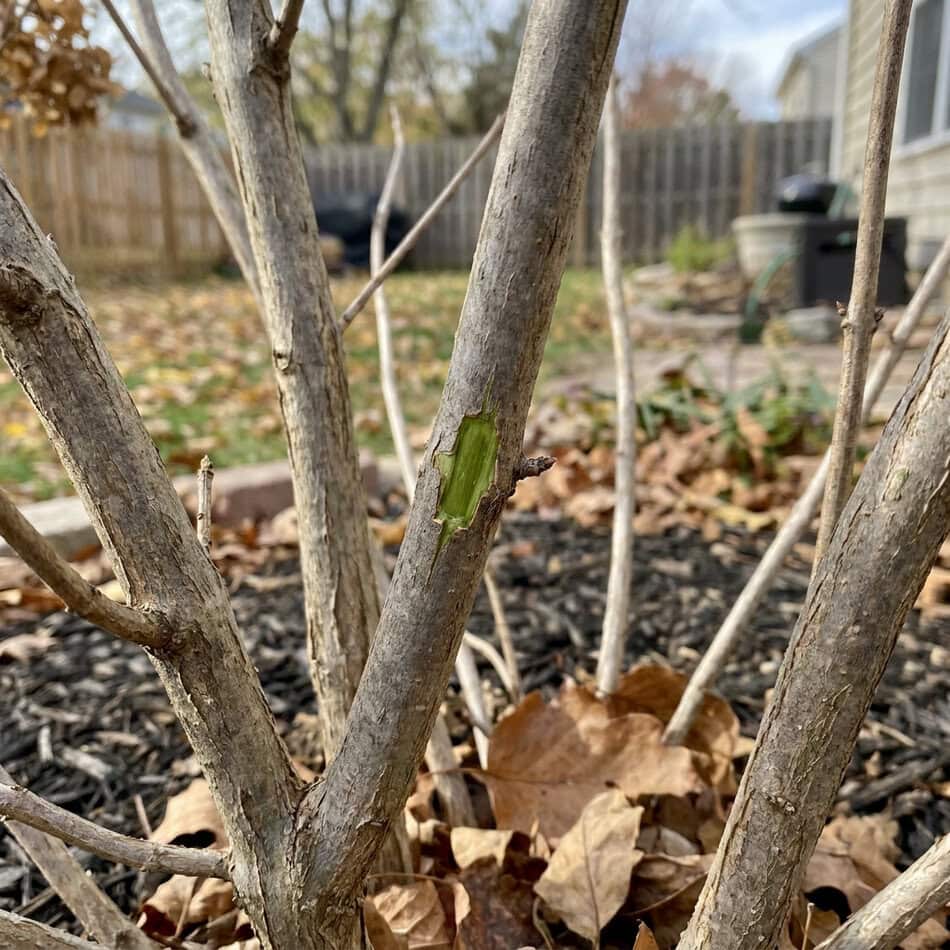
Naked, grayish stems do look dead once leaves drop, but scratch the outer layer with a thumbnail and green tissue may show through. Slashing those branches can remove flower buds already set for next season
Save trimming for new-wood varieties until late winter, and let dormant old-wood branches sit untouched through the cold months ahead.
If yours grows plenty of healthy leaves but still refuses to flower, we wrote a full guide on why hydrangeas don’t bloom and how to fix the most common causes.
If yours grows plenty of healthy leaves but still refuses to flower, we wrote a full guide on why hydrangeas don’t bloom and how to fix the most common causes.
Task 3: Check Soil Moisture
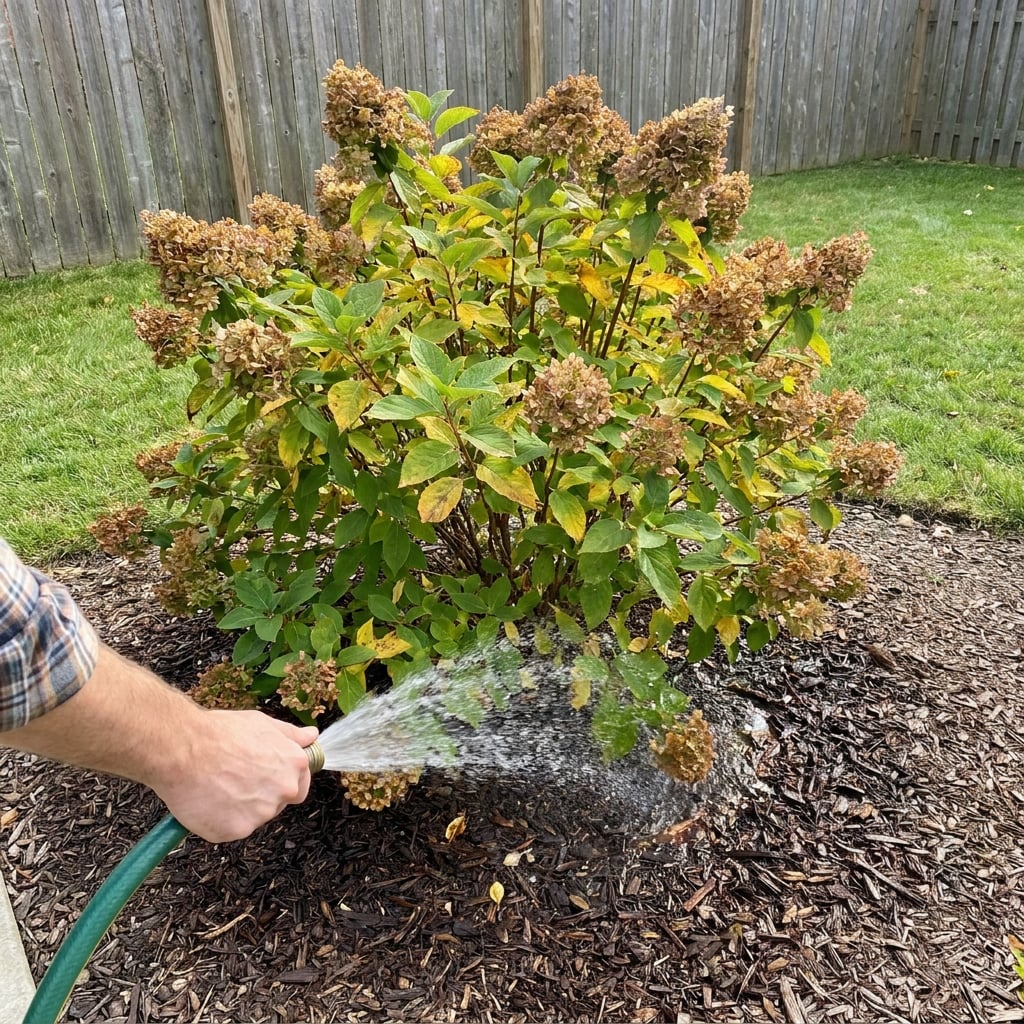
Hydrate roots thoroughly during dry fall stretches before the ground freezes. Going into winter with bone-dry soil adds unnecessary stress, especially for shallow-rooted hydrangeas.
Check the soil several inches down during dry weather, and give the root zone a deep soak when it feels dry. Young bushes planted this year need that water most.
Quick tip: Stop watering once the ground freezes. Constantly soggy soil can suffocate roots and encourage rot, so avoid creating mud pits around the crown.
Task 4: Remove Diseased Fallen Foliage
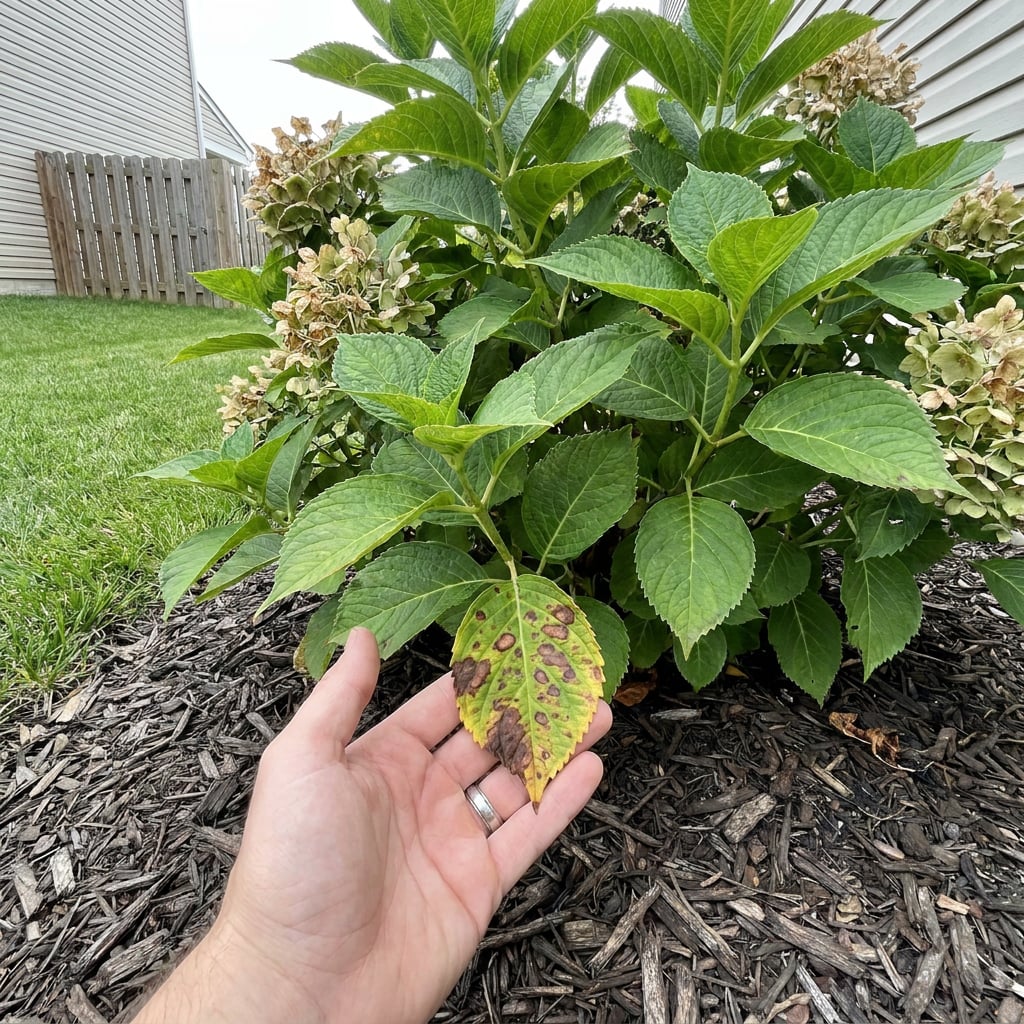
Rake spotted, blackened, or mildew-covered leaves where? Directly into the trash bag. Some fungal pathogens overwinter in infected plant debris, waiting to splash straight back onto fresh spring growth.
If you leave infected foliage around the root zone, winter moisture can help carry leaf spot and other fungal problems into another season.
Healthy, clean foliage can stay put as long as it isn’t forming a thick, soggy mat. Natural leaf litter can shelter beneficial insects through harsh weather without threatening next season’s bloom cycle.
Task 5: Check Root-zone Mulch
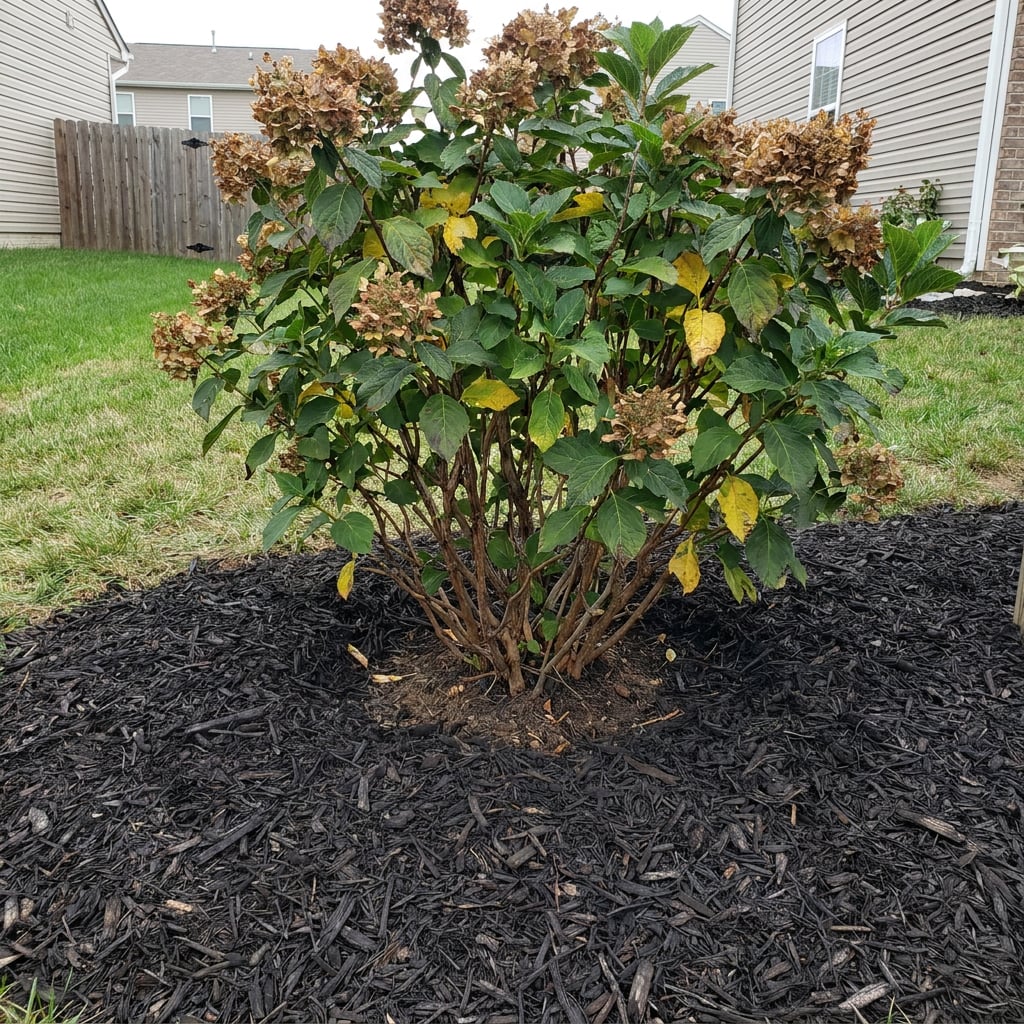
Root systems benefit from two to three inches of wood chips or pine straw spread across the root zone.
Basic mulch helps insulate the soil through fall, whereas protective cages stuffed with oak leaves can shield tender above-ground buds later in the year. Hold off on cage setups and thick straw mounds until the plant is dormant and its leaves have dropped.
Quick tip: Pull every bit of material back a few inches from the main stems, though. Piling mulch directly against bark traps moisture, inviting rot and giving rodents a warm winter dining spot.
If you’re working through the rest of your fall checklist too, we put together a guide to the key fall hydrangea jobs that help set up next year’s blooms.
Task 6: Plan Bud Protection Where Needed
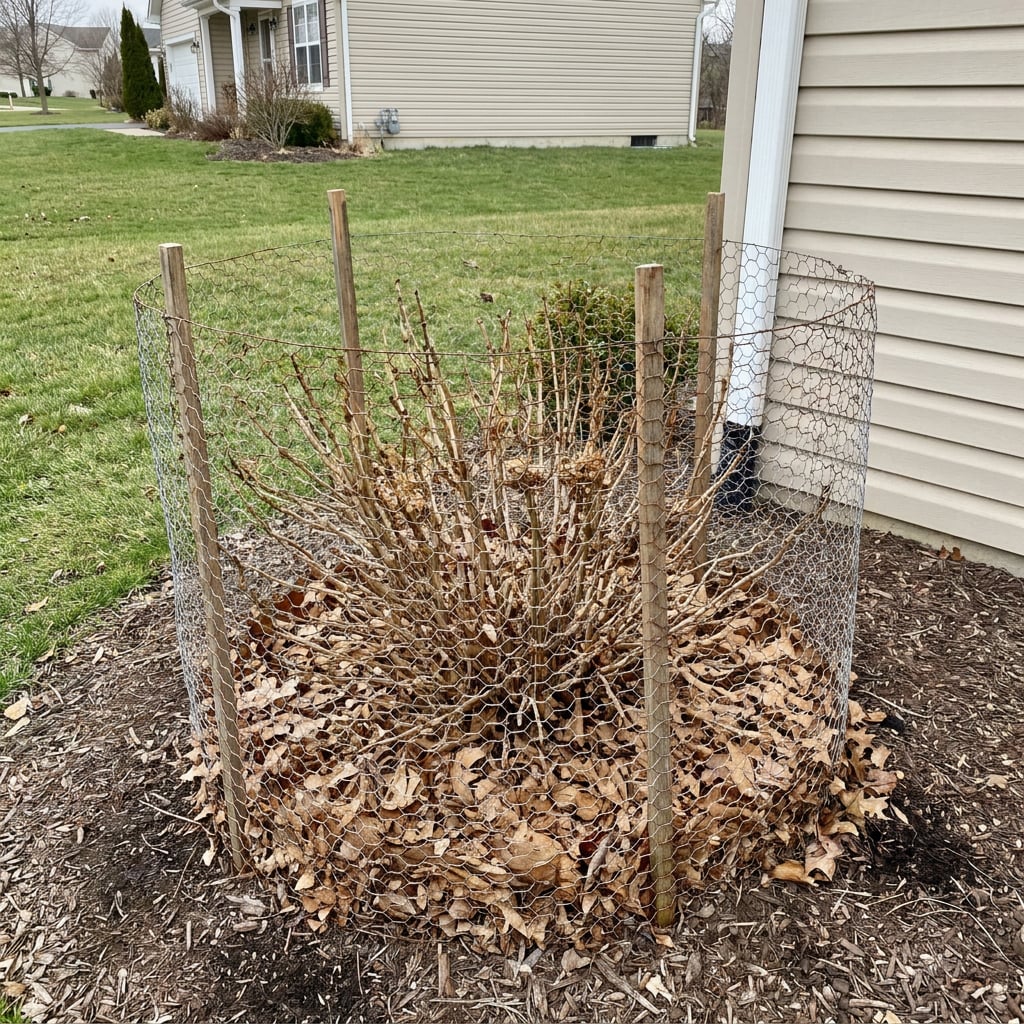
Growers in colder zones can lose old-wood flower buds during harsh winters, especially on bigleaf hydrangeas. If yours regularly suffers winter dieback or fails to bloom after cold winters, extra protection can help.
Construct a wire mesh cylinder around dormant branches after hard frosts take hold, then drop loose oak leaves inside for insulation.
Avoid using clear plastic sheets. Direct sunlight can trap heat inside on sunny days, causing damaging temperature swings when nighttime freezes return.
Quick note: And even with protection in place, severe cold can still kill tender tips. So treat the cage setup as giving your hydrangea its best fighting chance, not a 100% money-back guarantee.
Once colder weather settles in, our guide to the key winter hydrangea jobs that protect next year’s blooms covers what to watch for through the rest of the season.
Task 7: Prepare Container Plants
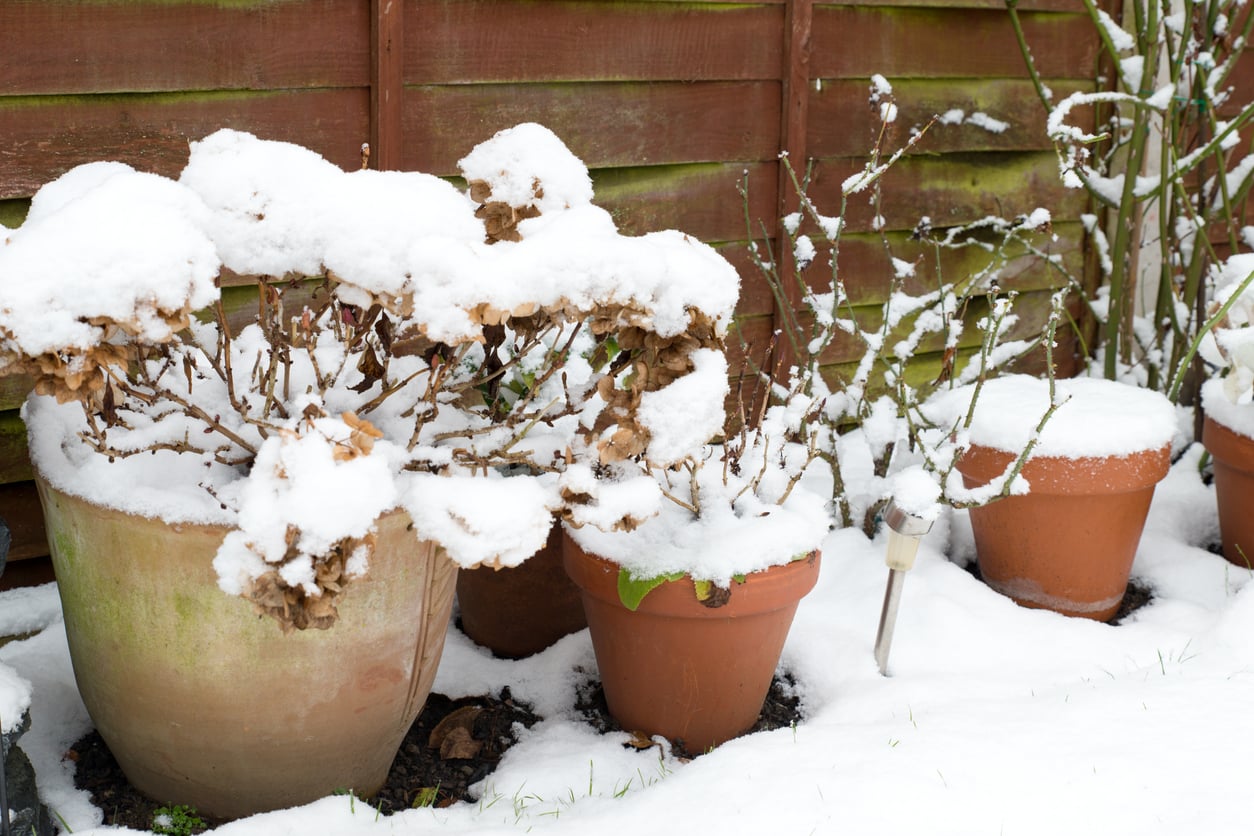
Ground-planted hydrangeas enjoy deep soil insulation, but potted root systems are far more exposed to freezing temperatures.
Move planters into an unheated garage or shed once the plants are dormant and before severe cold arrives. If indoor shelter isn’t available, group containers in a protected spot against an exterior wall for extra insulation.
Check sheltered pots occasionally through winter, too, and water lightly if the soil becomes completely dry.
Quick tip: On concrete or other hard surfaces, raise pots slightly on bricks, wooden blocks, or pot feet so drainage holes stay clear.
Over and Out Until Spring
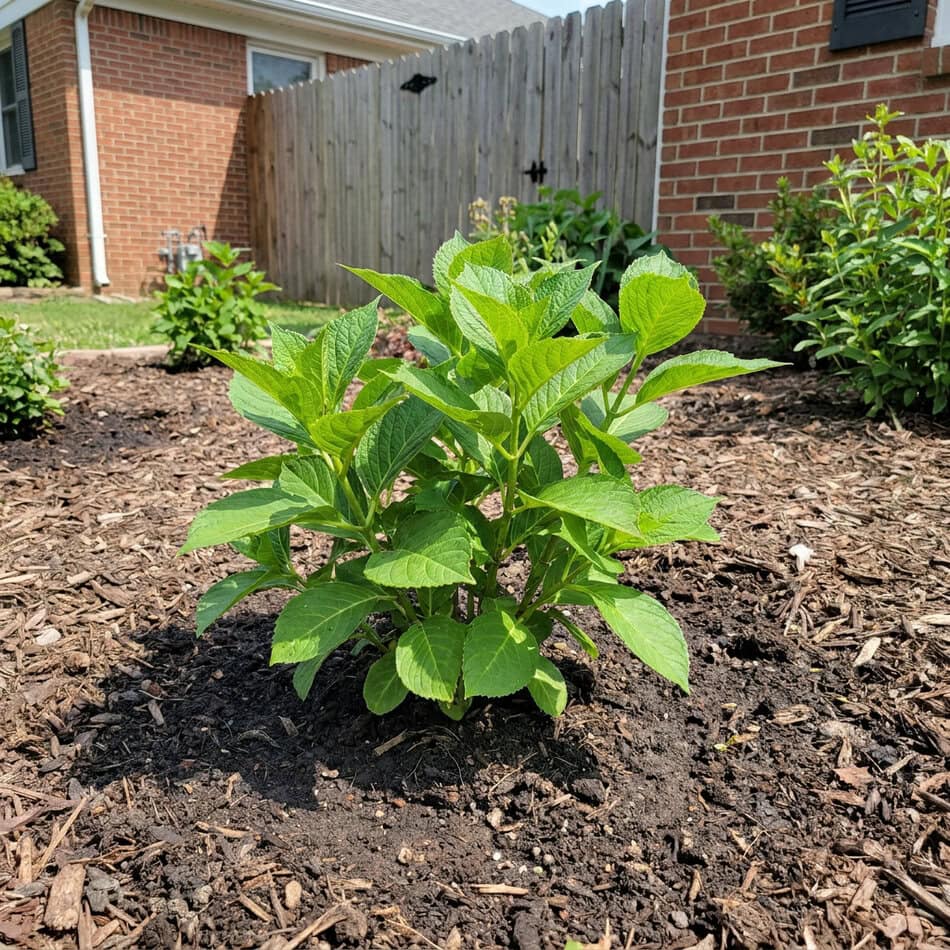
Proper fall prep tilts the odds toward a stronger flower show next season with far less cold-weather stress.. Do the groundwork today, walk away, and let winter run its course.