
Everyone (myself included) wants a lush indoor jungle until we see the nursery price tags. My solution involves leftovers, sticky counters, filtered water, and recycled jam jars. Even if you lack a green thumb, you have other fingers perfectly capable of cleaning a fruit seed.
Quick note: not every fruit you buy will give you viable seeds, and even when they do, what grows might not look anything like the original.
Liquid Assets or What Kind of Water Works?
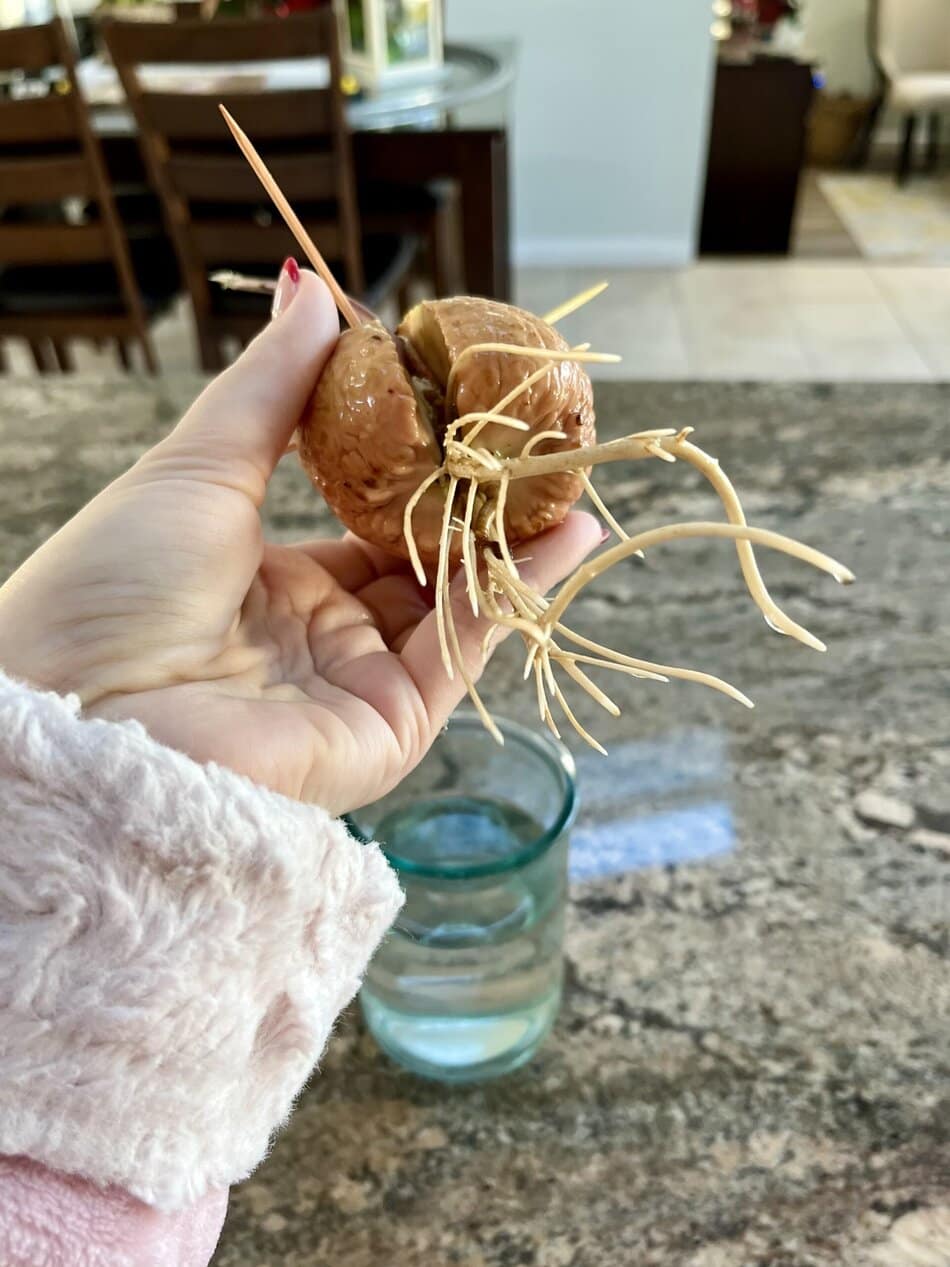
Tired of seeds that require filtered tears to sprout? Simply skip heavily chlorinated tap water for some filtered, bottled, or rainwater instead and you’re golden. And change it frequently. Fresh water helps prevent rot and keeps oxygen available for developing roots.
The USDA zones mentioned below reflect where these plants can grow outdoors, but if you’re outside those zones, you can still grow many of them in pots and bring them indoors.
If you want to keep some of these going long-term, we also wrote about fruit trees you can easily grow in pots at home.
1: Avocados (USDA Zones 9-11)
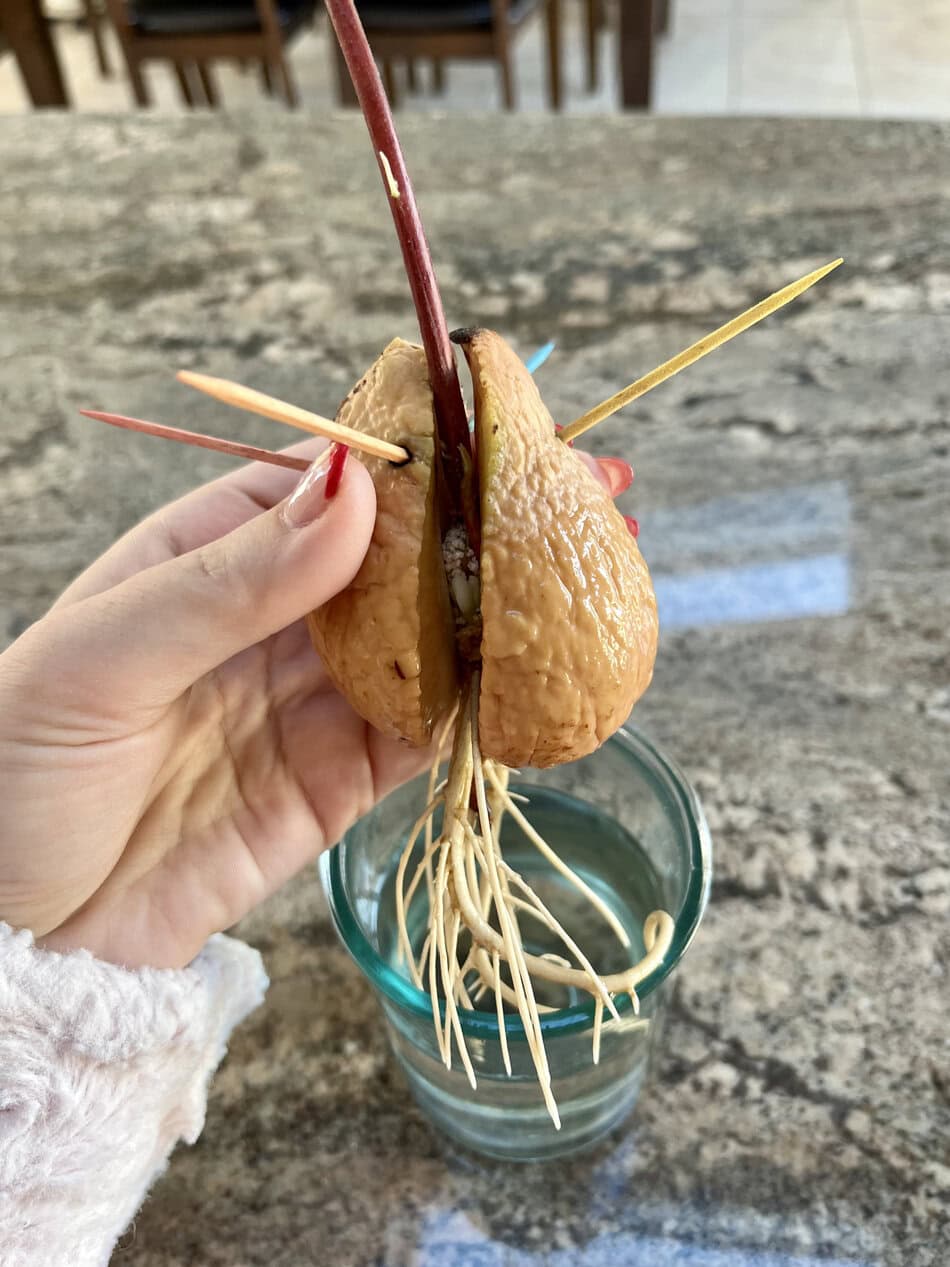
If you’re a true millennial, you probably have a rotating cast of ripe avocados destined for toast. The seed is literally the biggest part of the fruit, yet people toss it. Outrageous!
Wash that giant pit and suspend the bottom over a glass using three toothpicks.
Keep the lower third to half submerged in filtered water. Since liquid has a pesky habit of evaporating while you’re busy doomscrolling, top it off regularly.
What to expect: You’ll usually wait 2-6 weeks before the pit cracks and a root appears. Some take their time, so don’t panic if yours just sits there looking suspicious for a while.
2: Mangoes (USDA Zones 9-11)
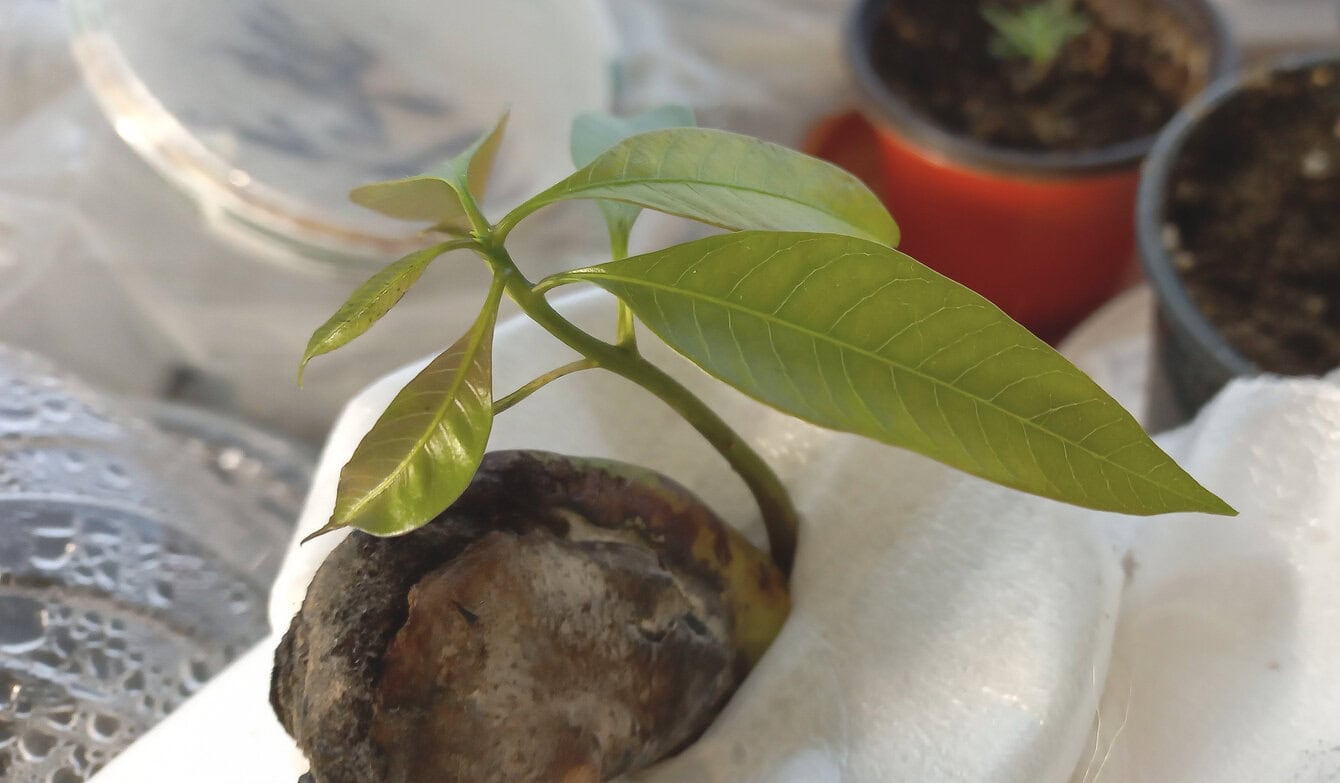
Pry open the husk and remove the large, pale seed inside. Swaddle it in a damp paper towel and keep it warm.
It’s slippery and a bit annoying to handle, but the fast growth is satisfying enough even for our short attention spans.
Alternatively, you can place it in shallow water, but it’s prone to rot.
What to expect: You’ll typically see growth within 1-3 weeks. Some seeds pop quickly, while others take their time depending on warmth and freshness.
3: Dragon fruit (USDA Zones 9-11)
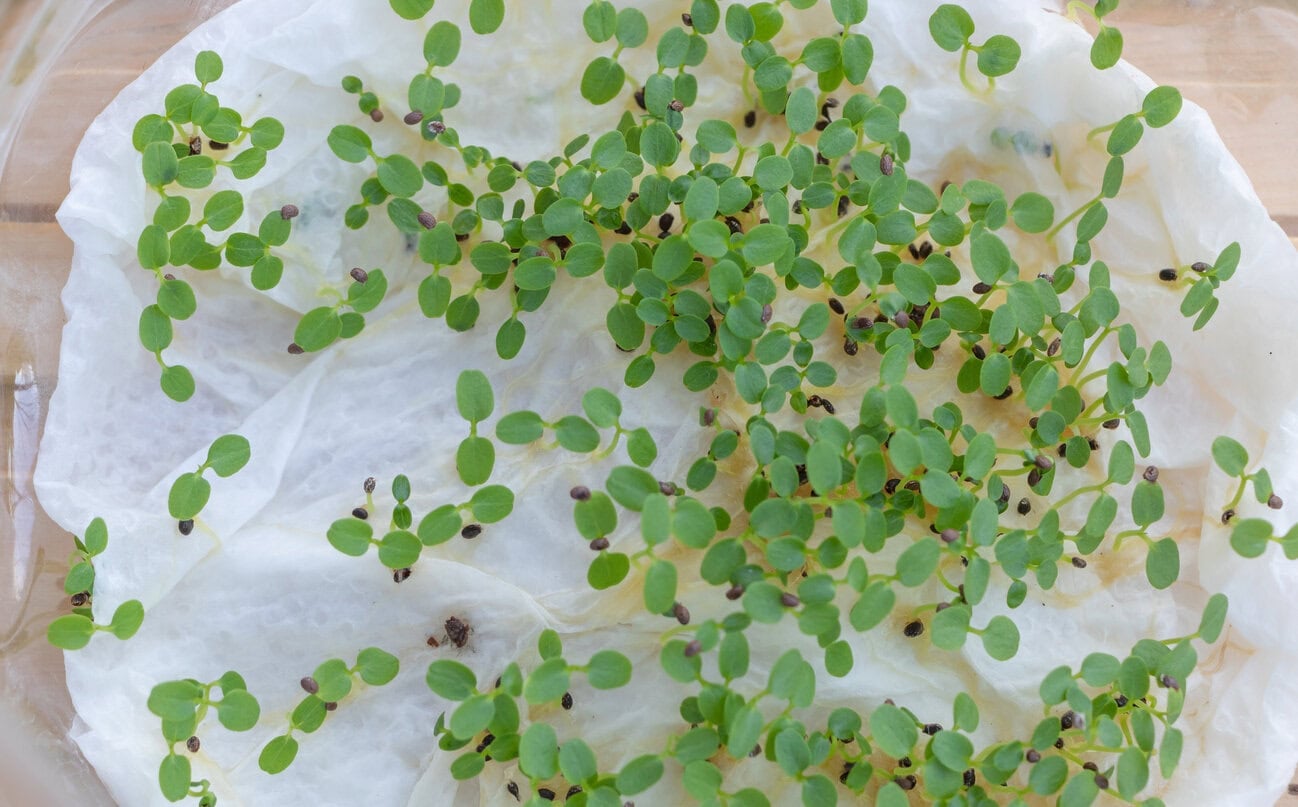
After you’ve rinsed off the pink pulp, spread the tiny seeds on a moist surface and place them somewhere warm and bright.
Warm spots around 80ºF will get them sprouting. Cooler rooms will slow things down and skip the standing water. They do best in a lightly damp environment, not a saucer.
For best results, keep them in a humid setup like a damp cloth inside a loosely sealed bag on a bright ledge.
What to expect: These are actually fast. You’ll usually see tiny sprouts in about 5-10 days if they’re kept warm and slightly humid.
4: Apples (USDA Zones 3-8)
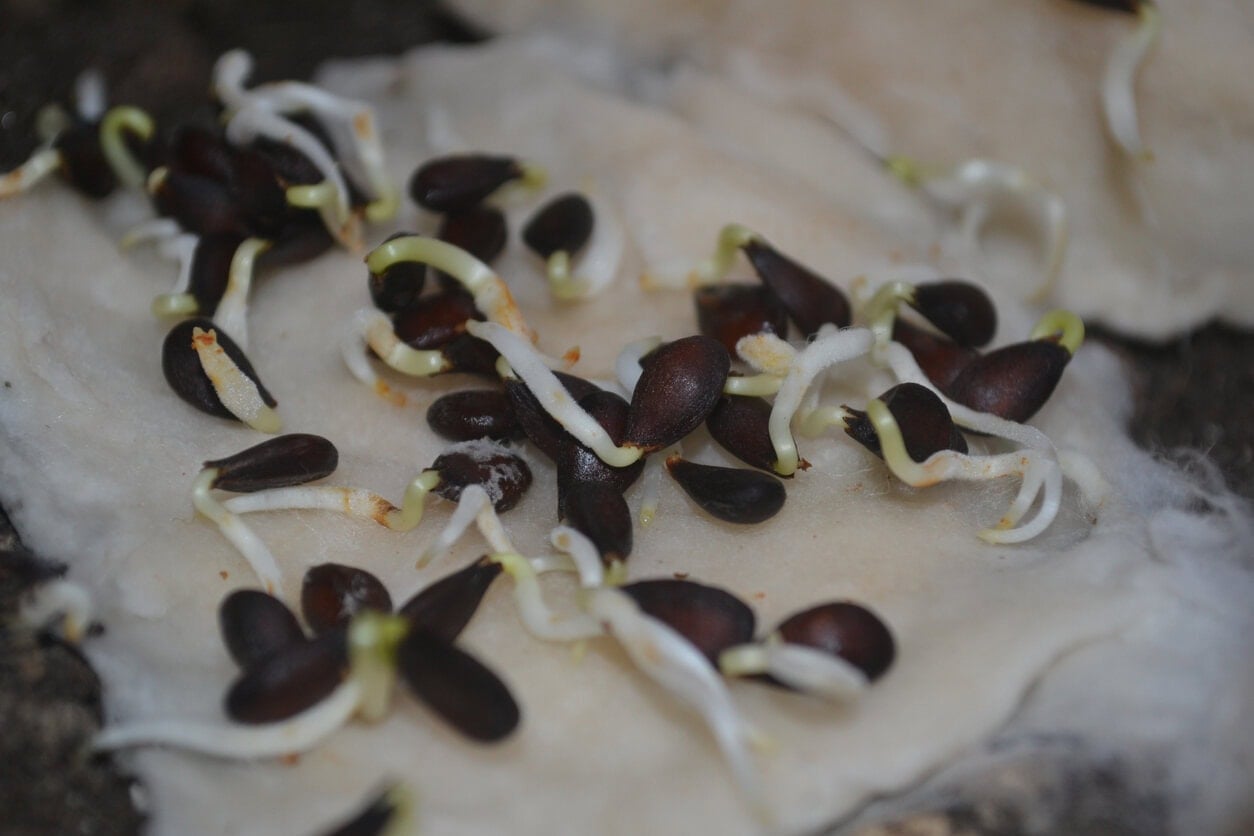
Clean the seeds, wrap them in a damp paper towel, place them in a sealed bag, and store them in your fridge.
Check occasionally to make sure the towel stays moist. After about 6-8 weeks of this artificial winter, plant the survivors directly in soil.
What to expect: After their cold nap, most seeds sprout within 1-3 weeks once moved to warmth. Some lag behind, so give them time.
5: Cherries (USDA Zones 4-8)
Crack the hard outer pits with pliers, carefully, so you don’t become a resident joke in the ER. The inner seeds need a solid three-month fridge nap in a damp towel and a sealed bag first, just like apples.
Once they’ve had their artificial winter, plant them in soil and move them to a warm spot to encourage germination. Then wait.
What to expect: Expect a slower start. After stratification, they can take 3-6 weeks to show any signs of life.
6: Lemons (USDA Zones 9-11)
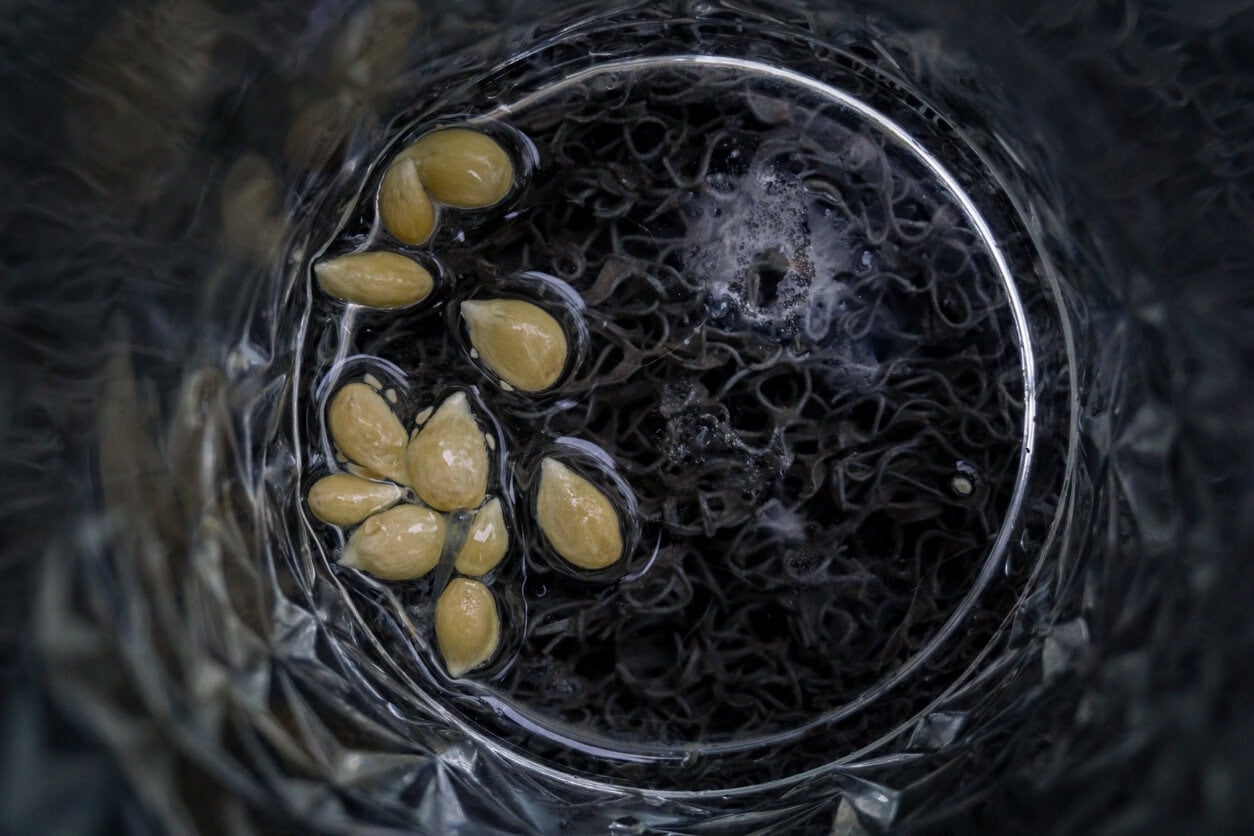
Scrub every trace of sticky pulp off the seeds or risk a mold farm. Place at least five to ten in a shallow dish with a small amount of water, or use a damp paper towel.
Citrus seeds are social creatures and seem to do better in groups. It also hedges your bets against the duds. Change the water daily to keep things fresh.
What to expect: You’ll usually see tiny green shoots in about 1-3 weeks. Some seeds act like overachievers and sprout in days, while others take their sweet time.
7: Limes (USDA Zones 9-11)
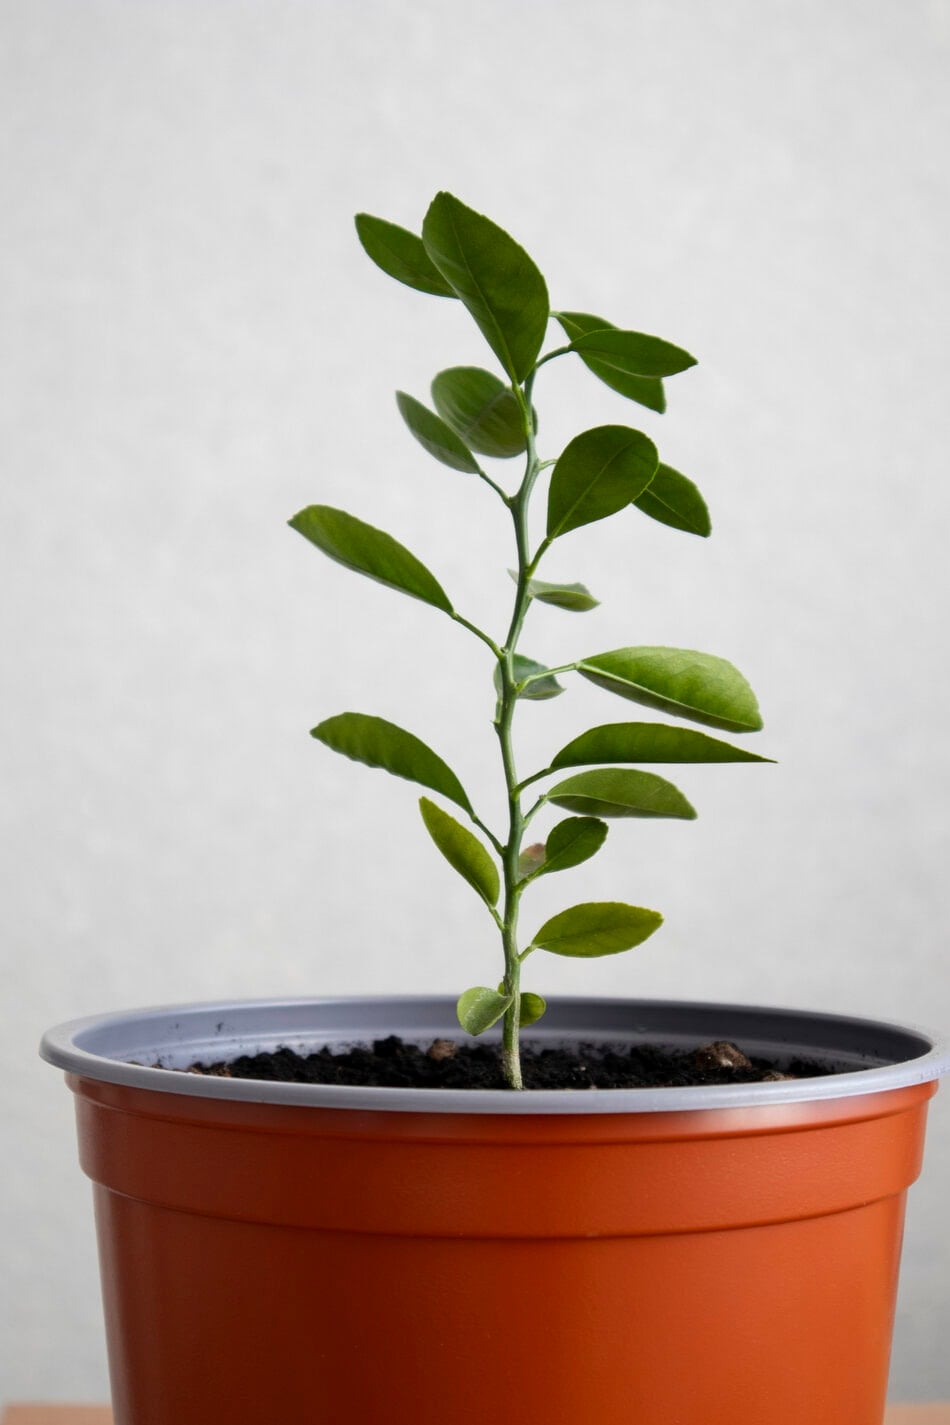
Limes follow the same citrus playbook as lemons. You can start them in a small amount of water or a damp paper towel.
Use fresh seeds right after your Friday night margaritas. If they dry out, they’re toast. You’ll have to start over, but at least that gives you an excuse for another round of margaritas.
What to expect: Similar to lemons, you’ll usually see sprouts in about 1-3 weeks, depending on how fresh the seeds are and how warm your space is.
8: Oranges (USDA Zones 9-11)
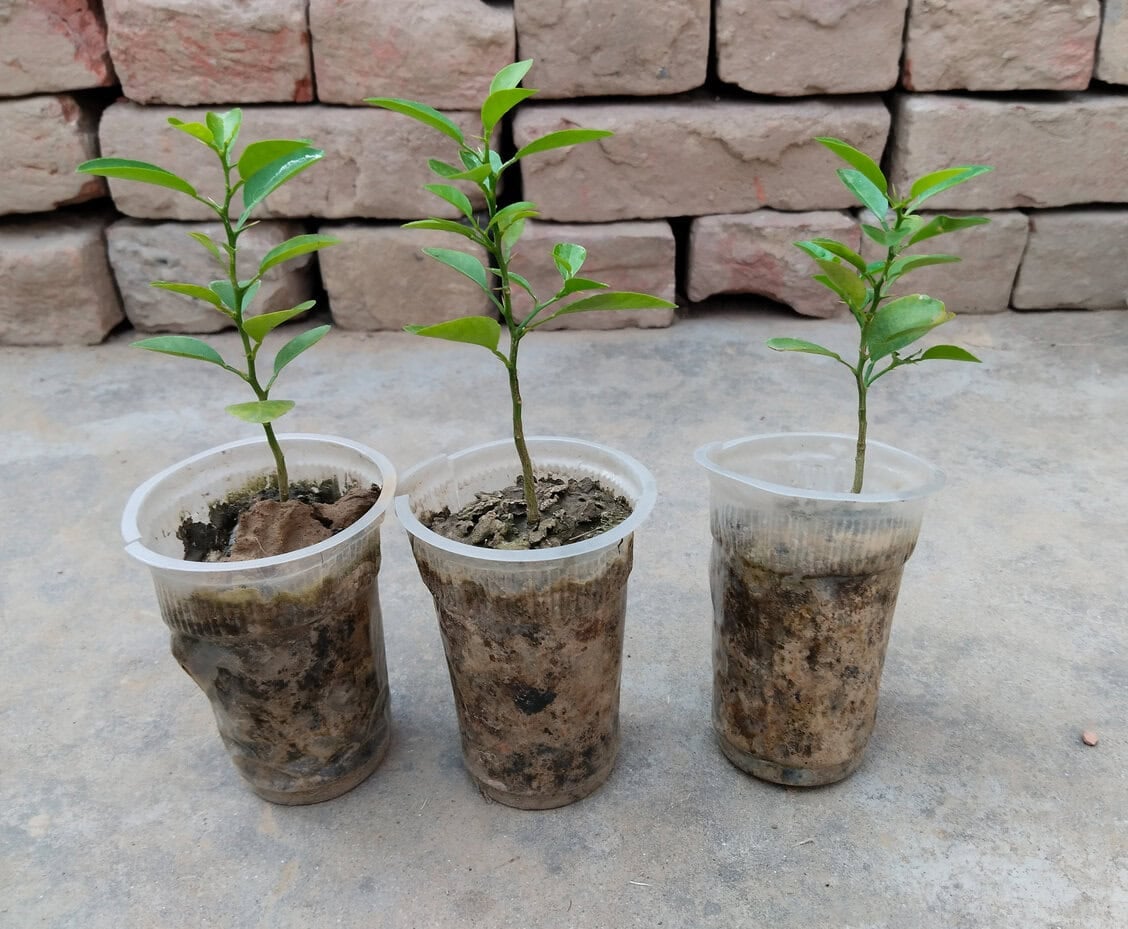
Handle their seeds precisely like you did what? The lemons.
If you can find a warm corner and a jar with a small amount of filtered water, you’ve basically done 90% of the work. Most commercial fruit fails, so plant a dozen and hope a few sprout. Play the odds.
Just keep in mind that citrus grown from seed doesn’t always match the original fruit.
What to expect: Most seeds sprout in about 2-4 weeks. Some are quick, others take their time, so planting a few improves your odds.
9: Grapefruits (USDA Zones 9-11)
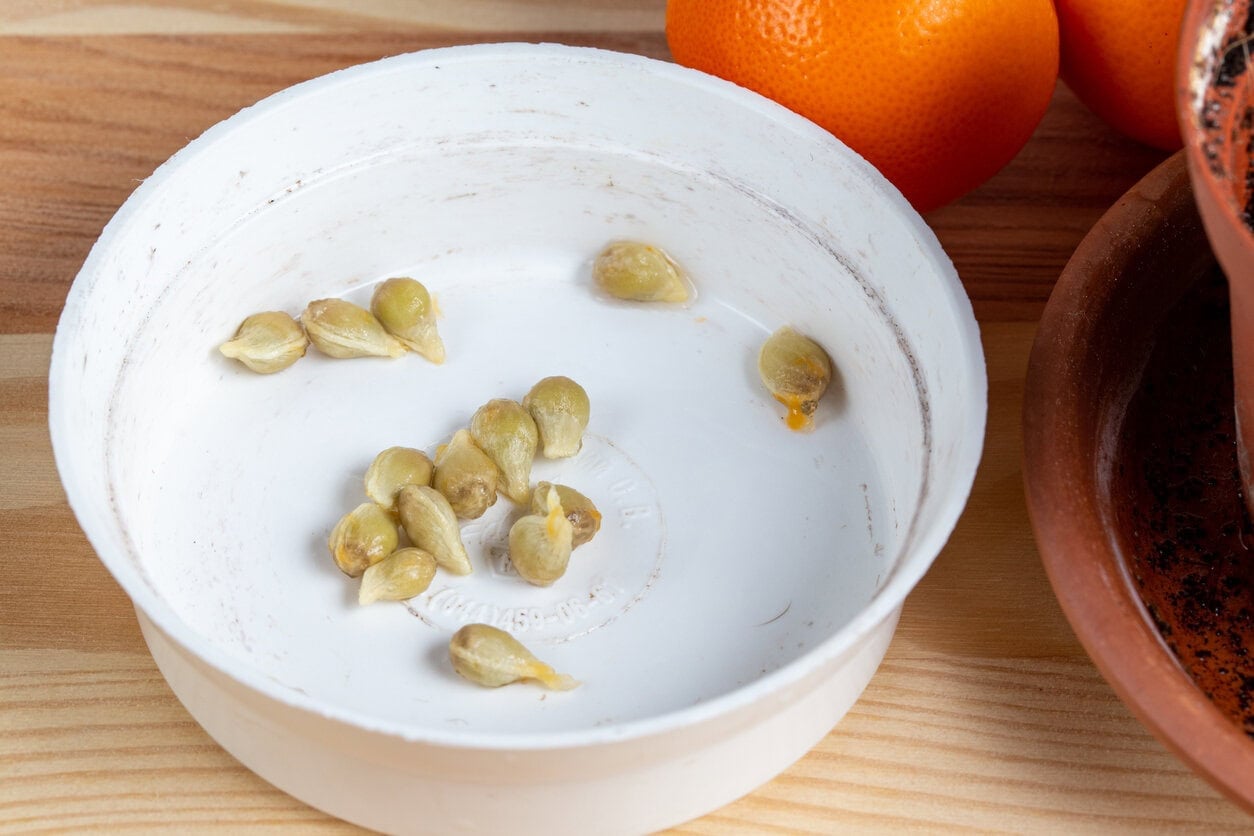
These are just the larger, more ambitious cousins of the orange.
Start them the same way, with a small amount of water or a damp paper towel in a warm spot. Fresh seeds also work best.
They usually germinate reliably, but like other citrus, what you grow may not match the original fruit.
What to expect: These tend to sprout in about 2-3 weeks, especially if the seeds are fresh and kept warm.
10: Pineapples (USDA Zones 9-11)
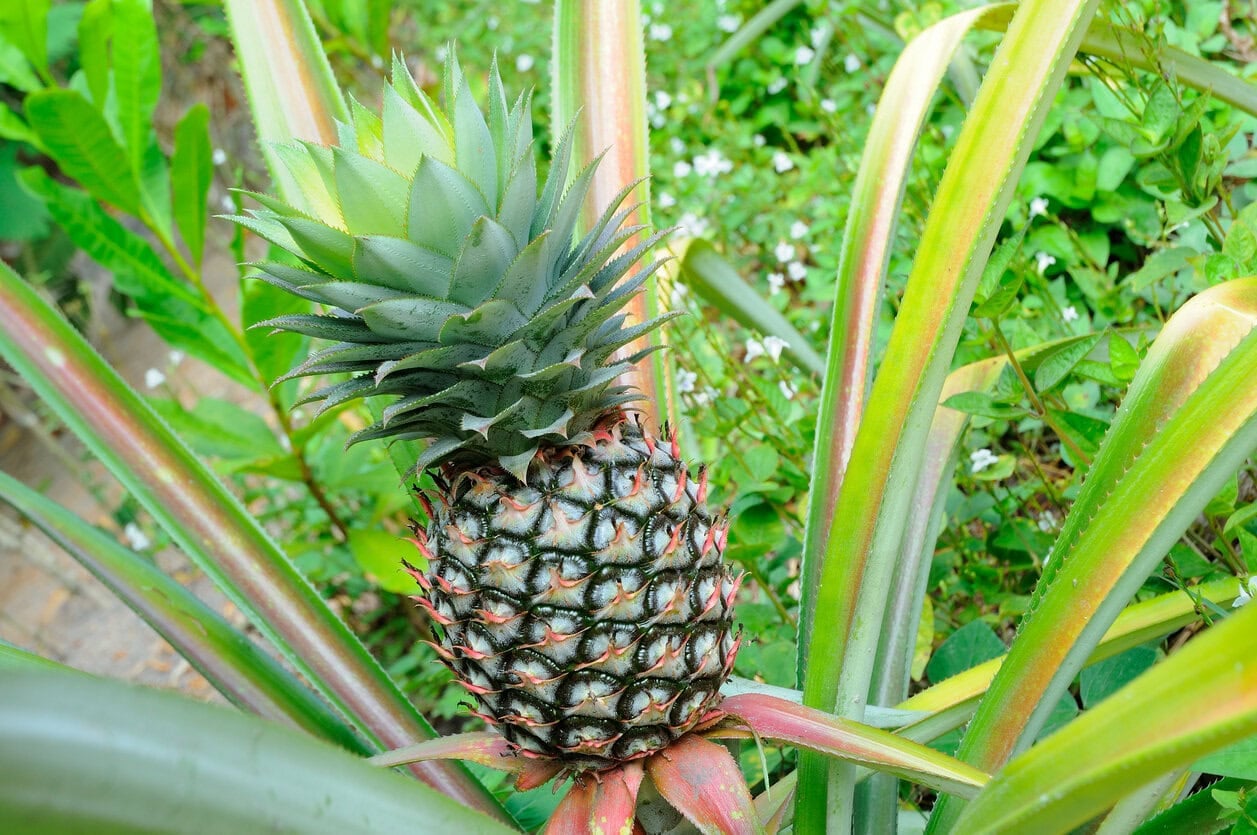
People like to “cheat” by planting the leafy crown, but technically, pineapples do have seeds if you’re willing to go full detective mode.
They have tiny hidden seeds just under the skin. Grab a microscope (just kidding) and let’s start. If you manage to find any, clean them thoroughly to avoid mold. Skip the water setup. These do better in a lightly damp environment.
Honestly, this is just a fun experiment if you’re in the mood for a challenge. They can take weeks or months to do anything at all. If you actually want a pineapple plant, the crown is still the way to go.
If you’re into growing things in water, we also put together a guide on herbs you can grow with just water all year round.
Quick Tips Before You Start
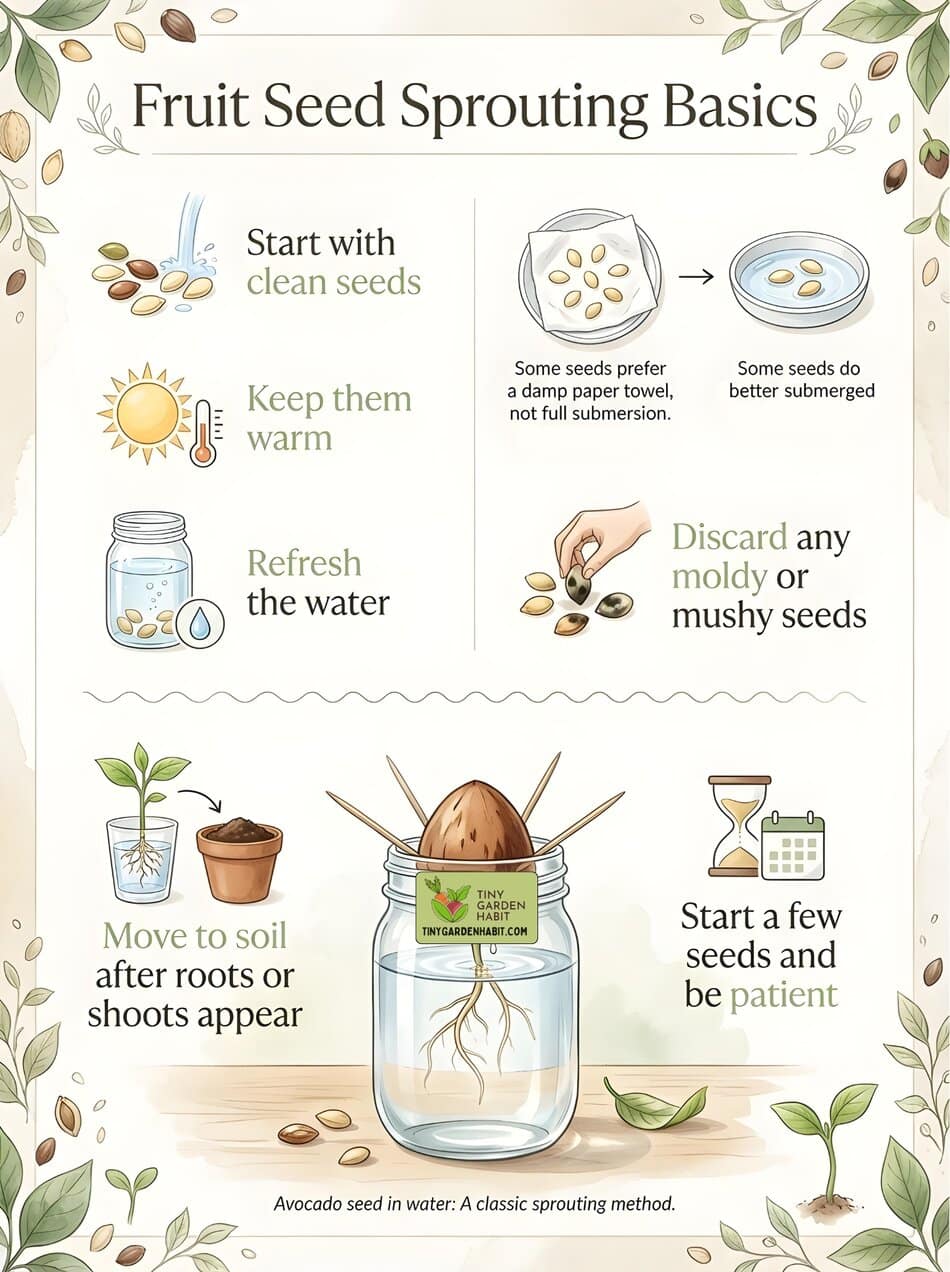
Before you turn your kitchen scraps into a full-blown plant project, a few basics will save you a lot of trial and error:
A little fresh water, a little warmth, and a reasonable amount of patience will get you farther than most fancy gear. The seeds are doing the hard part. You’re mostly just trying not to accidentally turn them into compost too early.
Shallow Water, Deep Hopes
Perhaps you noticed that social media makes gardening from seed look like a choreographed dance. In real life, we have two left feet and, if we’re lucky, at least one green thumb and a couple of good tips. Water you waiting for?


