We’ve all been there. We have dreams of garden grandeur and we have the best intentions of making those dreams a reality. But, one thing leads to another and suddenly those dreams get quickly moved to the back burner as life takes over.
So, how do you restore your now neglected and overgrown vegetable garden?
To restore an overgrown garden you need to take stock of the supplies you already have, create a garden plan for the season, test your soil, clear out any weeds and unwanted plants, prep your garden beds for planting, and take notes for next year.
I’ll go over in detail all the steps you need to take to get your garden back on track and how to make sure the garden doesn’t get away from you in the future.
Take stock of what you already have
The first step in getting your overgrown garden back under control is to take stock of what you already have. This way you know exactly what you’re working with.
Sometimes you might discover that you have tools and supplies that are hiding underneath all of the overgrowth. Or, if you’re restoring a garden that used to belong to someone else, you may find that the previous owner left behind some great supplies for you to use.
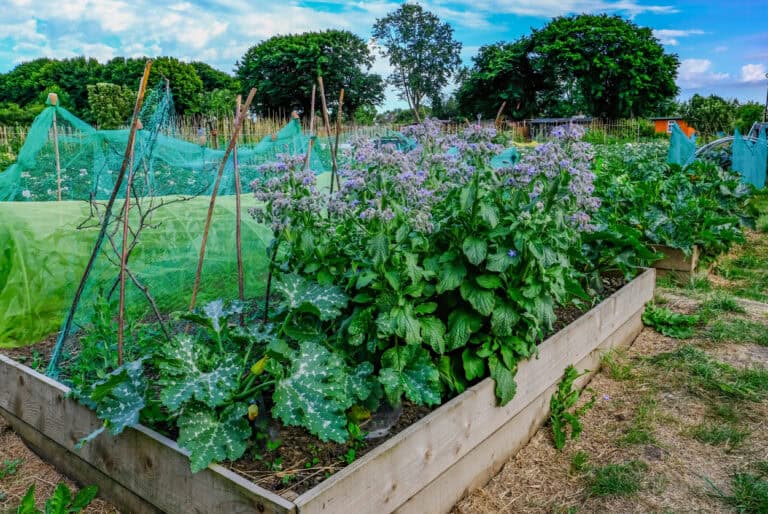
You may also find that perennial herbs or flowers are growing in your garden that you will want to keep. Make note of where they are so you can plan around them.
Taking stock of what you already have also means measuring your garden and garden beds to determine how much space you actually have. Overgrown weeds can make your garden look much smaller than you think it is.
Once you know what you’re working with (or without), the planning process becomes much easier.
Create a plan
Now that you know what you already have, it’s time to create a plan. This is your chance to really get creative and make the garden your own. What do you want to grow? Vegetables? Flowers? Herbs? All of the above?
Before you get to planting anything, you have to figure out the logistics of your garden. Here are some things to consider when you’re planning:
- Is there a reliable source of water nearby?
- Does the garden need fencing?
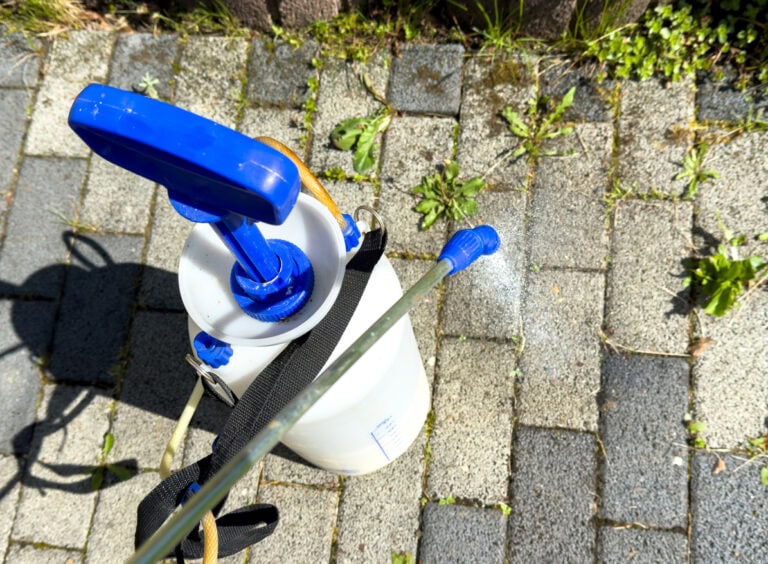
- How will you manage pests?
- How will you manage weeds?
- Where do you want certain plants to go?
Don’t be afraid to get artsy and draw out your garden plan. You can use graph paper to make a rough sketch of your garden or, if you’re more tech-savvy, you can also map out your plan in excel or Google sheets.
There are lots of great garden planning resources out there nowadays. Don’t be afraid to take the time to figure out what works best for you. But, to help you get started, check out this garden planner from Grow Veg.
Test your soil
You may not think this step is important but you definitely do not want to skip testing your soil. If it’s been a while since you’ve grown anything in your garden or you’re working in a new garden space, you’ll want to know how good the health of your soil is.
Depending on where you live, you should be able to get soil sample kits from your local agriculture extension agency. Some states will test your soil for free while others may charge a small fee. A simple Google search should tell you where the closest ag extension office is to you.
If you don’t have access to an extension agency, you can order a simple at-home soil test that will let you know your NPK levels and the pH of your soil.
How to sample your soil
To get an accurate reading of your soil sample, there are two different methods to collect soil.
The first is to collect samples from several different parts of your garden and combine them to make one sample that will be sent to the lab. This will give you a general overview of the nutrient composition in your garden.
The other way is to send in several samples from specific parts of your garden. Depending on how big your garden is, one side of it may have a different nutrient makeup than the other side. You can use this information to dictate what plants should go where.
If you choose to send more than one sample to be tested, you don’t have to send too many. Three to four samples are more than enough to tell you everything you need to know about your garden.
If you’re growing in wooden raised beds, you can take a small sample of each bed and have those tested individually. Sometimes raised beds will have different nutrient levels in them based on what was grown there previously.
Cover cropping
One way to improve the quality of your soil is to plant cover crops. But, keep in mind that this is not a quick fix. Cover crops take time to grow and will eventually need to be removed to make room for whatever you plan to plant.
If you’re starting small and don’t want to fill and manage your entire garden right off the bat, try planting cover crops in the sections you don’t plan to use this year.
To learn more about how to incorporate cover crops into your garden, check out this article.
Clear out weeds and other unwanted plants
Now that you’ve done all the prep work, you’re ready to do the dirty work. Time to actually clean up! This is your chance to remove anything and everything you don’t want in your garden. This includes weeds, rocks, trash, last year’s old crops, etc. You get the idea here.
Depending on how long the garden has been unattended, clean-up may require the use of equipment like a weed whacker or lawn mower to make the weeds much more manageable.
I recently had to restore a garden and it took a combination of tools and good old-fashioned hand weeding. First, I went around the edge of the garden with an edging tool to help establish exactly where the garden parameters were.
Then, I used a digging fork to get out any big grass clumps. Make sure that as you’re pulling out plants you’re shaking off all of the dirt that is still attached to the roots. You want to keep as much soil as possible in the garden.
Scuffle hoes are also a great tool that you can use to help get up smaller weeds and to even out rough soil.
Garden walkways
If you have walkways in your garden that have also become overgrown you’ll want to put something down to make sure that the weeds you just pulled don’t grow back.
Some people like to lay down plastic or fabric in their walkways as this can smother and even solarize the weeds. But, landscape fabric can be a bit pricey.
If you’re anything like me and are a gardener on a budget, try laying cardboard down in your walkways. The cardboard will also suppress the weeds and won’t have to be cleaned up at the end of the season since it will eventually break down.
If you’re using recycled cardboard, just remember to remove any plastic labels or tape as these things will not break down and just add trash to your soil.
After laying down a layer of cardboard, I also like to cover that with a good layer of straw. I think it makes the garden look better and it provides an extra layer to keep the weeds at bay.
We also have a whole article on garden pathway options and keeping weeds at bay on garden paths.
Prep your garden beds
Now that you’ve done all of the clean up work, it’s time to prep your beds for planting. Since you just spent so much time pulling weeds out of the ground, there’s a good chance that the soil is already pretty loose.
But, on the off chance that your soil is still pretty compacted, you’ll want to loosen up the soil a bit with a digging fork or a broadfork. I’m a no-till gardener myself so I fork the ground instead of tilling so that the topsoil is preserved.
We have a whole article on how to fix compacted soil that you can check out for more info.
Once the soil is nice and loose, you can topdress your beds with a good layer of compost to add some nutrients back into the soil.
You can purchase compost from any local hardware store and some waste management facilities may also have fresh compost for sale. It’s worth calling around to see what’s available in your area.
Looking ahead, you should consider setting up your own home composting system so that you have a place to discard plant waste and have a steady supply of compost to keep adding back to your garden.
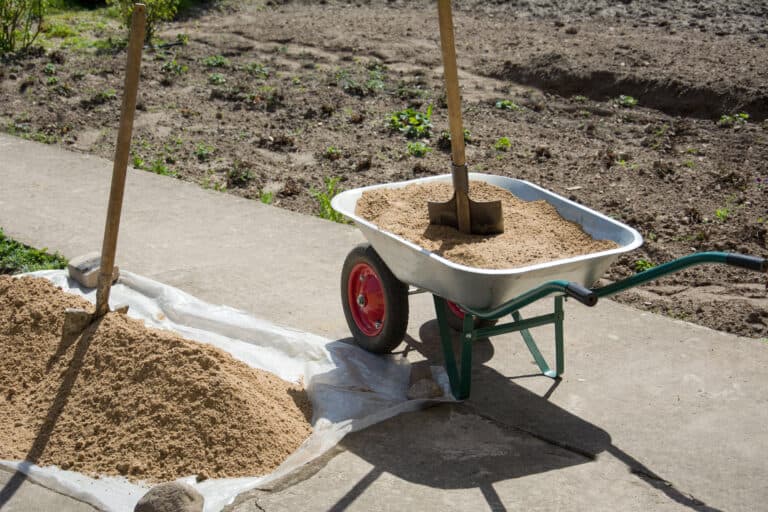
If you’re growing in wooden raised beds, there’s a good chance you’ll need to add more soil to them. Over time, the existing soil will have settled to the bottom of the bed and more will be lost when you weed it.
You’ll want to top off the beds with topsoil so that they’re full and your plants have enough room to spread their roots. Just like compost, bags of soil can also be found at any local hardware store.
Not sure how much soil you need? This raised bed soil calculator will tell you exactly how much you need based on the dimensions of your raised beds.
Take notes for next year
One thing that I wish I had done in my first year of gardening was take notes. By the time the next season rolled around, I had a hard time remembering what I did or didn’t do and what went right and what didn’t.
Taking notes can help you keep track of things like harvest dates and weather patterns. It can also be a way to get you more comfortable and confident in your gardening abilities.
So you had a pest completely ravage your brassicas this year. What did it look like? Did you try any pest management strategies? Write it all down!
To me, gardening is just one big science experiment. It can be discouraging when things don’t go exactly how we planned them in the beginning. But instead of giving up on the garden, look at it as an opportunity to try something new the next time around.
Starting small
The last thing I’ll mention is to not be afraid of scaling back a bit. If your garden got away from you in the previous season because there was too much going on, then it’s okay to plant less this year.
Keep your garden at a size that’s manageable for you. Starting way too big can quickly lead to overwhelm and leave you right back in the same situation you are now, reading an article on how to clean up your overgrown garden!
In Summary
I hope this article has given you some hope and has inspired you to get back out there and put your overgrown garden back into production.
As a recap, here are the steps you should take to restore your garden:
- Take stock of the tools, supplies, and plants you already have.
- Create a garden plan
- Test your soil
- Clear out all of the weeds and brush
- Prep your garden beds for planting
- Take notes for the next year
Following these steps will help you to have a fruitful garden once again. Life happens to all of us! Don’t let your overgrown garden discourage you. Every year is a chance to start your garden fresh again.